Cathexis Quick Start Guide
Quick Start Guide for Cathexis Vision Version 2025
Cathexis Quick Start Guide
- Log In
- Username: admin
- Password: admin
2. Licensing
A. Trial License
- Automatically applied: 2 IP cameras, 48-hour review limit.
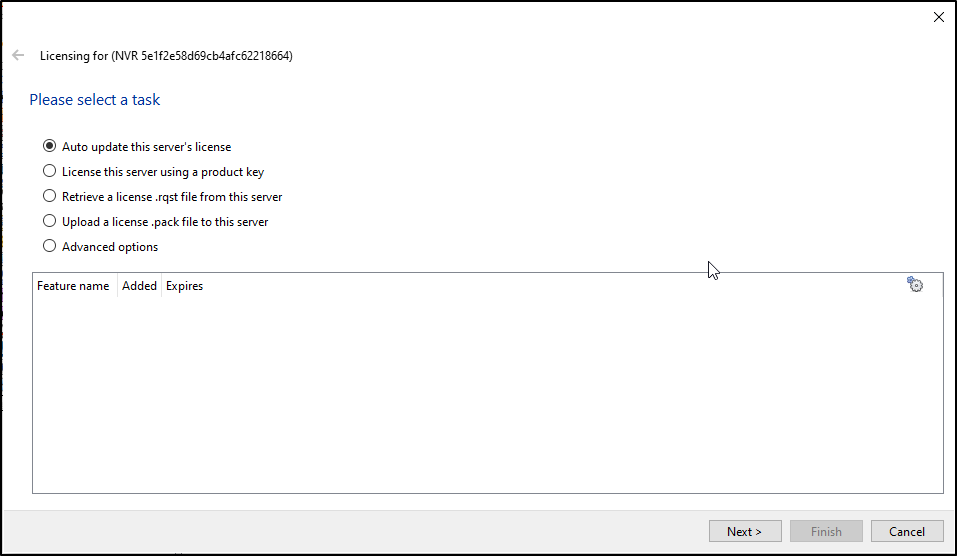
B. Full License Activation - Online: Use product key via Tools > Local server licenses.
- Offline: Generate .rqst file → email to support → upload .pack file.
If the unit from which the user is performing the licensing does not have internet connection, a .pack file needs to be uploaded. A .pack file is a file that contains all the licensing information for a unit. Getting a .pack file requires 3 steps, outlined below, and covered in more detail in the following sections.
→ Retrieve a .rqst (request) file from the unit being licensed.
→ Email the .rqst to support@cathexisvideo.com.
→ Upload the .pack file once is has been sent.
To upload the .pack file go to: Tools / Local server licenses / Upload a license .pack file from this server
→ Select the .pack file from the dialogue that appears.
→ Click Next.
The server will now be licensed. For further assistance, contact support@cathexisvideo.com.
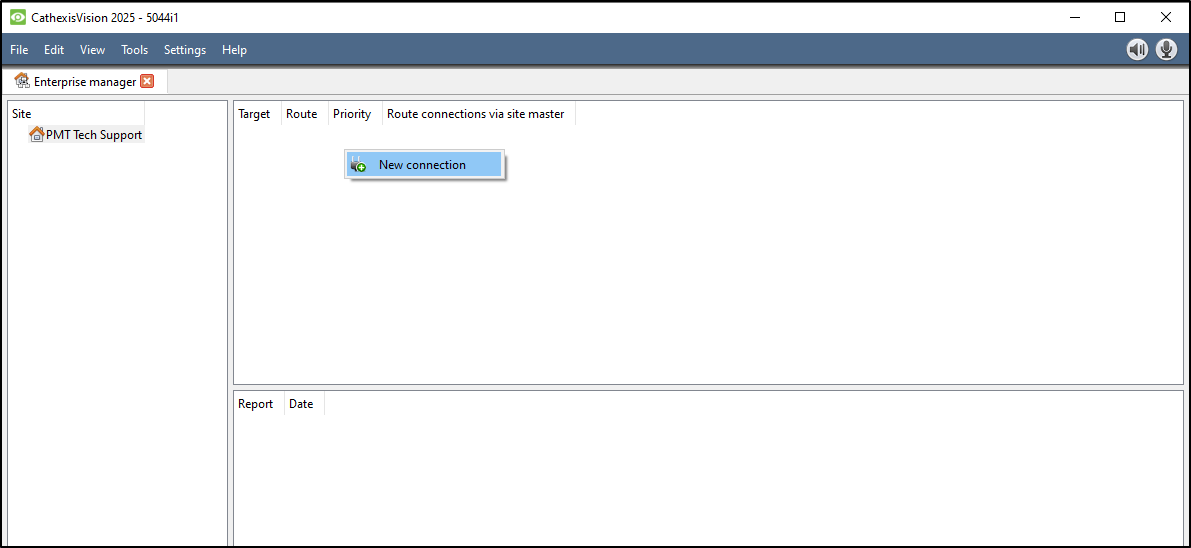
3. Create & Connect to a Site
- Open File> Enterprise Manager:
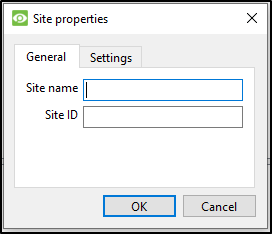
- Add Site Name by right clicking in Site, Selecting New Site and Giving the Site a Name, disregarding entering a Site ID
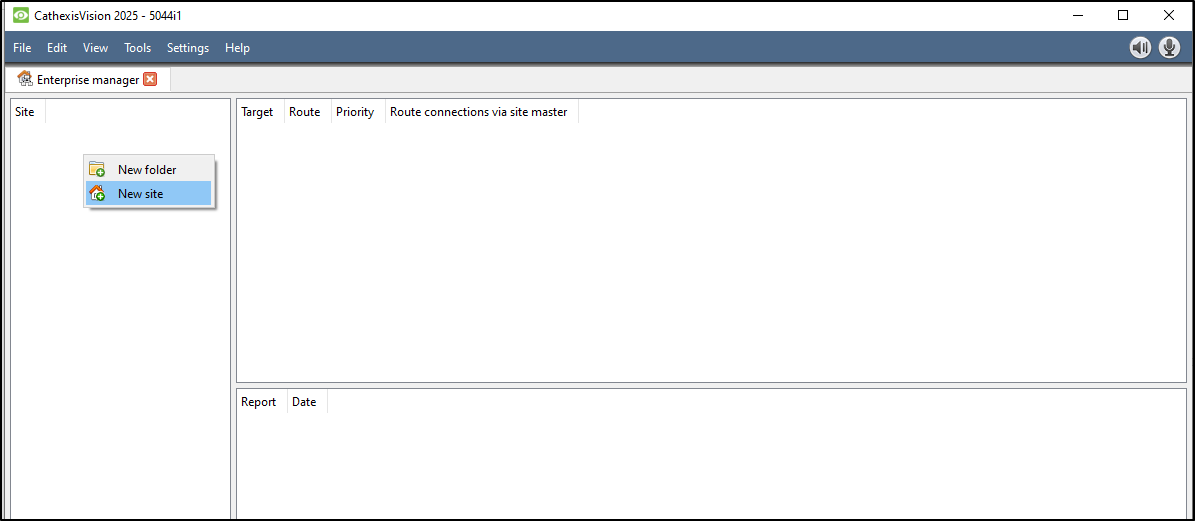
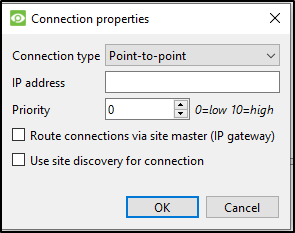
- Add Connection (IP of Master NVR) by right clicking in |Target| Route| Priority| Route connection via site master| window and selecting New connection. Use Point-to-Point as Connection Type and Enter the IP address of the Master Server
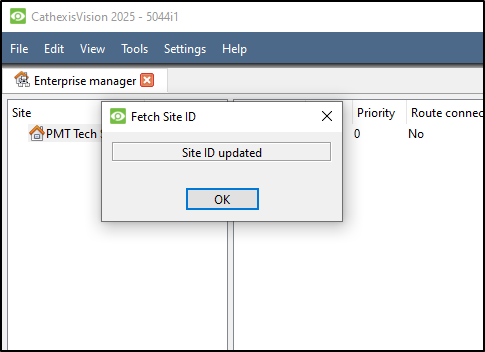
- Fetch Site ID
Right Click the Site Name and Select Fetch site ID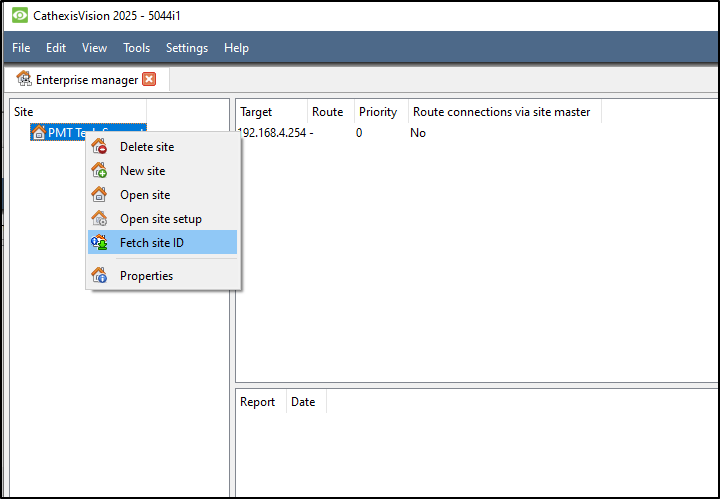
Enter User Name and Password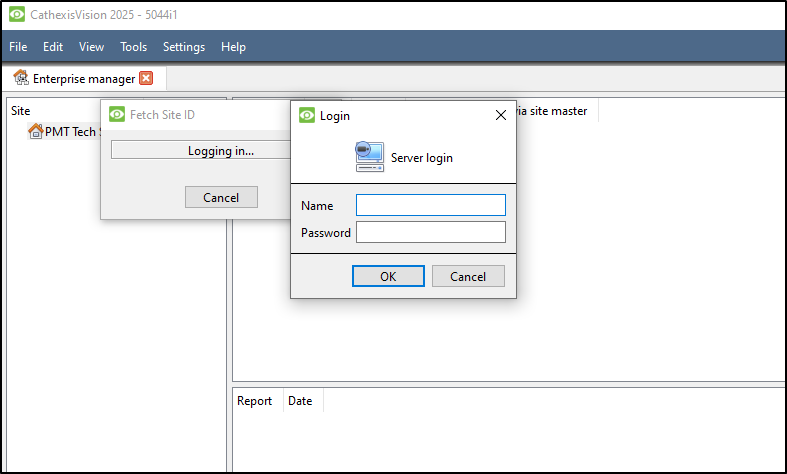
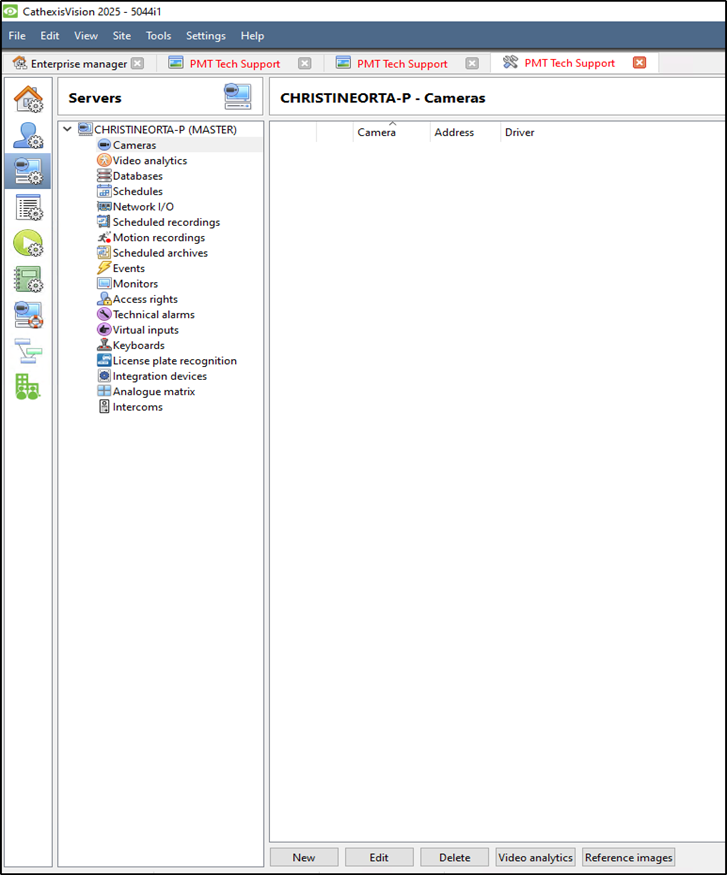
4. Add & Configure Cameras
- Go to File> Open site> (Select site you made)
- Go to Site> Open tab> Setup > Configure Servers > Cameras
- Use Select new
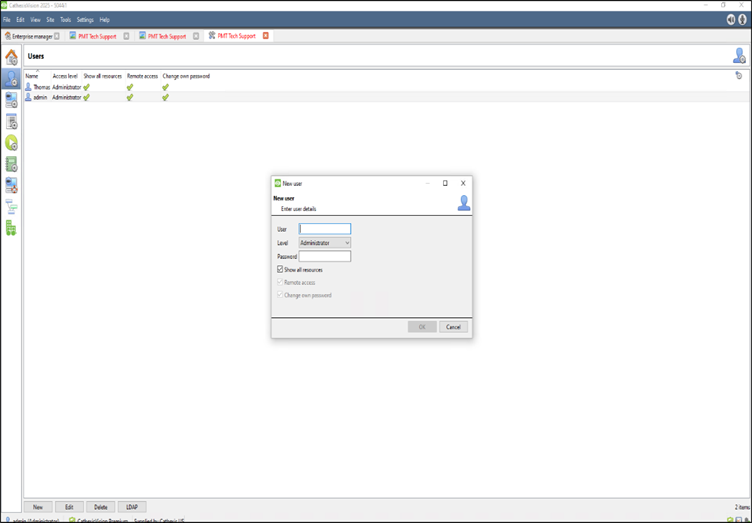
5. User Management
- Go to Setup > Users
- Add users with access levels (1–30)
- Optional: Enable LDAP integration
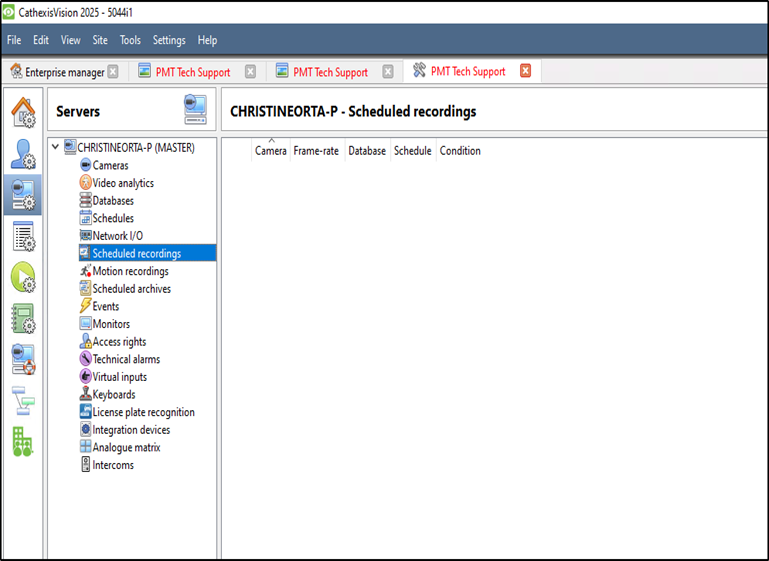
6. Recording Setup
A. Scheduled Recording
- Setup > Configure Servers > Scheduled Recordings
- Define schedule, database, framerate
B. Motion-Based Recording
- Setup > Configure Servers > Motion Recordings
- Configure scene type, sensitivity, masks
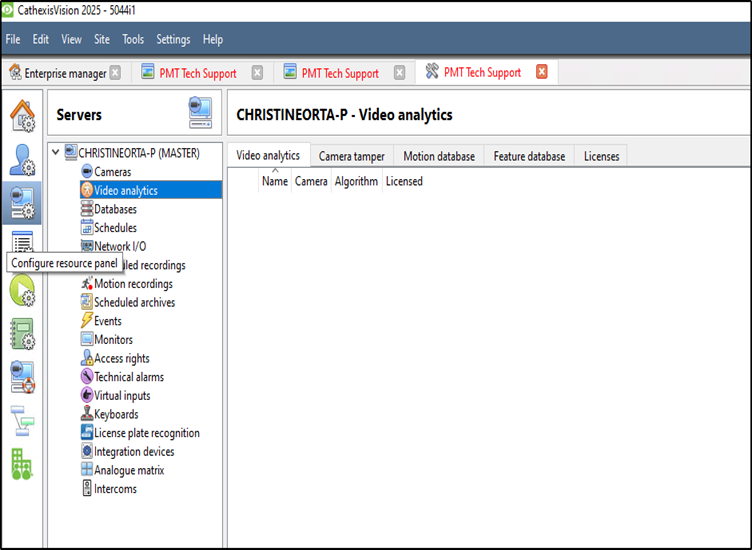
7. Video Analytics
- Access via Setup > Configure Servers > Video Analytics
- Add analytics per camera:
- Basic, Intermediate, Advanced
- Object detection, queue length, mask detection, etc.
- Configure zones, triggers, day/night settings
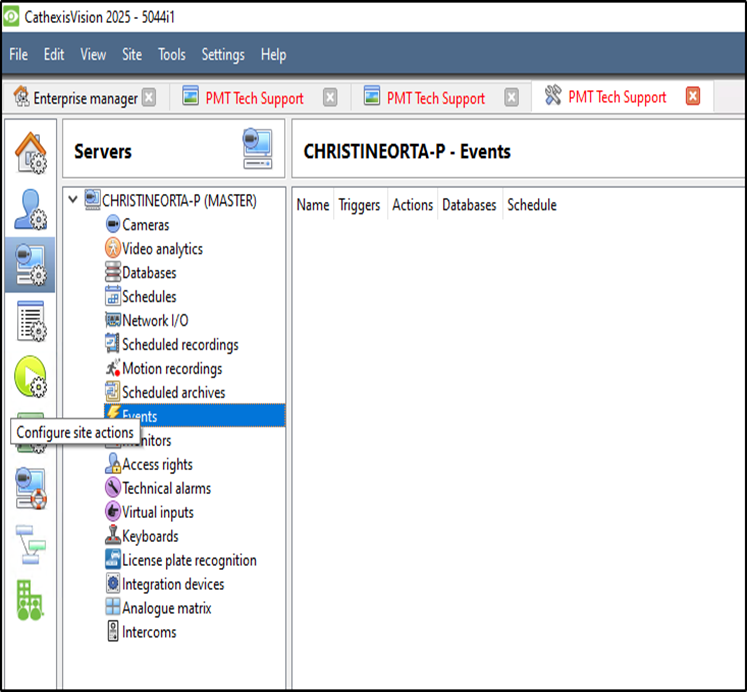
8. Events & Actions
- Go to Setup > Configure Servers > Events
Need further assistance?