How to Install OMNIA 4.6.5 with SQL Server 2019 Express
This guide explains the step-by-step installation process for OMNIA 4.6.5 using SQL Server 2019 Express and SQL Server Management Studio.
Before starting, ensure you are logged into the PC or server with Local Administrator privileges. The installer should complete successfully when run with the proper permissions and administrator access.
Downloading the Installation Files
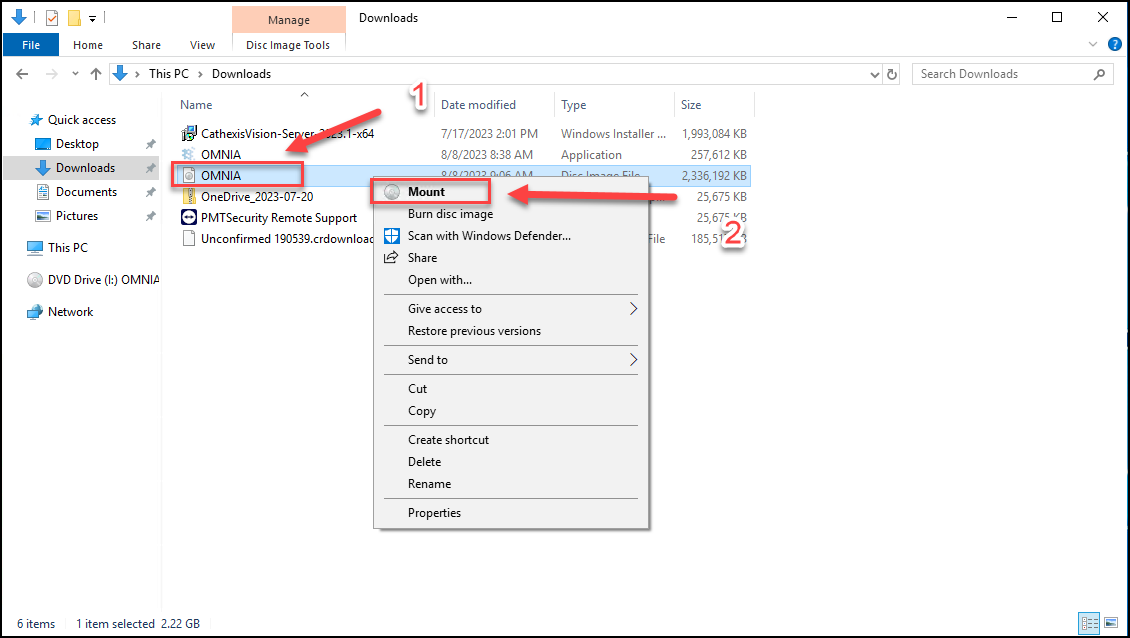
Download the OMNIA ISO file from the PMT Security Download Center:
- Download the
OMNIA.isofile. - Mount the OMNIA.iso
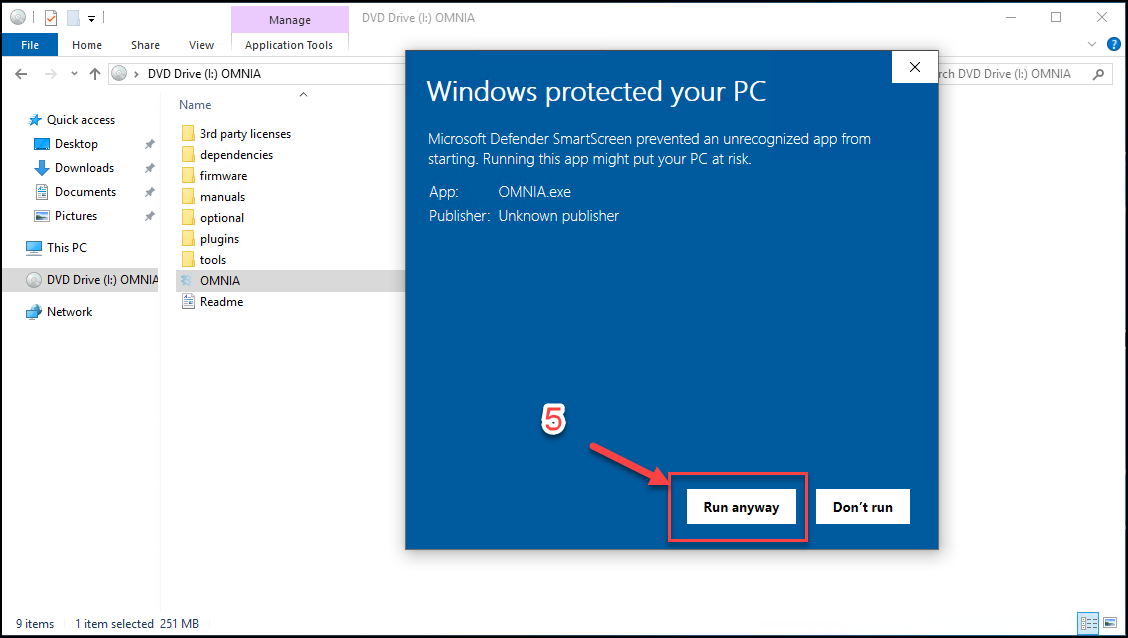
- Right-click the OMNIA installer.
- Select Run as Administrator.
- If Windows displays a security warning preventing the installer from running: Select Run Anyway.
Starting the Installation
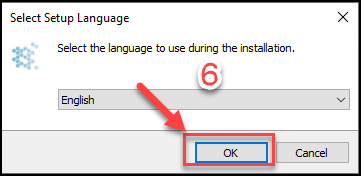
- Select the preferred installation language and click OK.
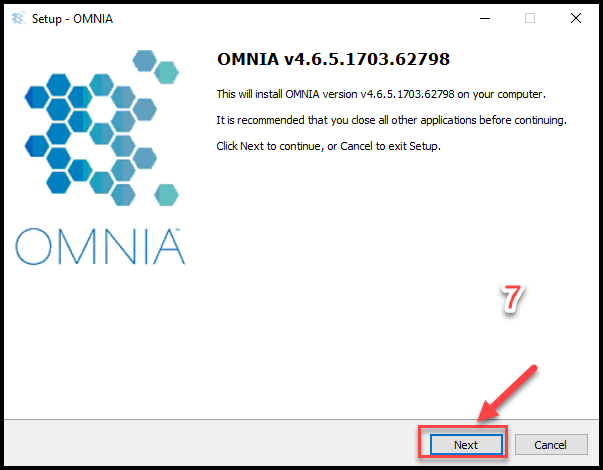
- Click Next.
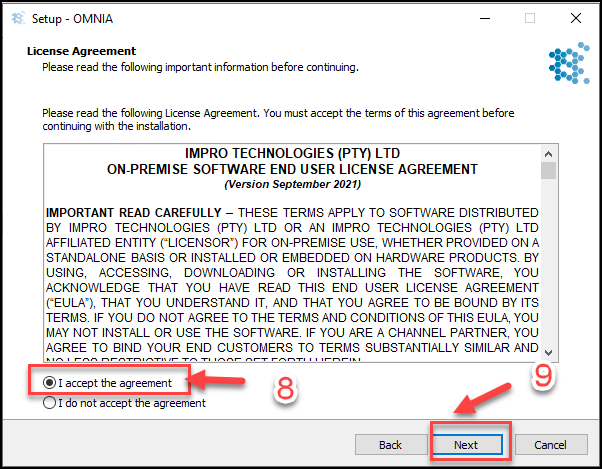
- Accept the license agreement.
- Select Next
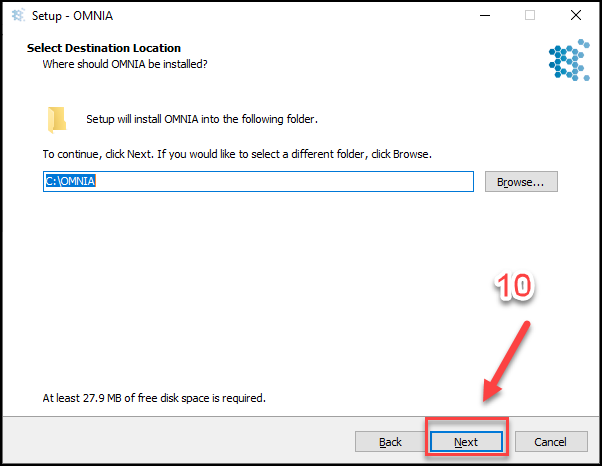
- OMNIA Installation location, Select Next
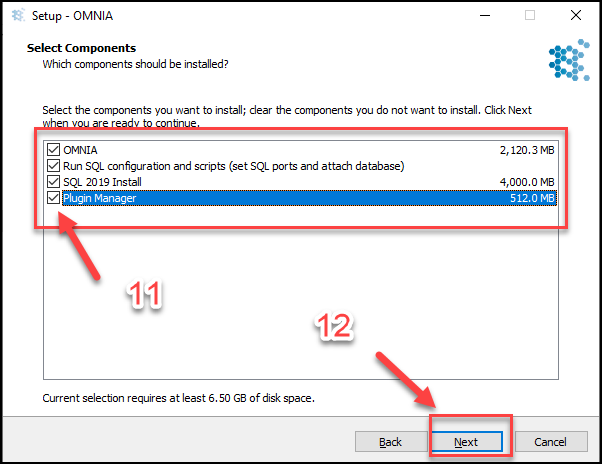
- Select the Components to Install
- Select Next
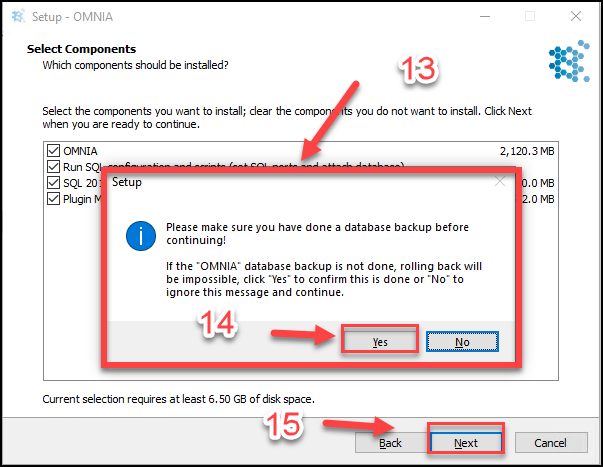
- Information Dialogue Box Appears
- Select Yes
- Select Next
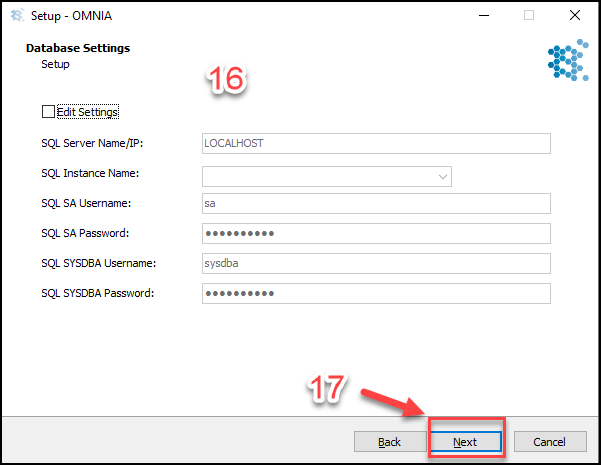
- Edit Settings Page, only edit settings if needed. Select Edit Setting Box to make Changes. OMNIA will search the localhost automatically for a SQL instance name with a database named OMNIA
- Select Next
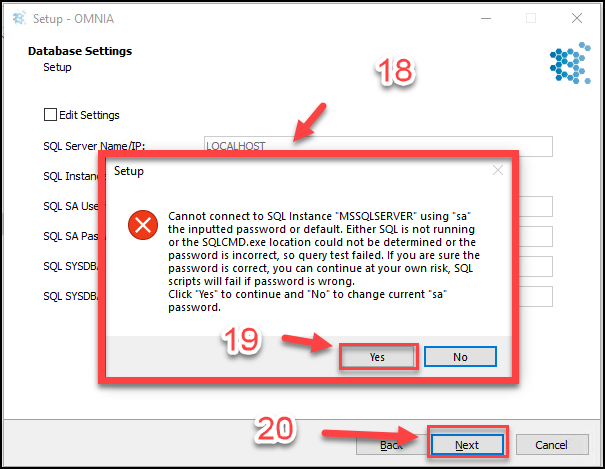
- Error Window will appear, this error is normal
- Select Yes
- Select Next
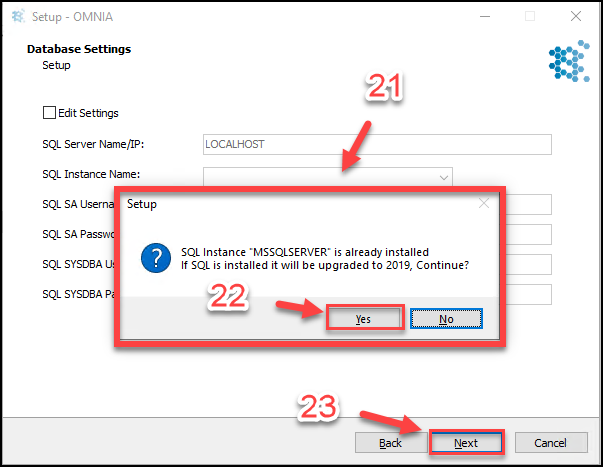
- Information/Question Window will appear
- Select yes
- Select Next
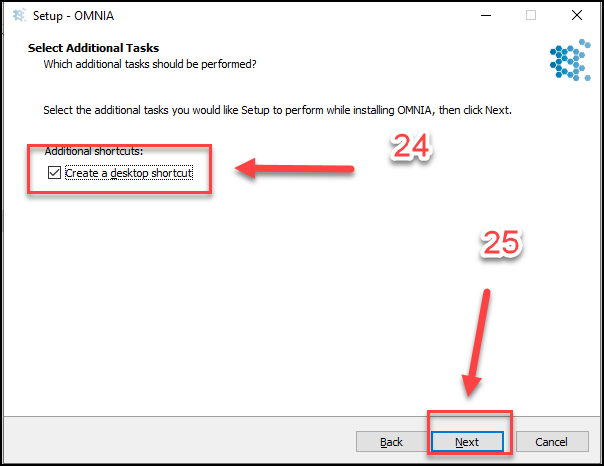
- Select if Desktop Shortcut is needed
- Select Next
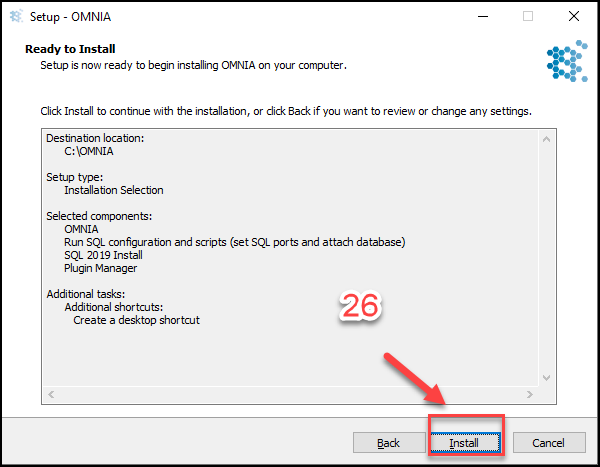
- Select Install
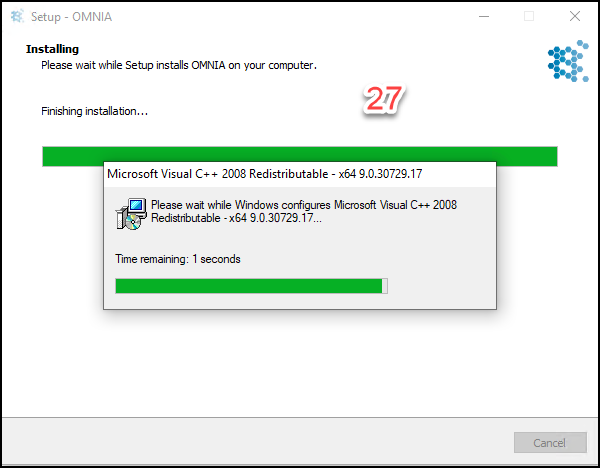
- Installation Process Continues, Select Finish When Completed
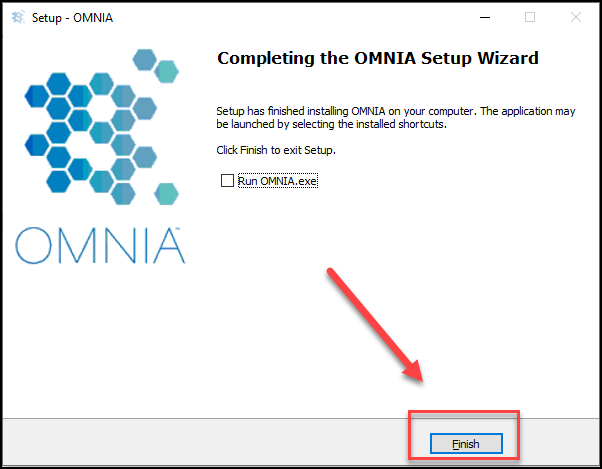
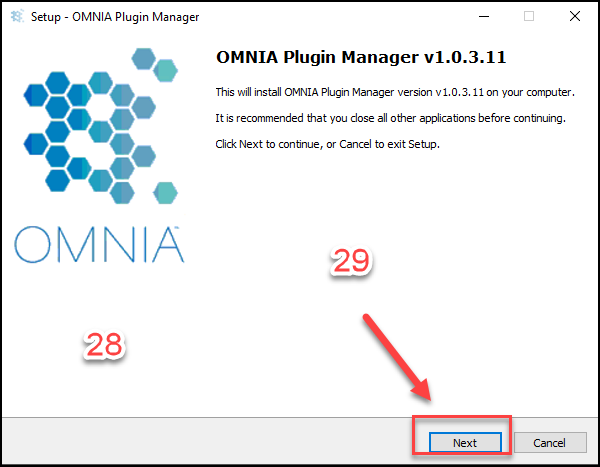
- After the OMNIA installation completes, The OMNIA Plugin Manager Installation will begin if selected at beginning of installation.
- Select Next
- Select the Components to install
- Select Next

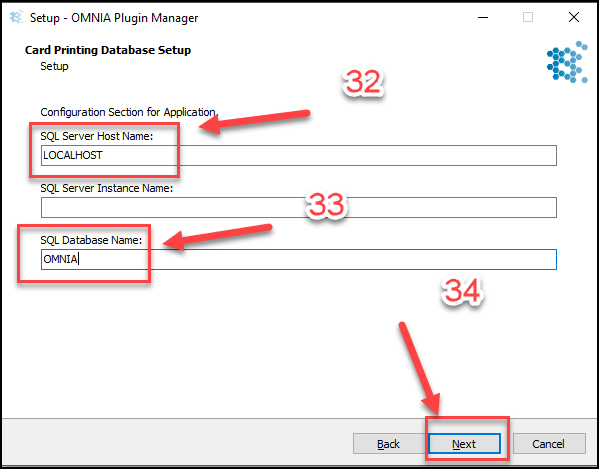
- If SQL is not running local, change LOCALHOST to IP address of SQL.
- Change SQL Database Name to OMNIA
- Select Next
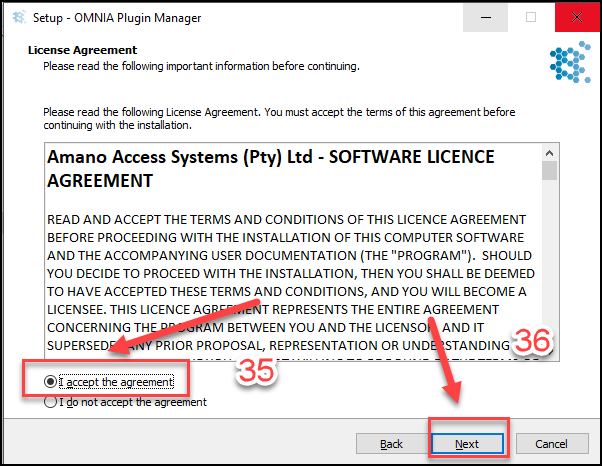
- Accept the Plugin Manager License Agreement
- Select Next
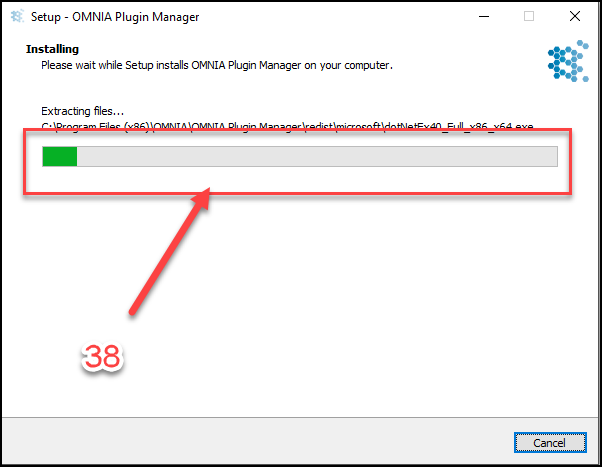
- Select Install

- Plugin Installation Continues
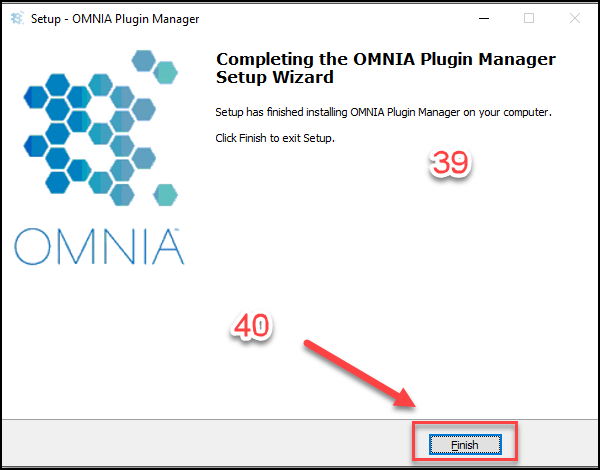
- Plugin Manager Installation Completed
- Select Next
- SQL Server Management Studio will need to be downloaded and Installed from Microsoft. This is needed for Database tasks such as Backups.
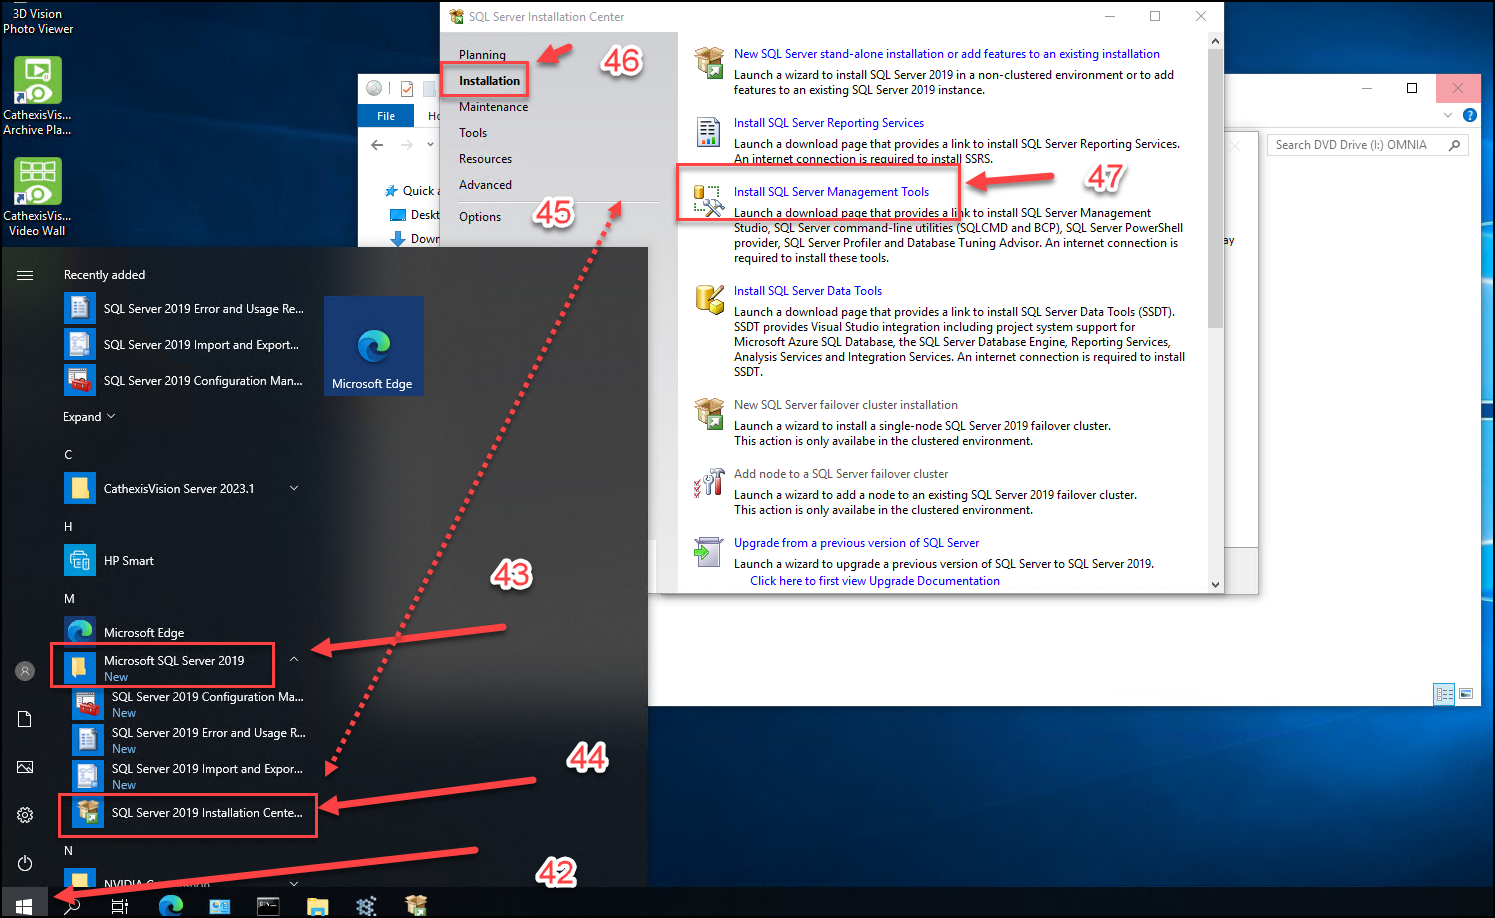
- Select the Windows Start Icon, SQL 2019 will be a new installation
- Select the newly installed folders drop down arrow
- Select the SQL Server 2019 Installation Center
- A separate SQL Installation Center window will open
- Select Installation
- Select Install SQL Server Management Tools, this will open a download link in a web browser.
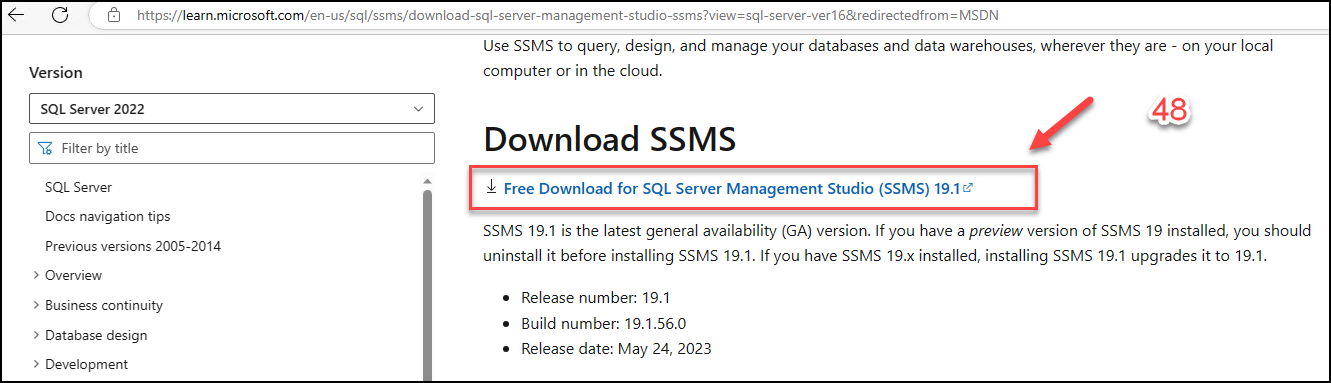
- Select the Management Studio Install download link.
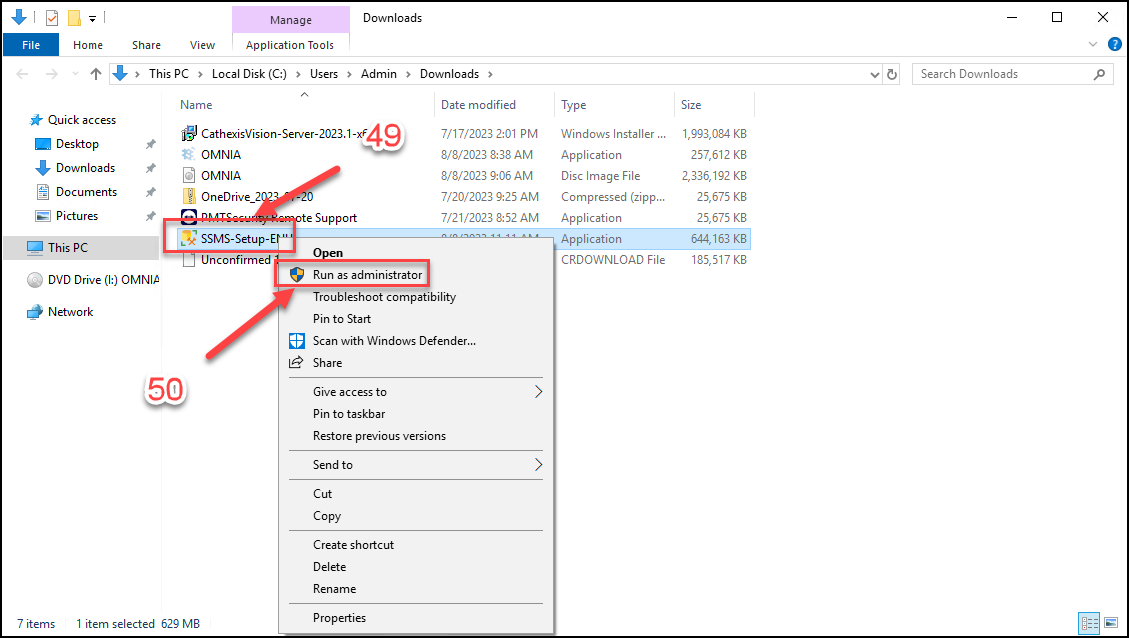
- Right Click the SSMS Installer
- Select Run as Administrator
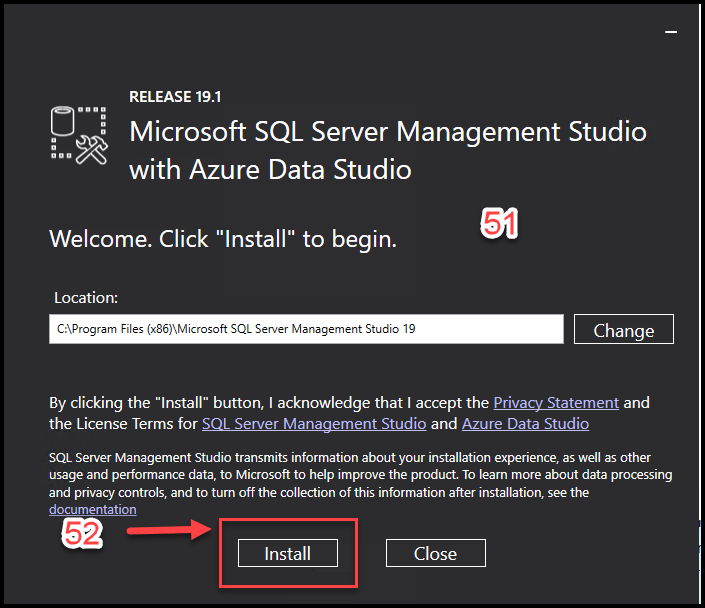
- Management Studio Installer Window Appears
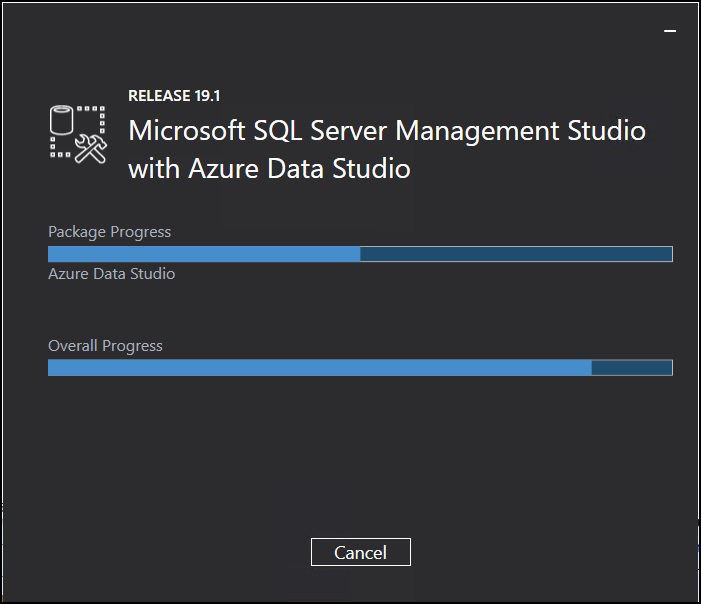
- Select Install
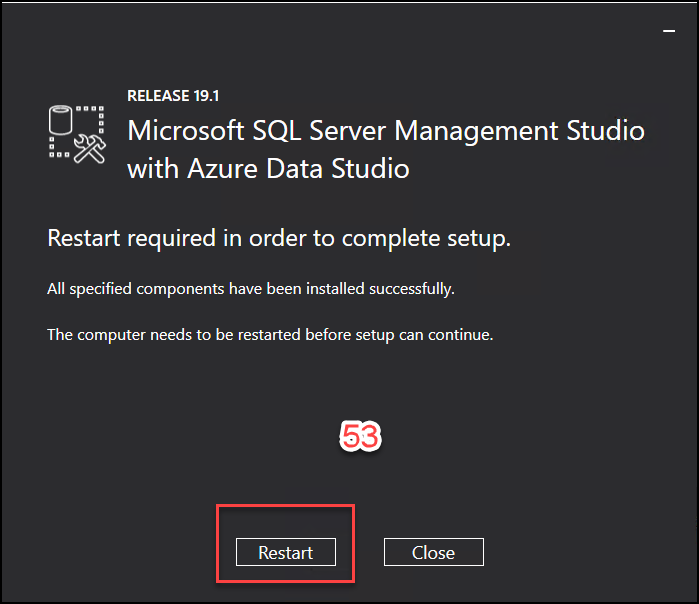
- Select Restart
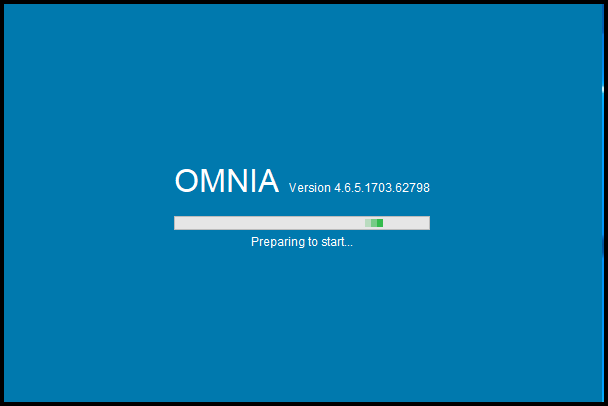
- Installation is complete, After the reboot, launch OMNIA from the Desktop Shortcut.
Need further assistance?