Akuvox R20 Wiring Diagram to Wiegand Reader Module (WRM)
How to wire an Akuvox R20 to a Wiegand Reader Module

Need further assistance?
PMT Security
Advanced Access Control
How to wire an Akuvox R20 to a Wiegand Reader Module
Need further assistance?
Akuvox R20A Doorphone and C315 Indoor monitor
Akuvox R20A Doorphone and C315 Indoor monitor
How to Configure the Akuvox R20A and C315 Indoor Monitor
Basic Setup Guide:
Akuvox R20A Doorphone and C315 Indoor monitor
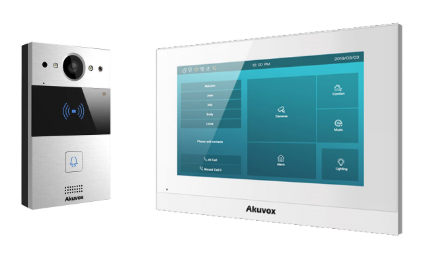
Akuvox R20A Doorphone


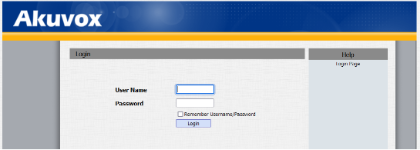
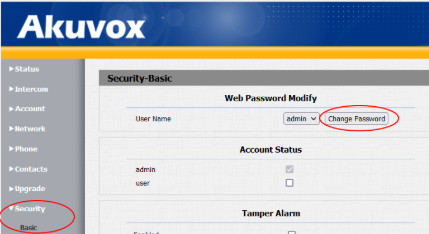
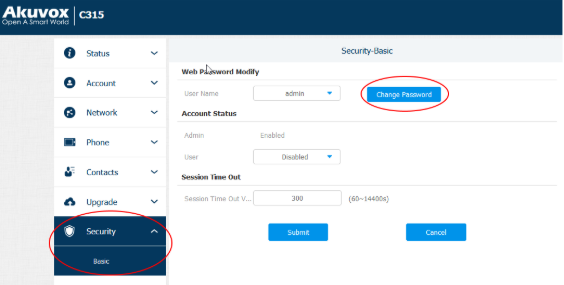
Default credentials are user: admin, password: admin
The password must be at least eight characters long containing one uppercase letter, one lowercase letter, and one digit.
ENSURE THAT YOU RECORD THE NEW PASSWORD.

Akuvox C315 Indoor monitor


Default credentials are user: admin, password: admin
The password must be at least eight characters long containing one uppercase letter, one lowercase letter and one digit.
ENSURE THAT YOU RECORD THE NEW PASSWORD.
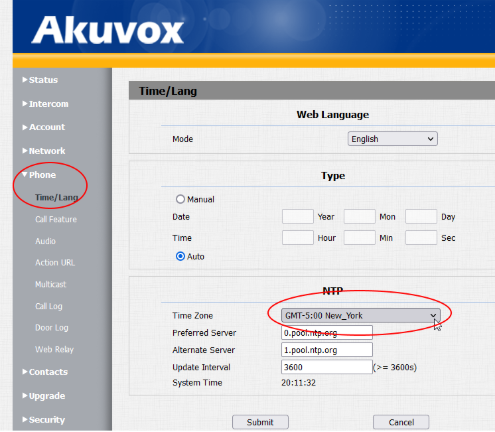
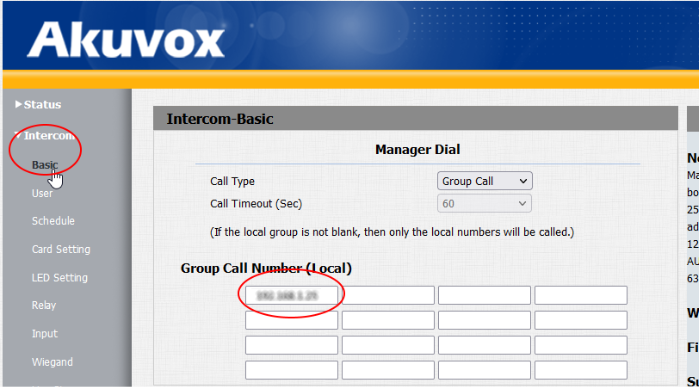
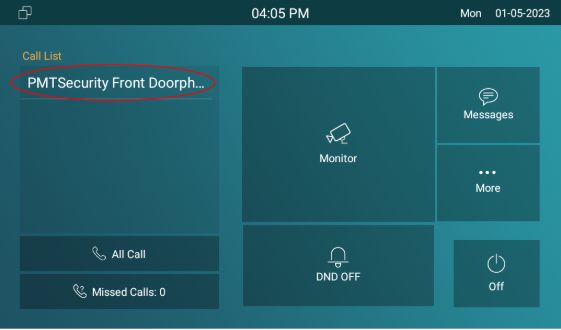
Connecting the doorphone and monitor


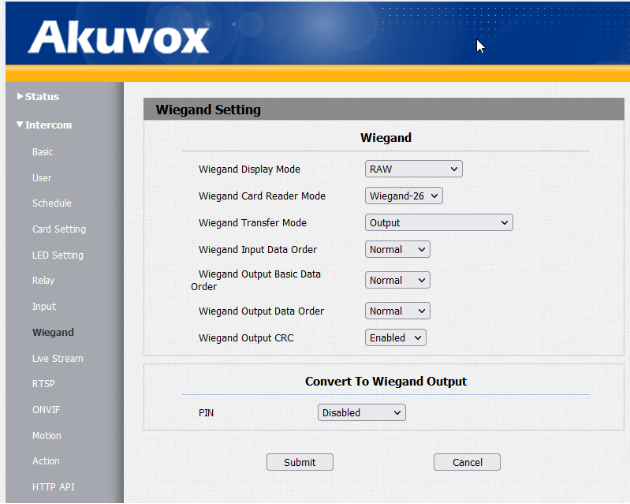
Other Things to do…

Need further assistance?