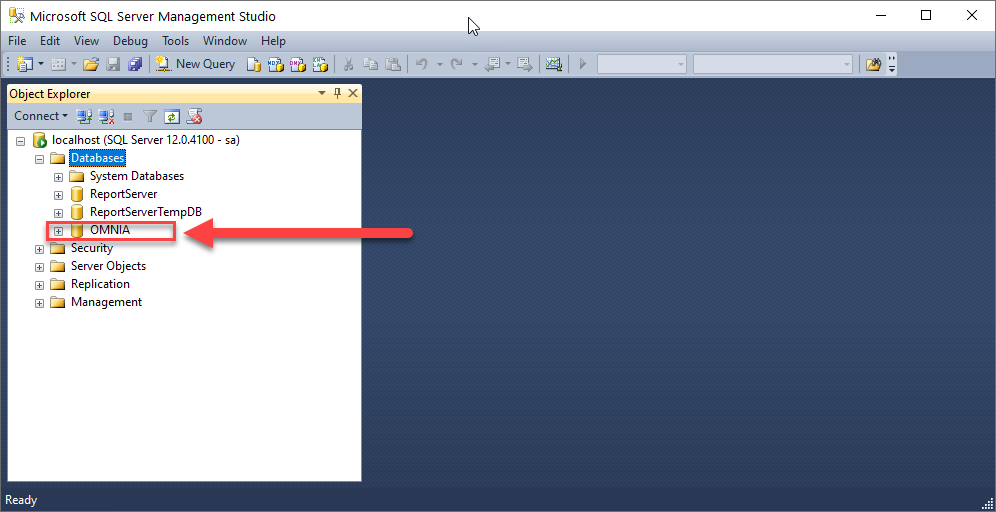
Creating Relay Actions I/O in OMNIA
A Guide
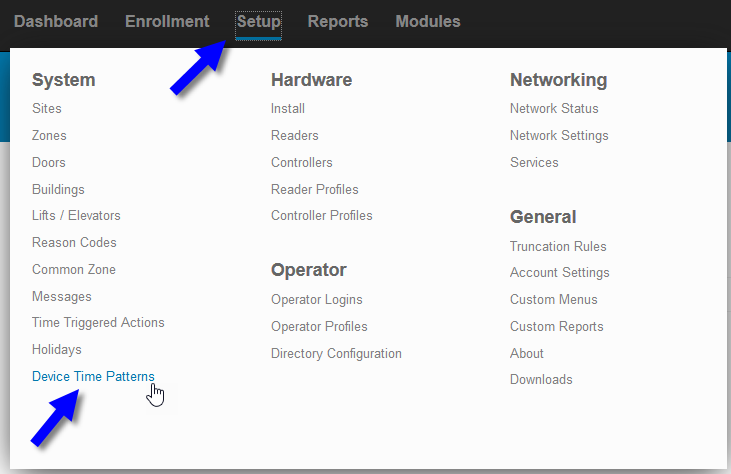
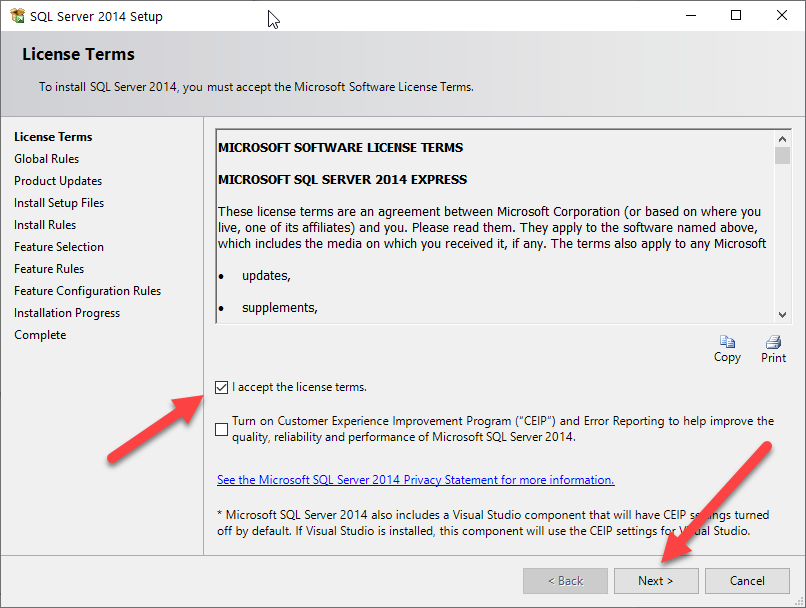
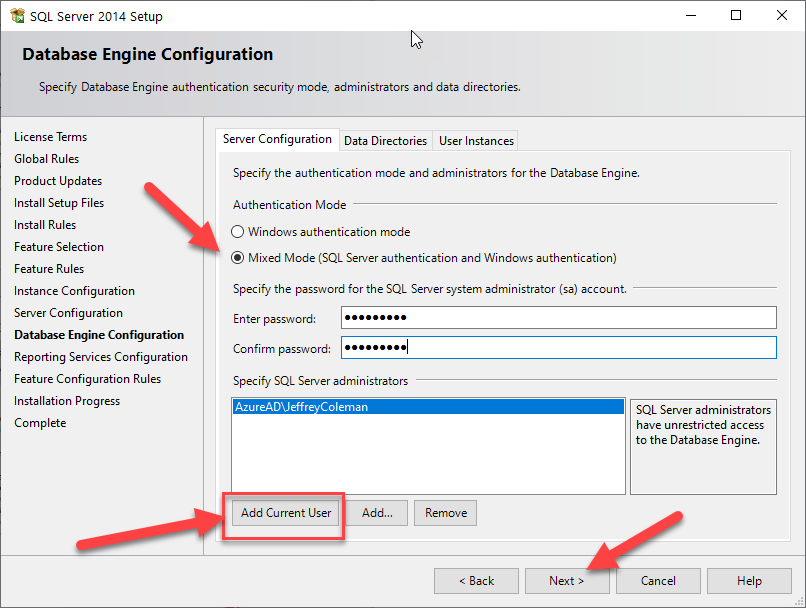
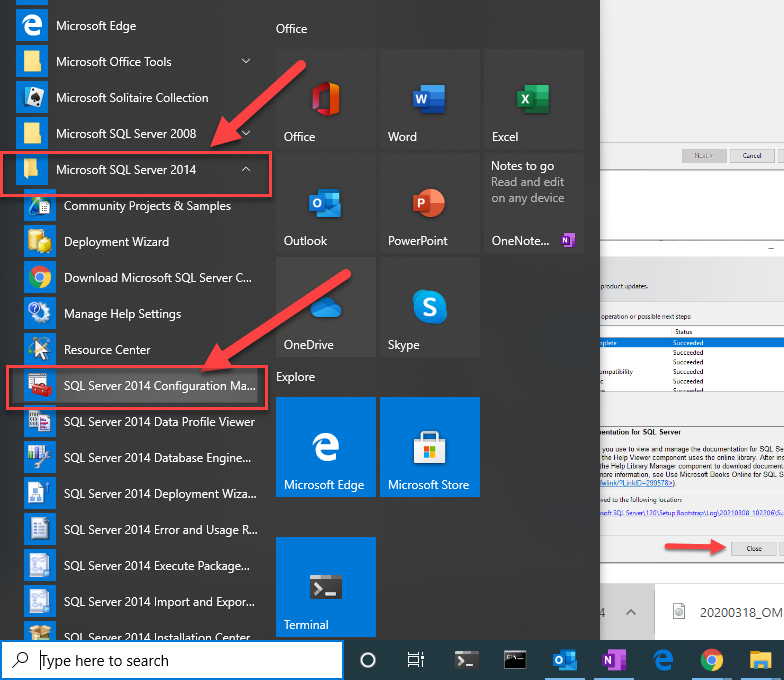
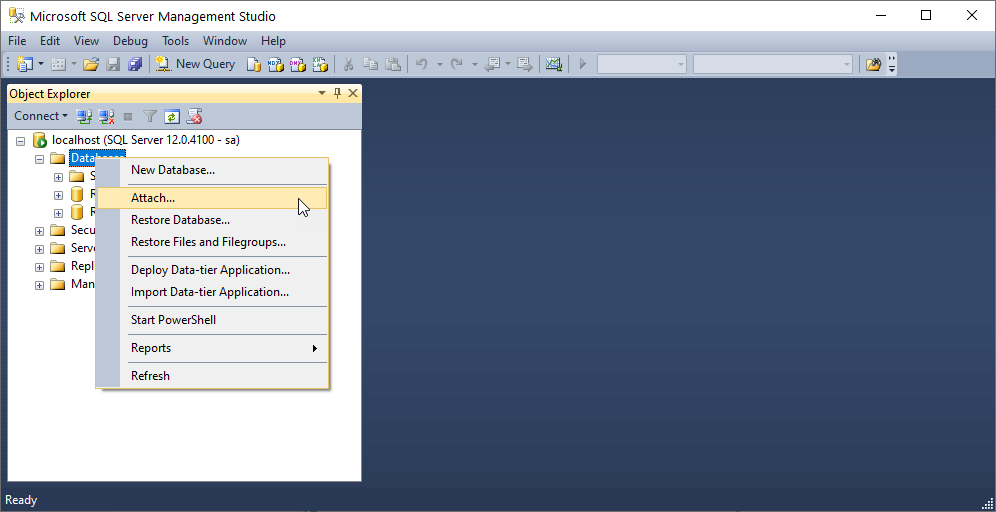
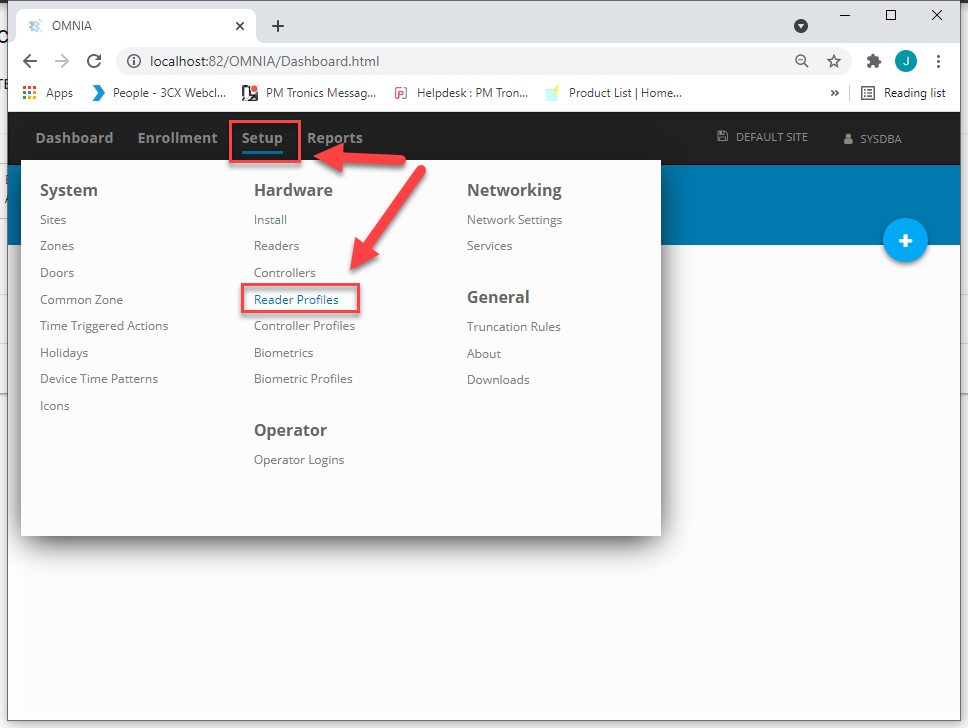
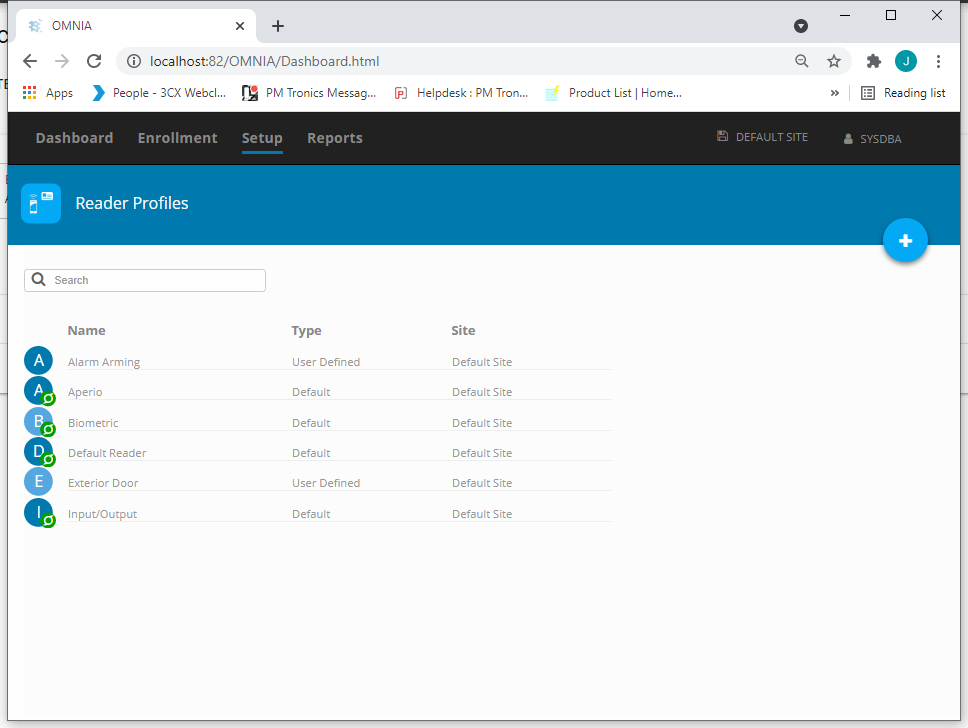
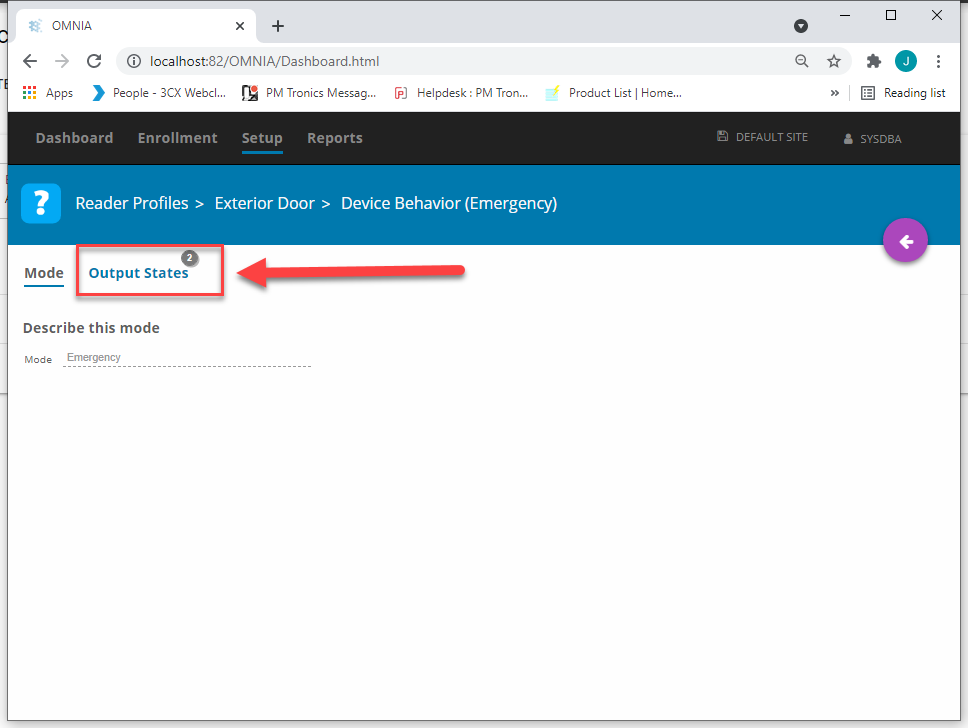
Setup/Reader Profiles/Input-Output
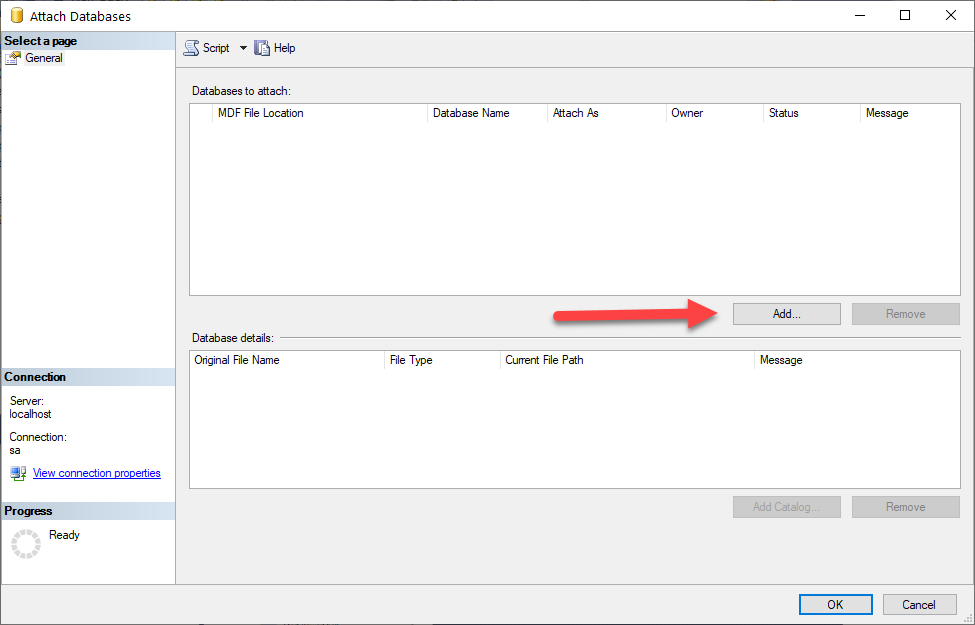
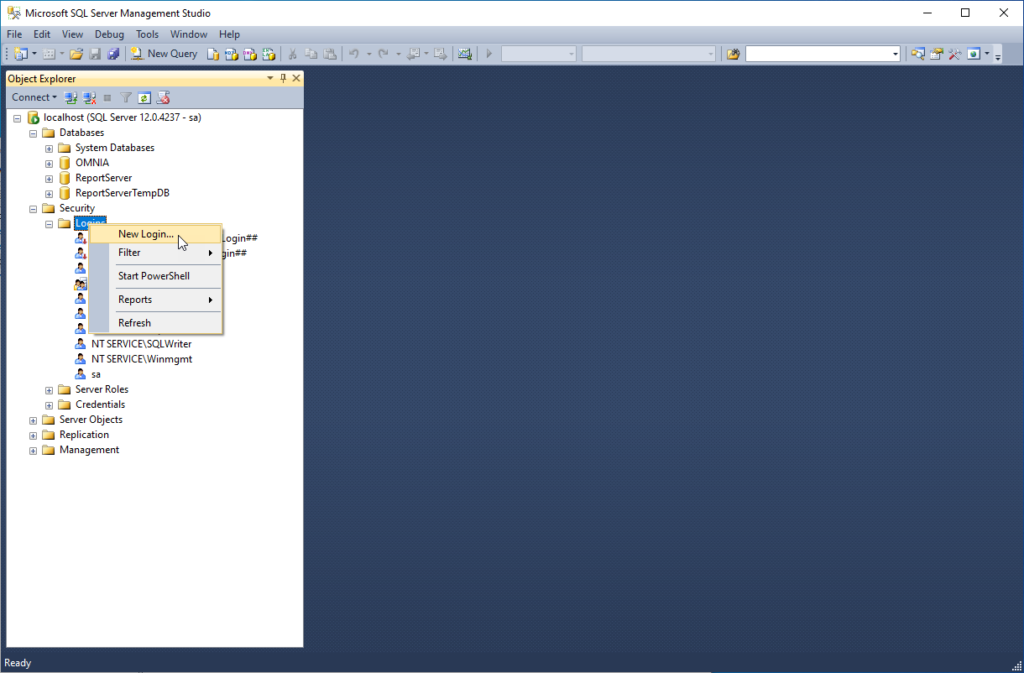
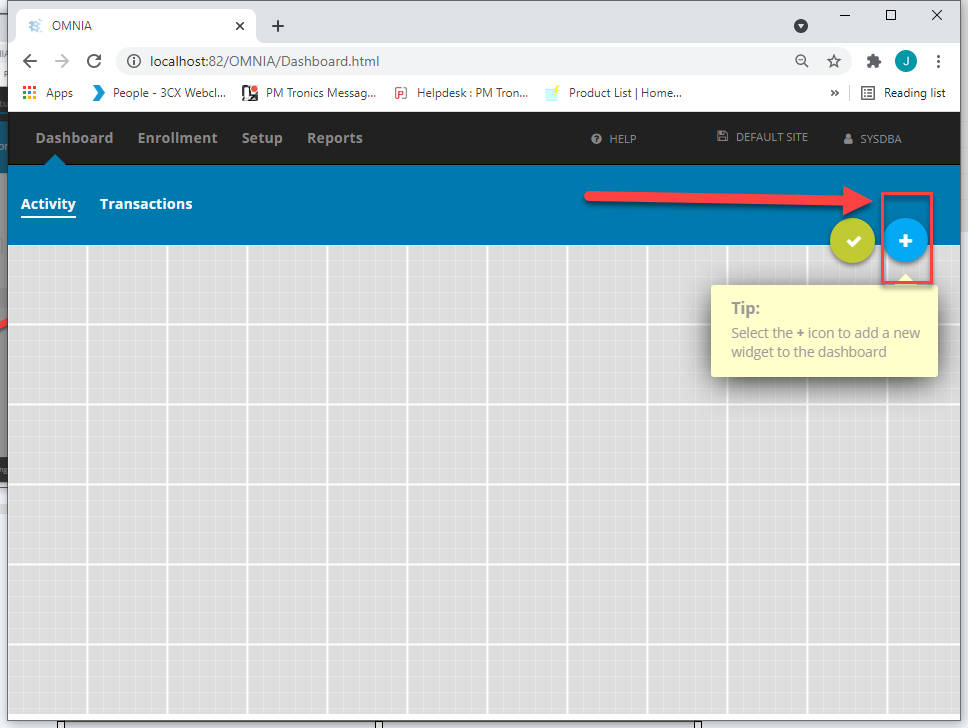
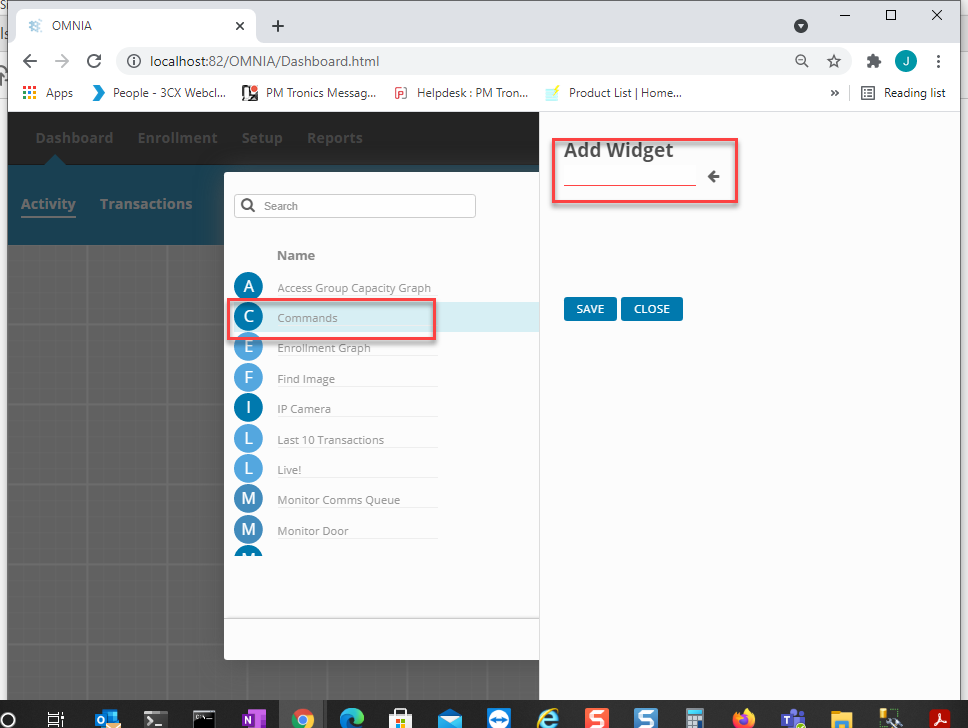
Add Action

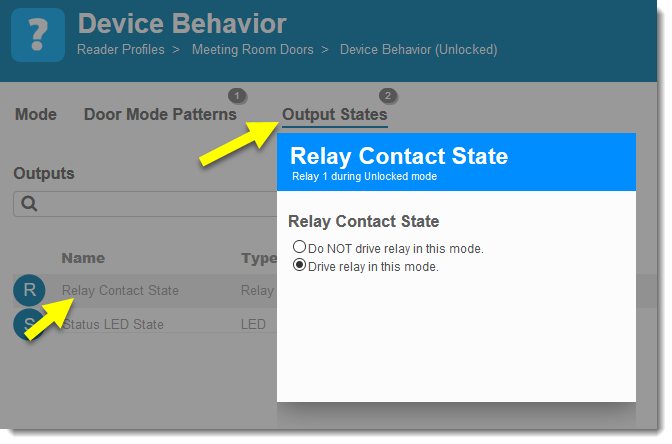
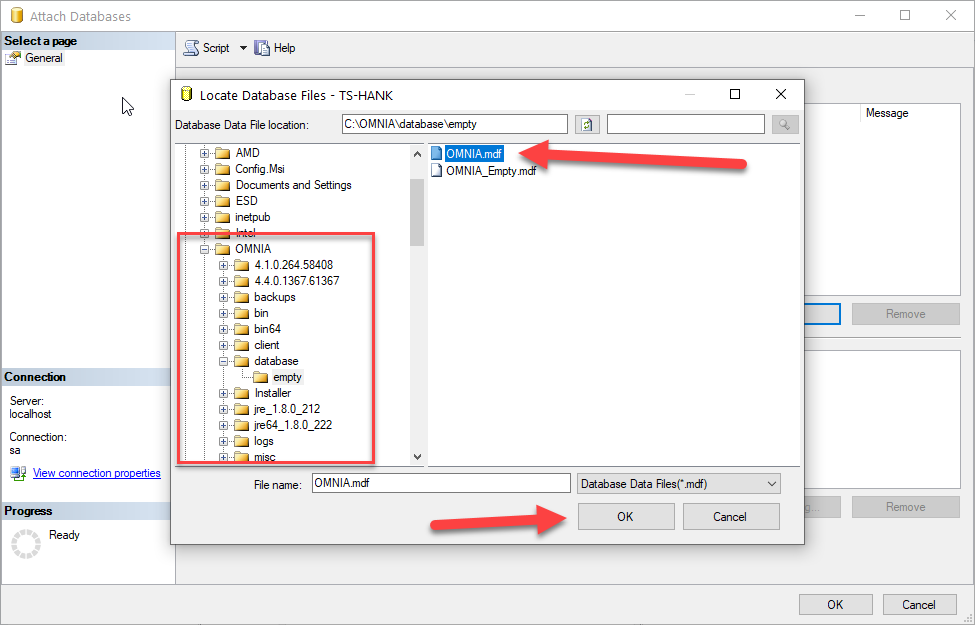
Choose Relay Action 1

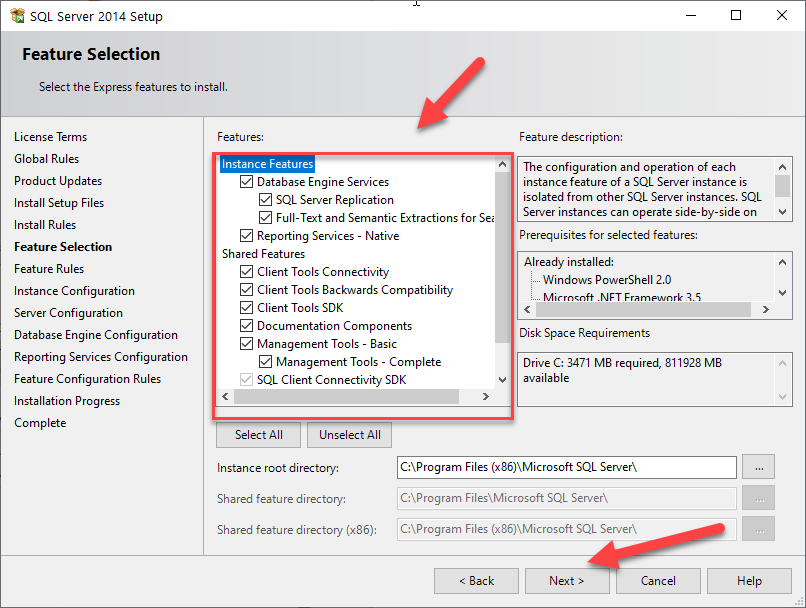
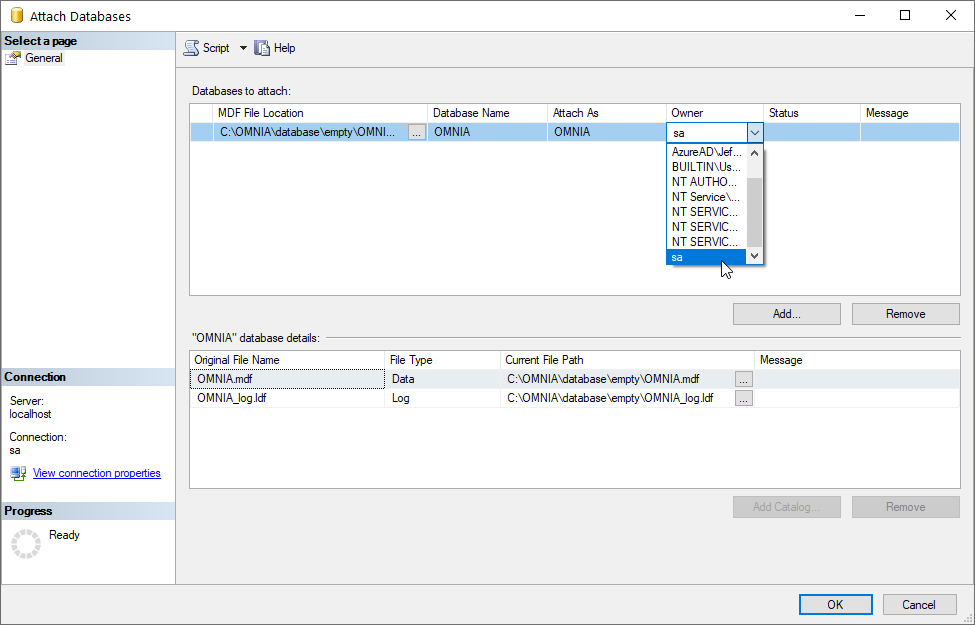
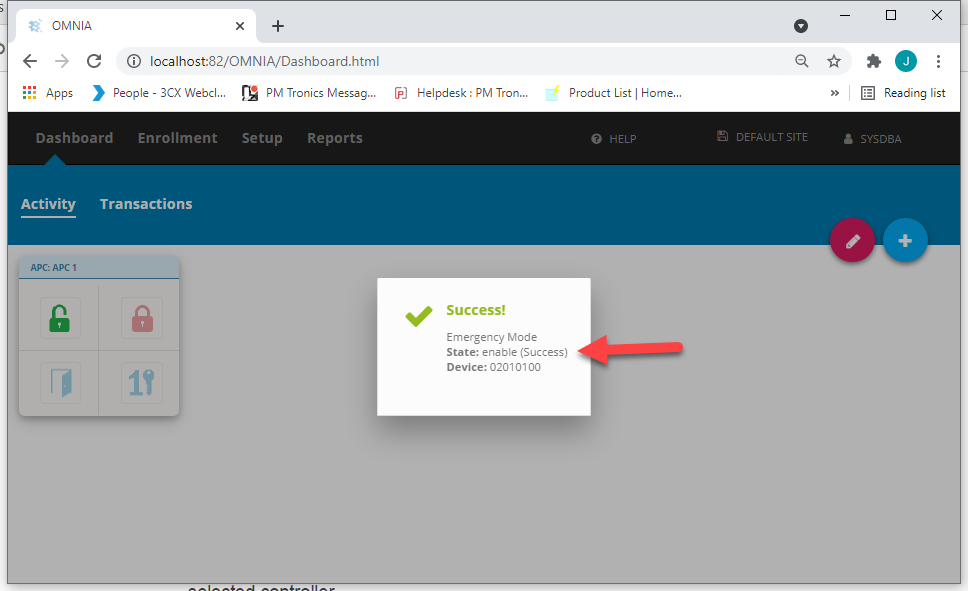
Select the Relay you want to fire and change the time from 40ms to 10ms and Save. This will drive the relay for 1 Second.
When setting up time triggered Events. this event will be chosen. This will arm the alarm.

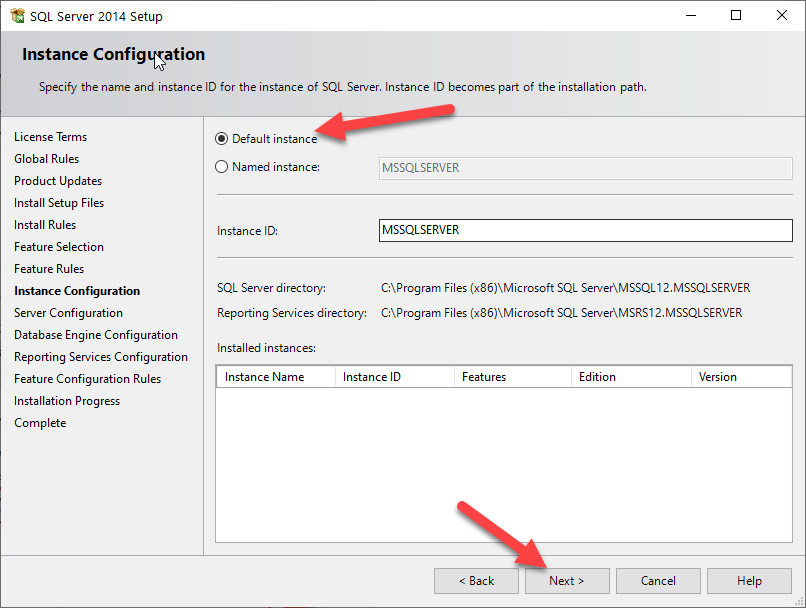
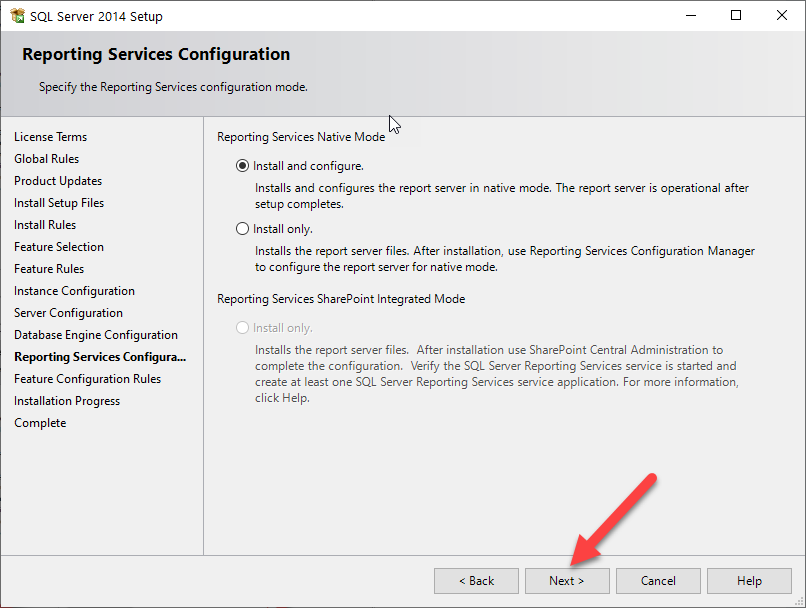
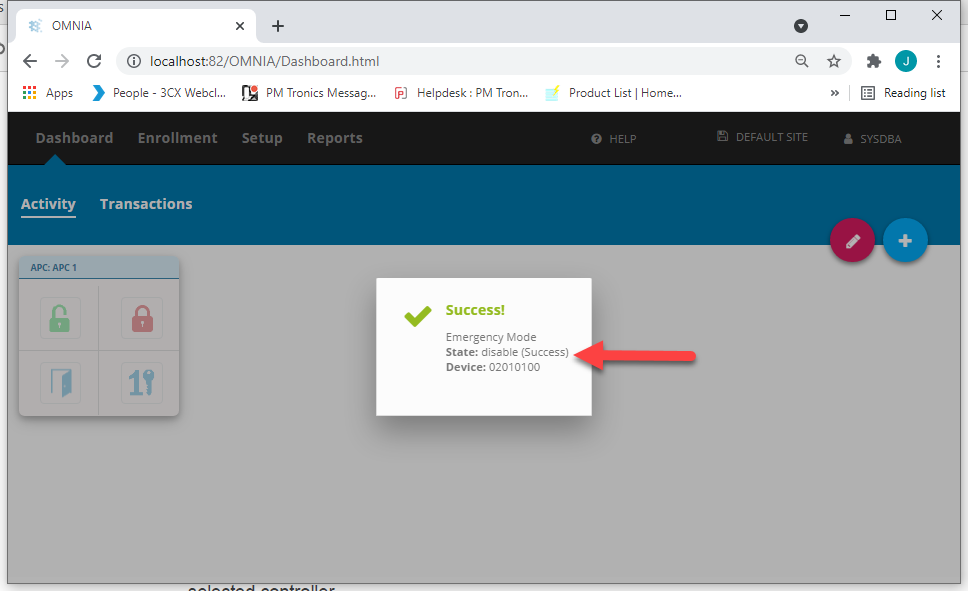
Add another action for the Second Relay, chose correct relay to fire and change time to 10 and save.
This action will be chosen at the readers, This action will fire the disarm alarm relay when someone presents a valid tag to the reader.

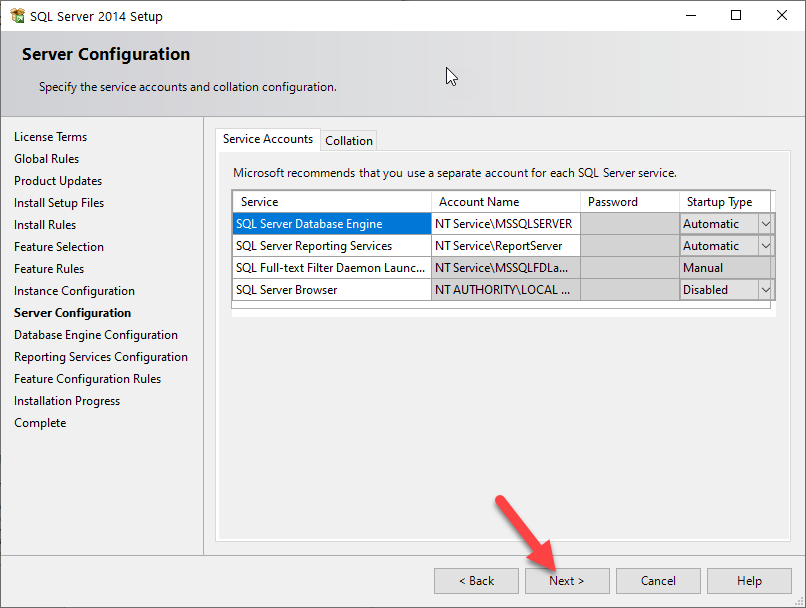
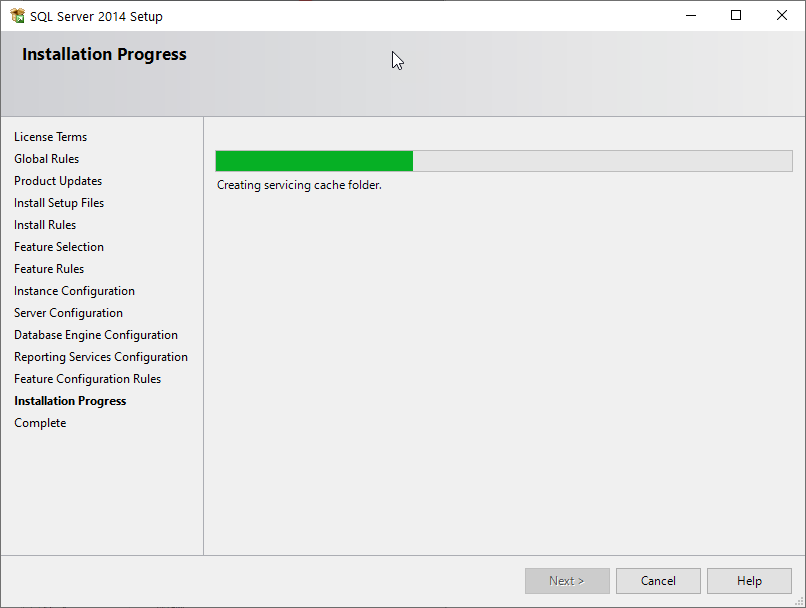
Go to the Readers you want to disarm the Alarm.
Choose Actions

From the Event Action list, choose Allowed Normal In., you must choose Allowed Normal in and not Allowed All Events.
This will prevent the REX’s from firing the relay and disarming the alarm after hours.

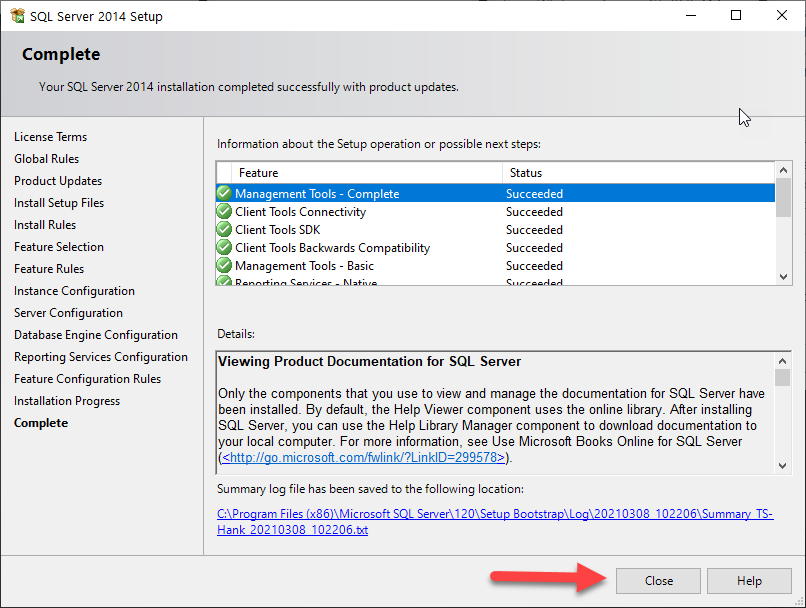
Scroll or search for the Action you created, put check in box,

When valid tag is presented to the reader, it will perform this action now.
Perform the same steps at all additional readers that need this action.
Setting up the Alarm Trigger
Create a Device Time Pattern
Setup/Device Time Pattern
Set the Time and Days of the Week, Save

Now Create a Time Triggered Action.
Chose the Time Pattern you created and choose the Action you created to Drive relay 1 for one second.

Need further assistance?