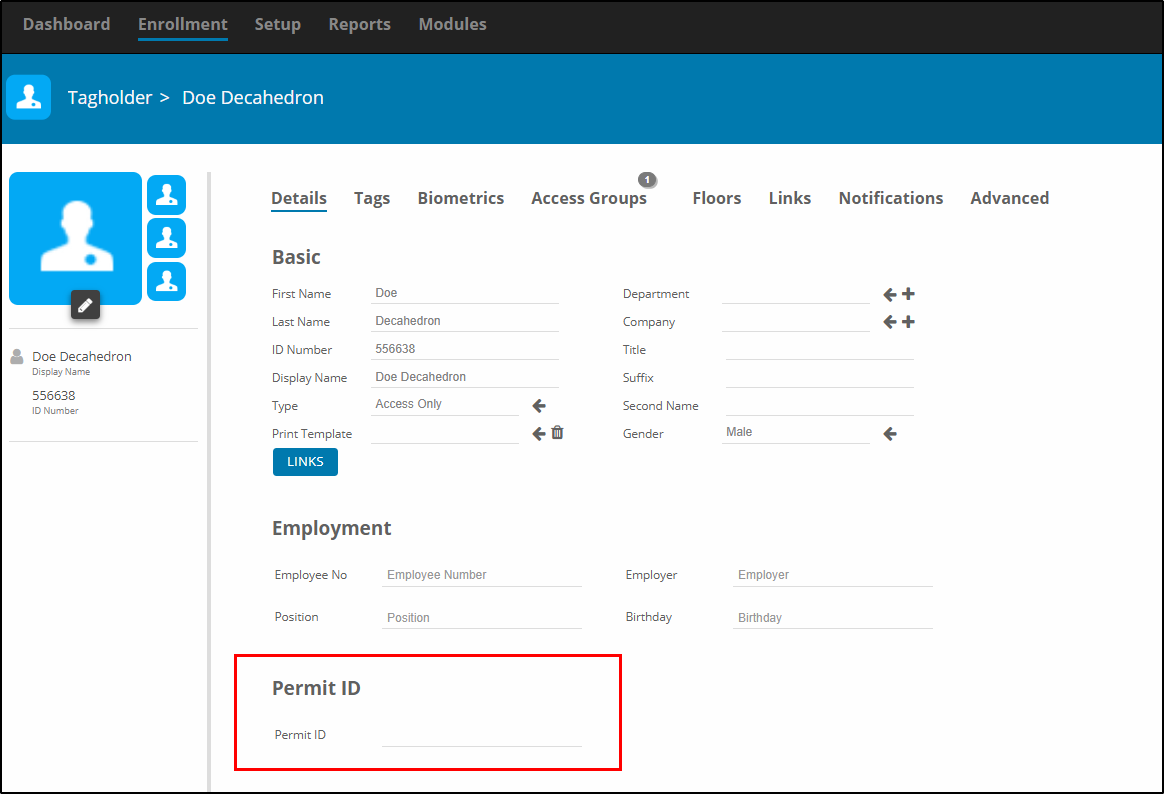
Create a Reader Profile in OMNIA
How to Create a Reader Profile
How to Create a Reader Profile
Before stating make sure your new hardware is installed.
Open OMNIA in a web browser
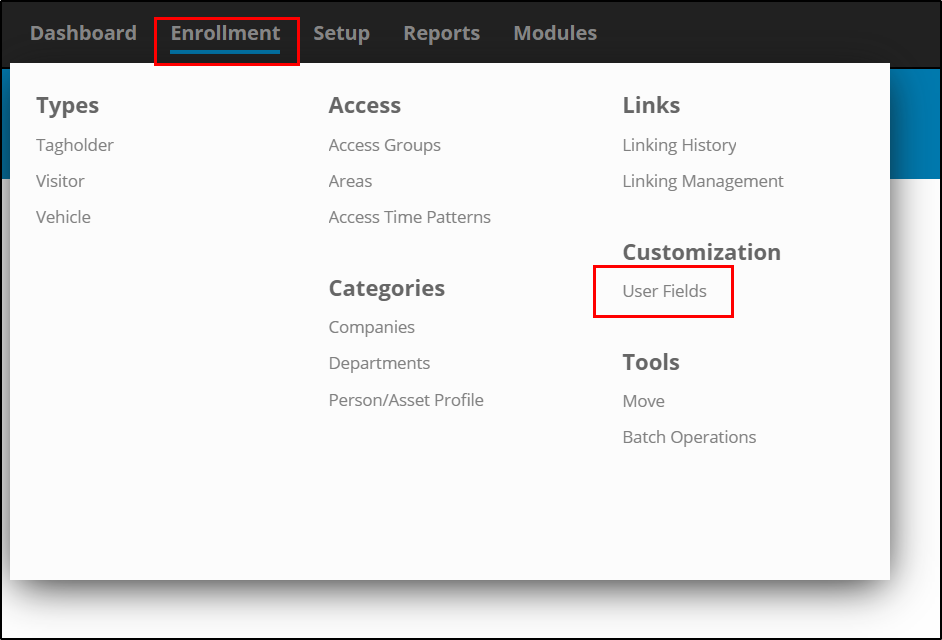
Select Setup tab to open the drop down menu.
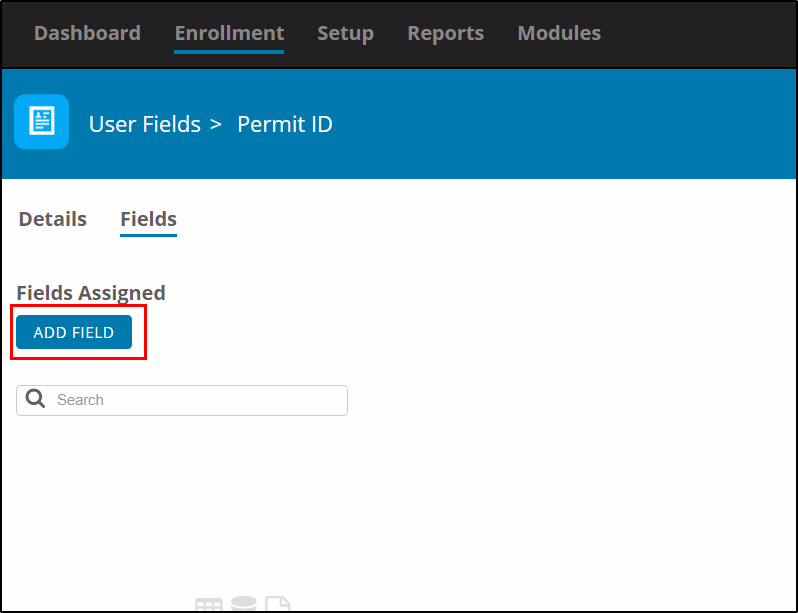
Under Hardware select Reader Profiles.
Click Add in the top right. A blue circle with a white +.
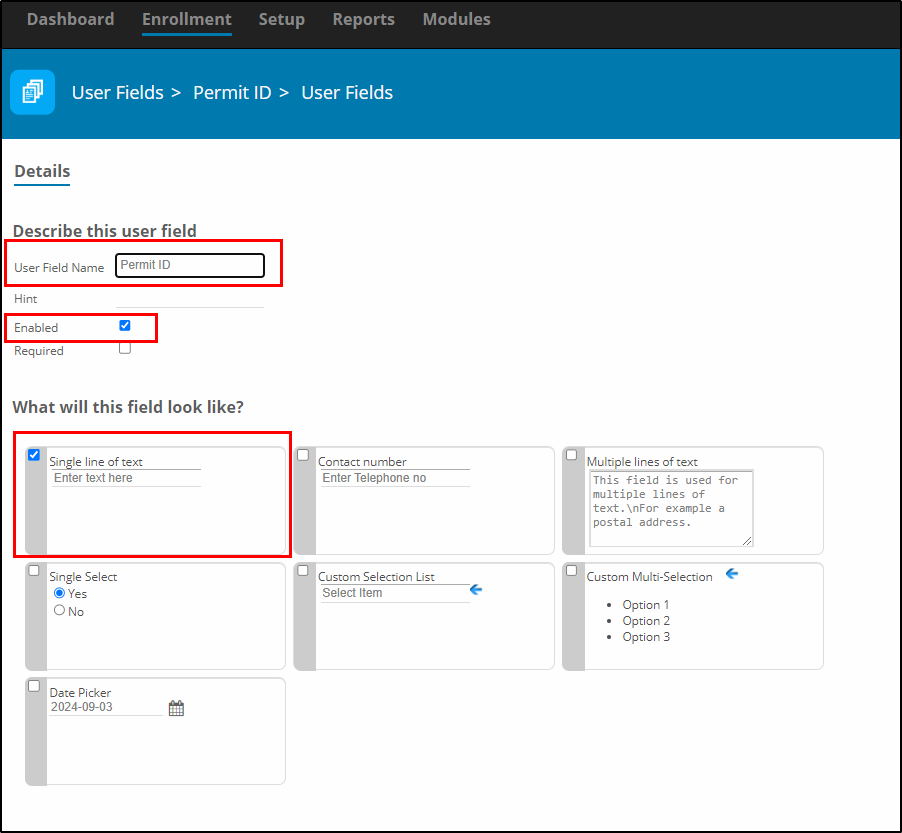
Name your new Reader Profile and Select the profile you would like to make a Copy Of.
*The Copy Of sets the parameters for what kind of reader profile is preferred.

*Notice how you can select the copy from different sites* 
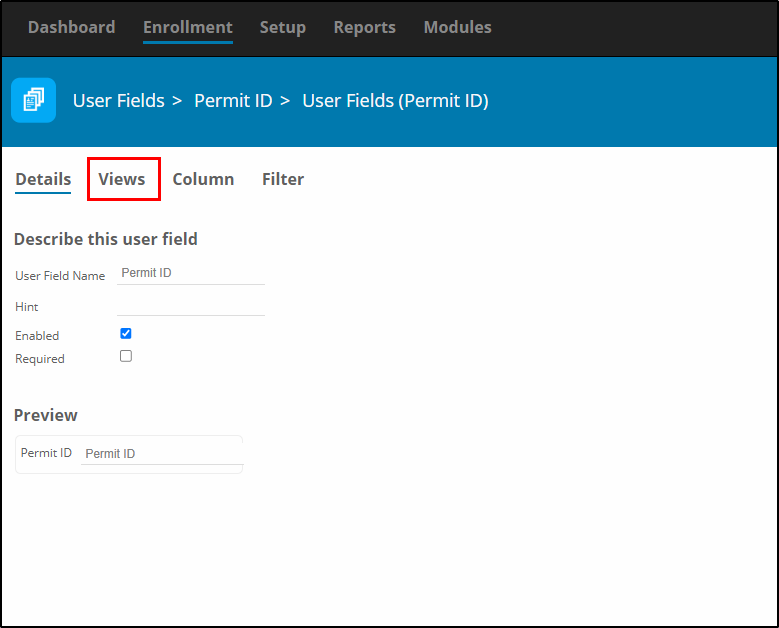
Once Created, you can verify the Details. If this is incorrect you can delete and start over by selecting reader profiles and clicking the trashcan. 
You can change or Edit Behaviors. Example- Unlock on First Tag.
Adding or changing inputs. 
Add Actions (if required, defaults are usually fine)
Add Parameters (if required, defaults are usually fine)
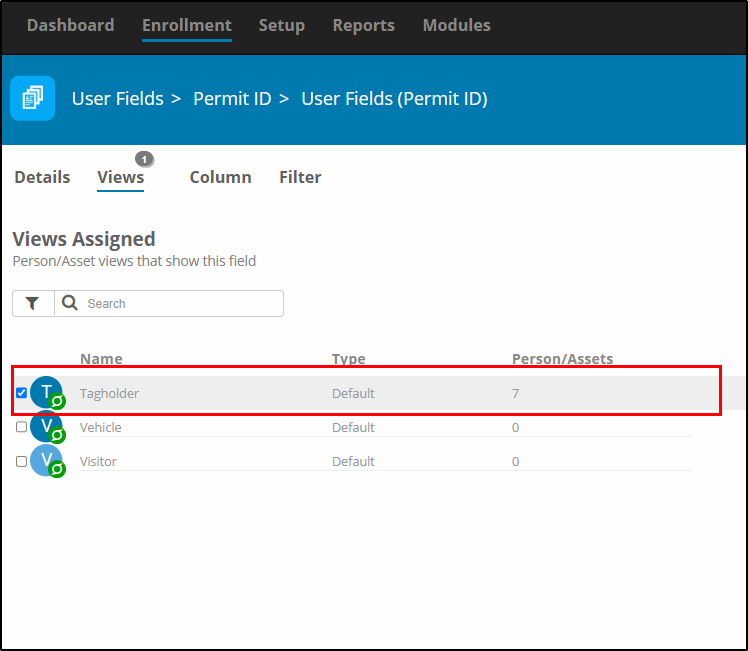
Selecting Readers for the Profile.
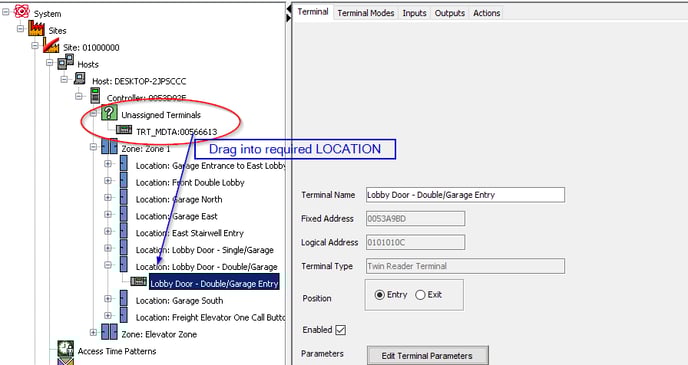
*Note: Once a reader has been assigned to a READER PROFILE, it can only be removed by adding it to another profile. It can not be removed from within its current profile.
Need further assistance?