Convert a Nexus Lite Database into OMNIA Lite Database
How to guide to convert a Nexus Lite Access Control System into an OMNIA Lite Access Control System.
Download the OMNIA Firmware Upgrade Utility below:
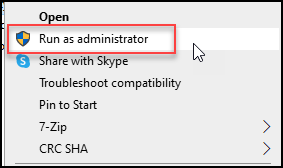
After Downloading the OMNA Firmware Upgrade Utility, Run the installer as Administrator.
Select the installation Language.
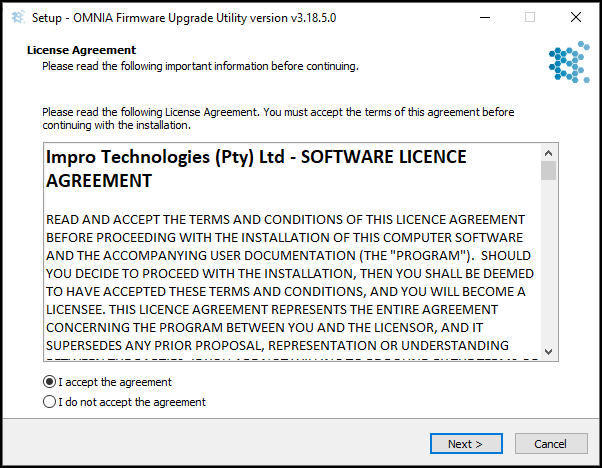
Accept the License Agreement and Click Next.
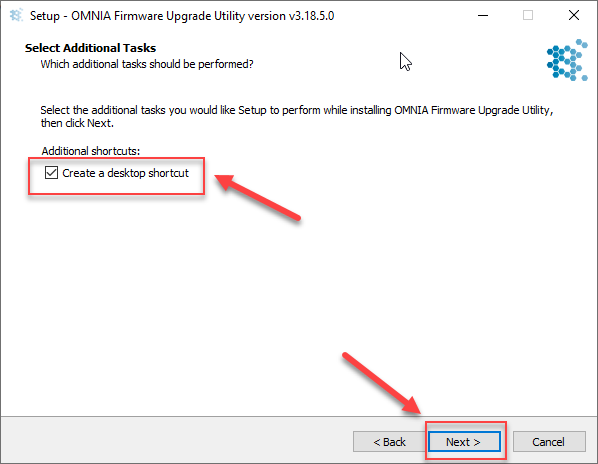
You may select create a desktop Shortcut, Click Next
 Click Finish to complete the installation
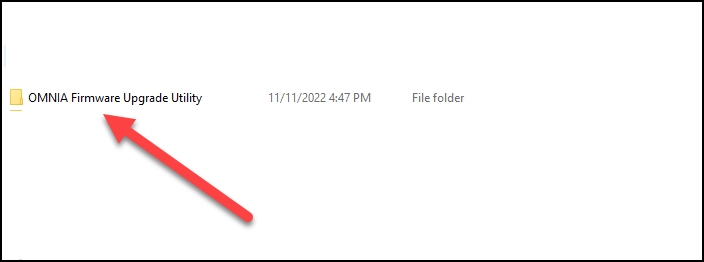
This will install OMNIA Firmware Upgrade Utility Folder on the C: Drive
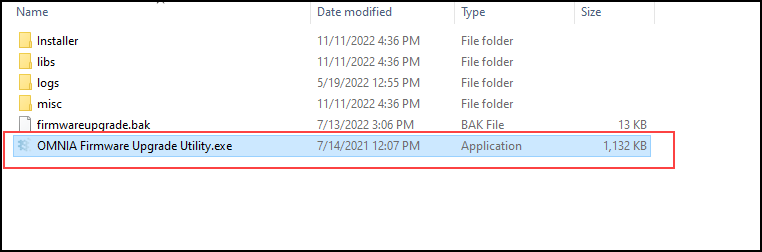
Inside the OMNIA Firmware Upgrade Utility Folder, Select OMNIA Firmware Upgrade Utility.exe
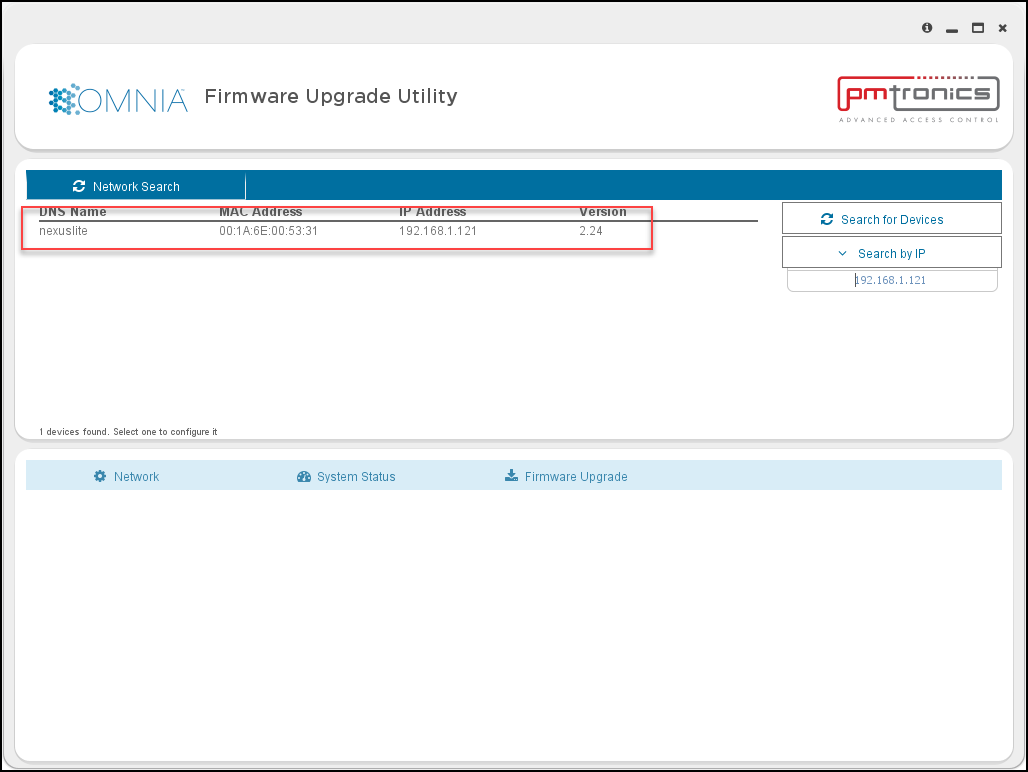
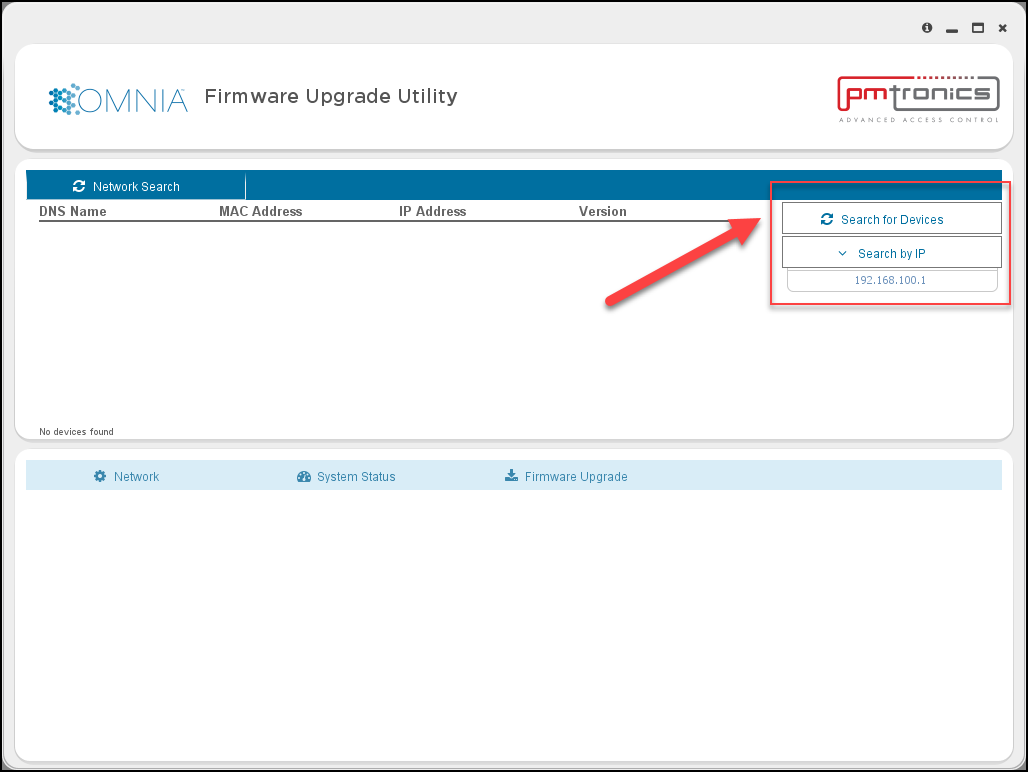
When the OMNIA Firmware Upgrade Utility opens, use the search function to find the Nexus Lite Controller.
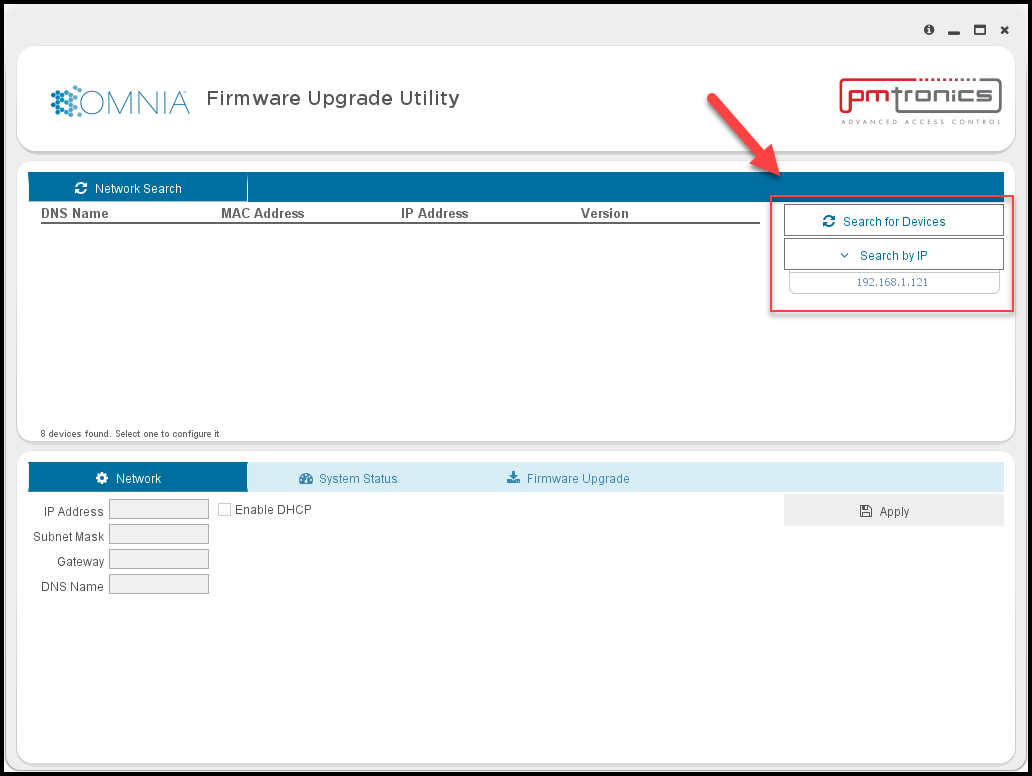
The OMNIA Firmware Upgrade Utility will search the local network and find the Nexus Lite Controller.
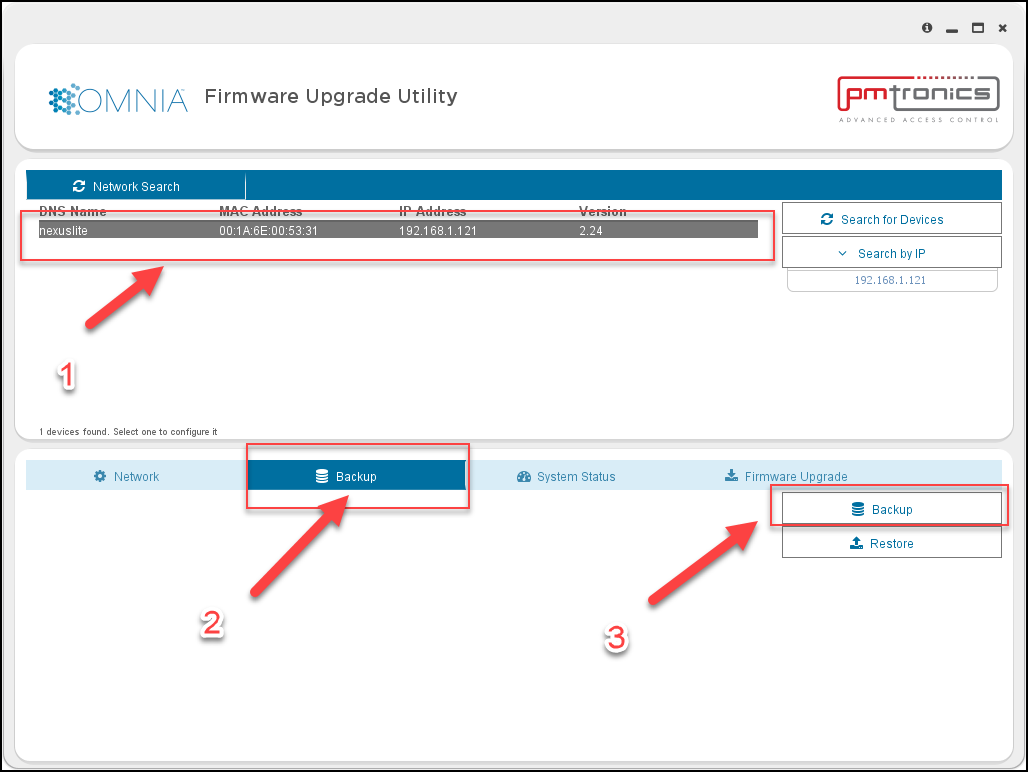
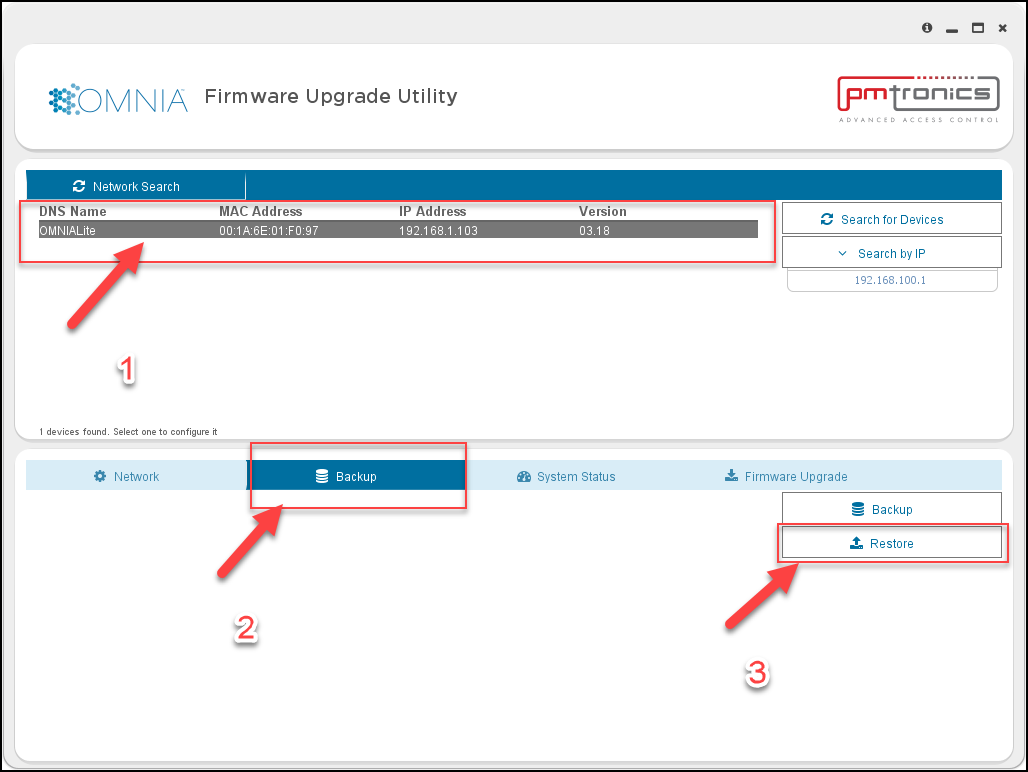
Click on the Nexus Lite Controller, Select the Backup tab, Then Select Backup
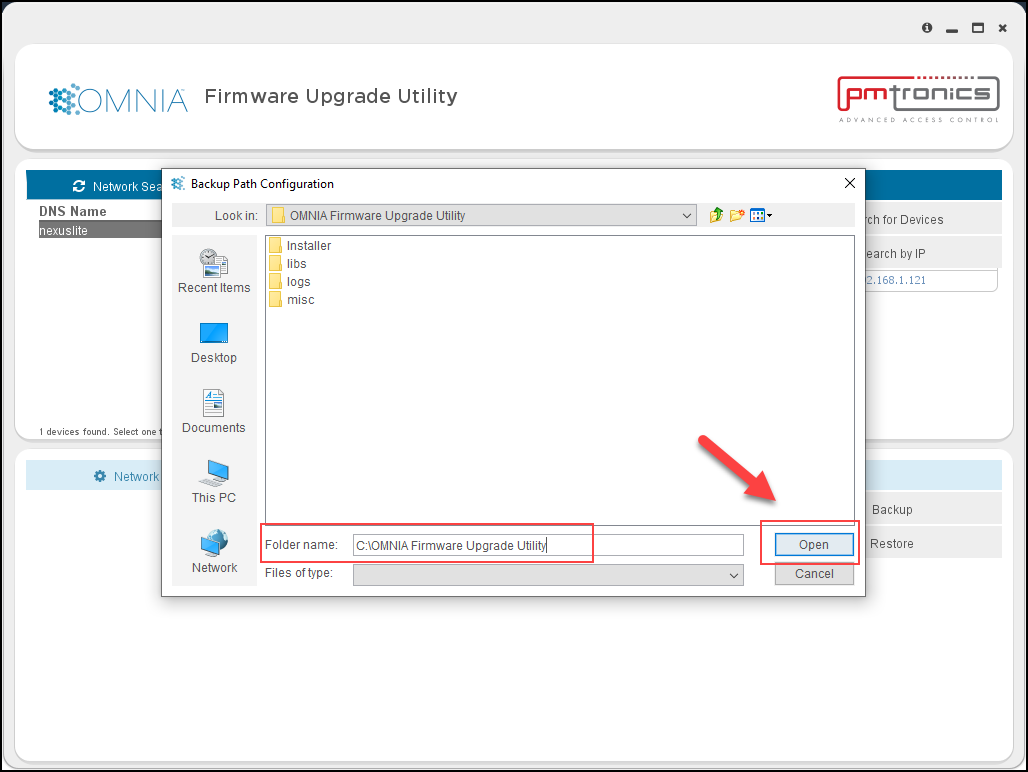
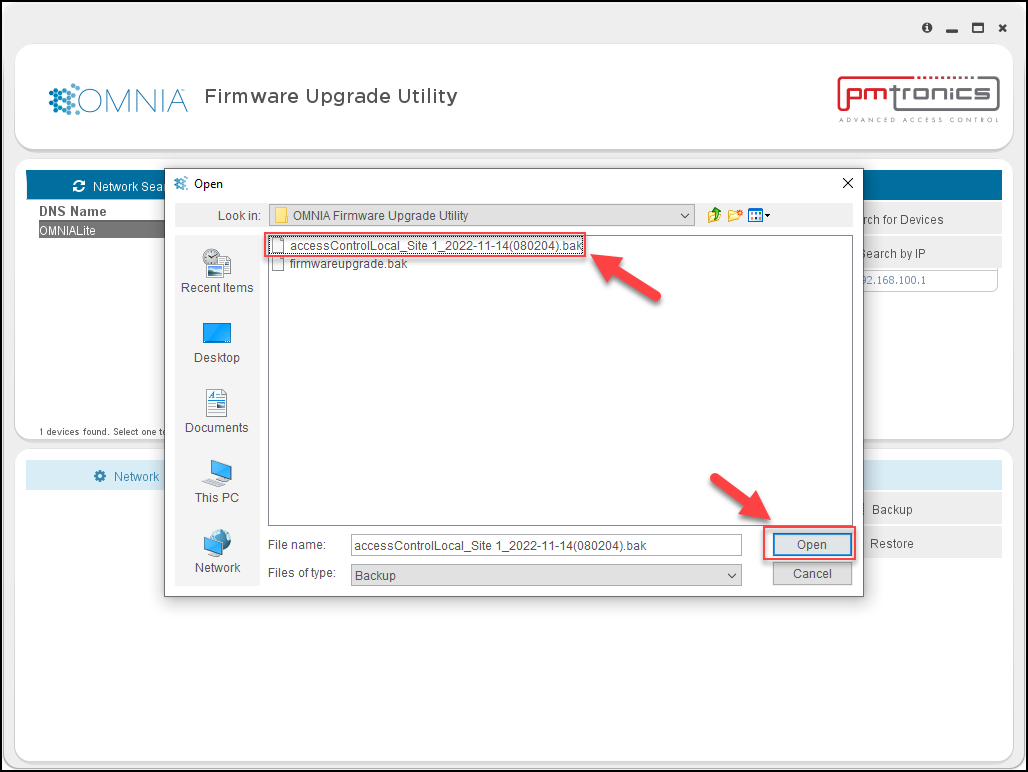
Choose the location of the Nexus Lite Backup, by default the OMNIA Firmware Upgrade Utility will place the back up in the OMNIA Firmware Upgrade Utility Folder. Click Open.
The Backup Process will begin and will display a message when completed. Click OK
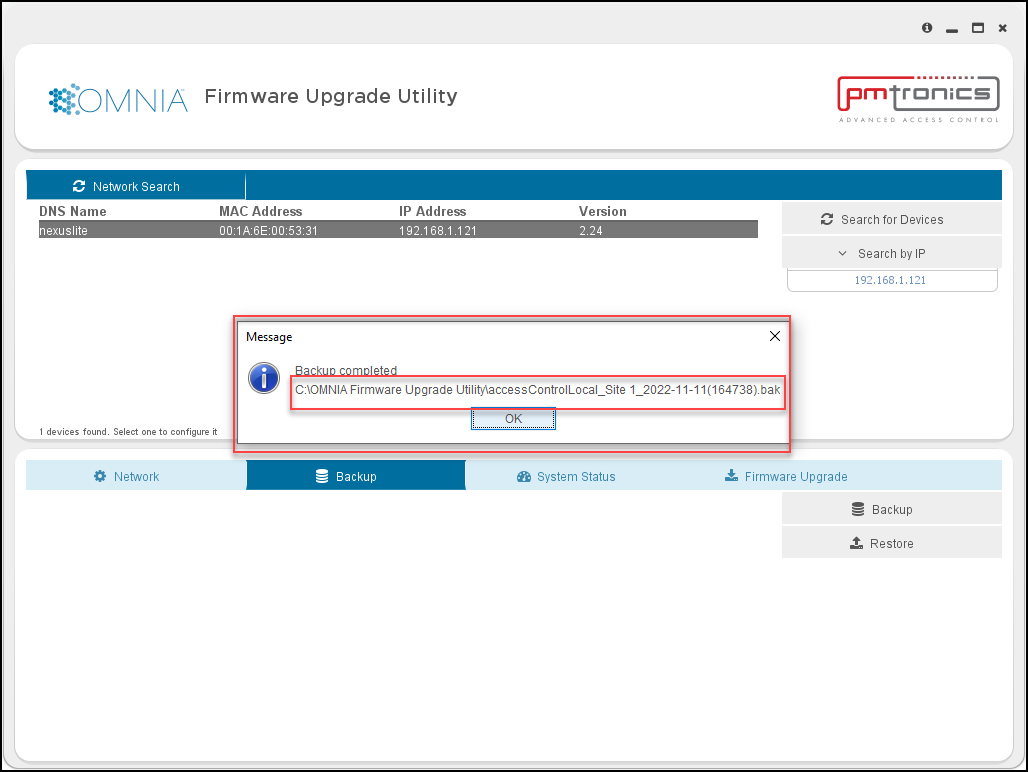
Unless you chose a different path in one of the previous steps, the back up will be placed inside the OMNIA Firmware Upgrade Utility Folder.

Remove the Ethernet Cable from the Nexus Lite Controller and connect it to the OMNIA Lite Controller. The APC controller will need to have the Dips Set to 0100 ( 1 off, 2 on, 3 off, and 4 off).
If there were any iTRT’s connected via RS485, move the RS485 connection to the OMNIA Lite Controller.
NOTE: You will have to change the A and B wires as the 485 Bus connection is different on the OMNIA Lite Controller
Use the OMNIA Firmware Upgrade Utility to find the OMNIA Lite Controller.
When the OMNIA lite controller is found, Click on the controller, Click on the Backup Tab, Then click restore.
Select the Location of the Nexus Lite Backup, Click Open
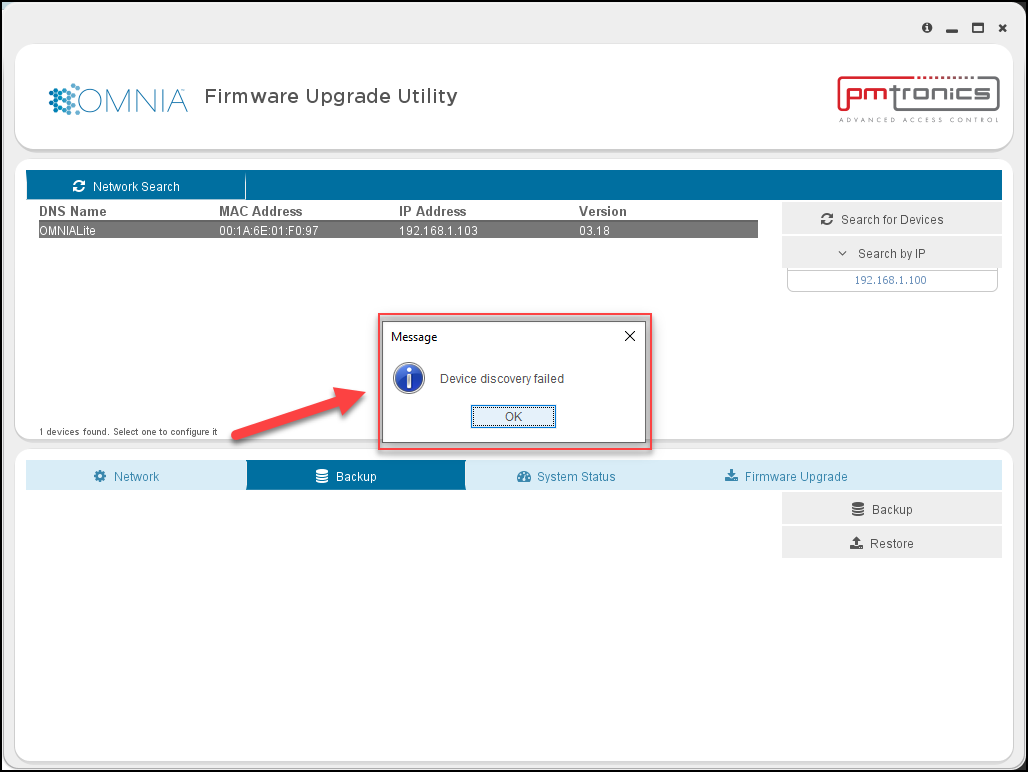
The backup will begin. You will receive a Device Discovery Failed message. This is normal because the Backup is changing the IP address of the OMNIA Lite Controller to the previous IP Address of the Nexus Lite Controller and the OMNIA Firmware Upgrade Utility is not finding it at the old IP address.
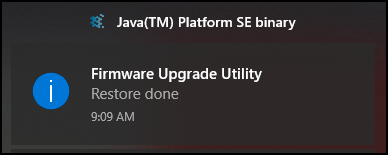
In the lower left of your PC you will received a message that the restore is complete.
When you use the OMNIA Lite Firmware Upgrade Utility, you will find the OMNIA Lite Controller. Notice the Controller’s name changed from OMNIA Lite to Nexus Lite, the MAC address is the MAC of the OMNIA Lite Controller, and the IP address is the IP address of the Nexus Lite Controller.
NOTE: The Nexus Lite name change is due to the Backup and does not affect the OMNIA Lite Controller.

After the backup is complete, you will need to log into OMNIA lite, update the time, run discovery and swap the reader terminals from NexusLite Board Fixed Addresses to the Wiegand Reader Modules Fixed Addresses.
Need further assistance?