Upgrading from OMNIA 4X to 5X
Upgrading from OMNIA 4x to 5x. Using SQL 2019
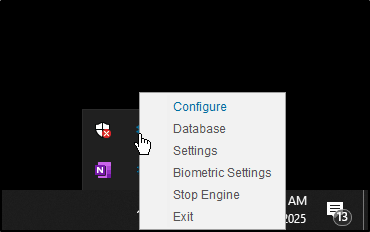
Stop/Exit the engine for OMNIA 4x.
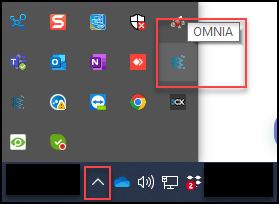
Select the arrow in the bottom right of the screen to open up the hidden Icons.

Right Click on the OMNIA ICON. (Make sure you are not selecting the Plug in Manager) Select Stop Engine and then select Exit.
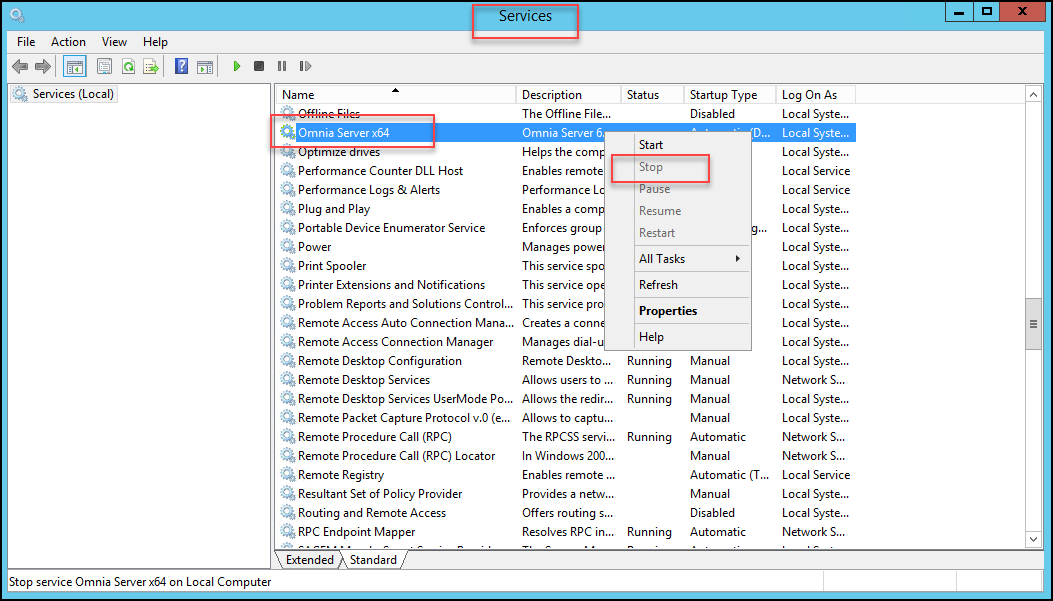
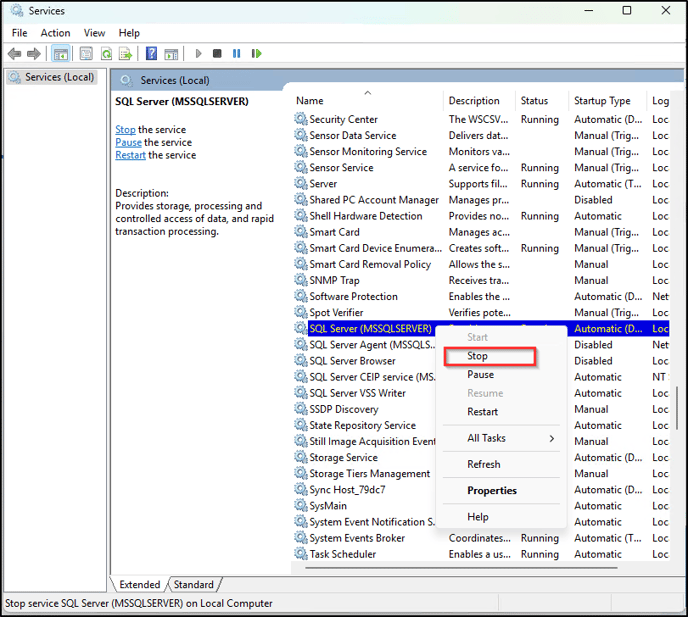
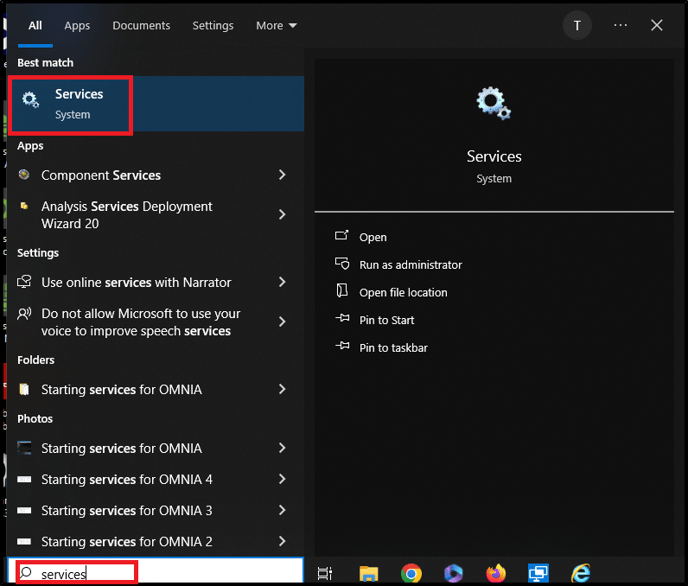
Stop OMNIA as a Service.
In the search bar enter “services”
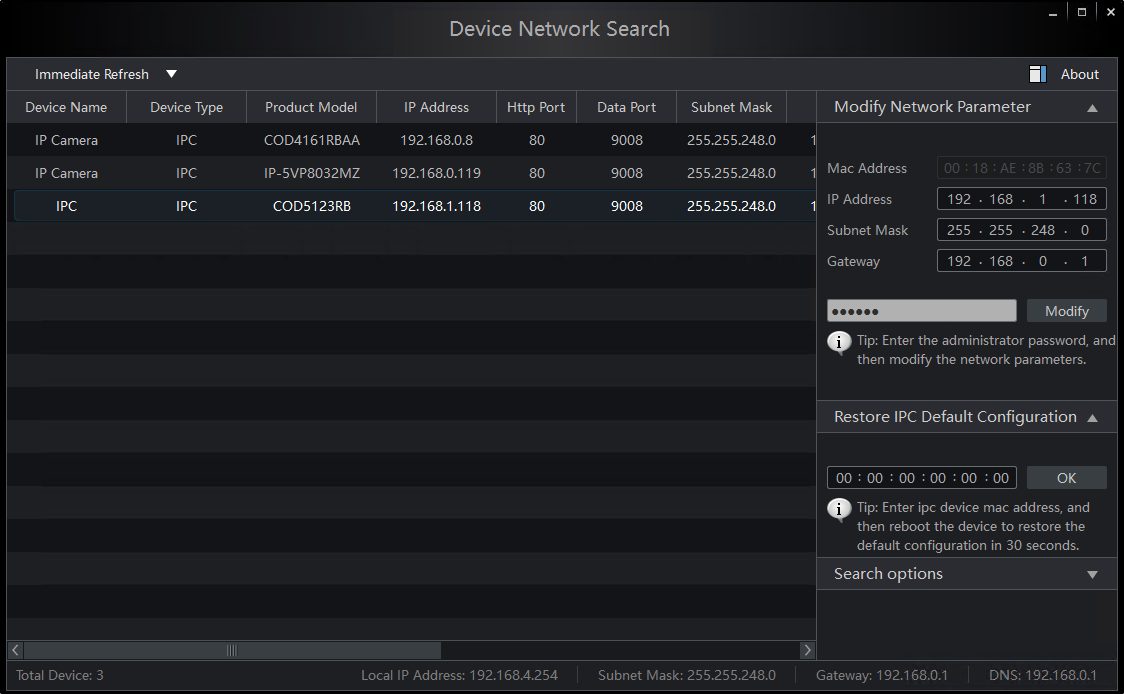
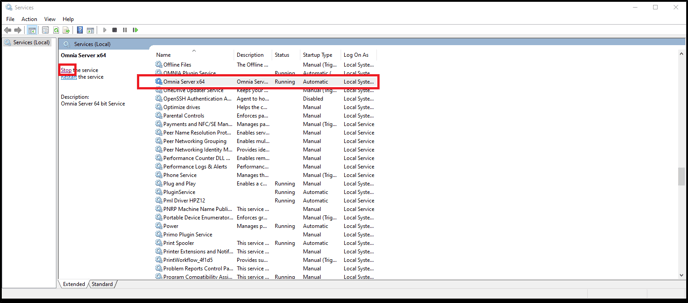
Search for Omnia Server x64. Either right click and select stop or select stop as shown below.
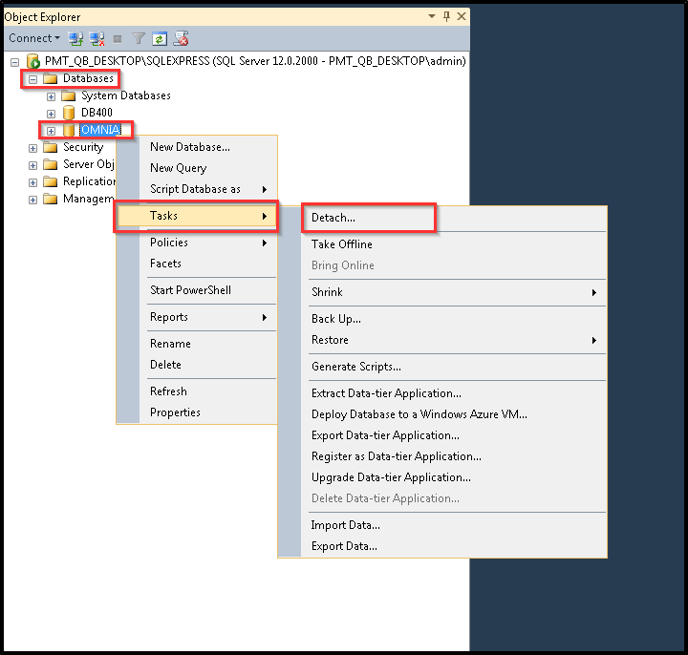
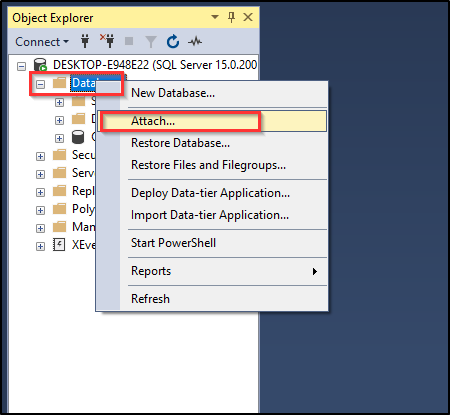
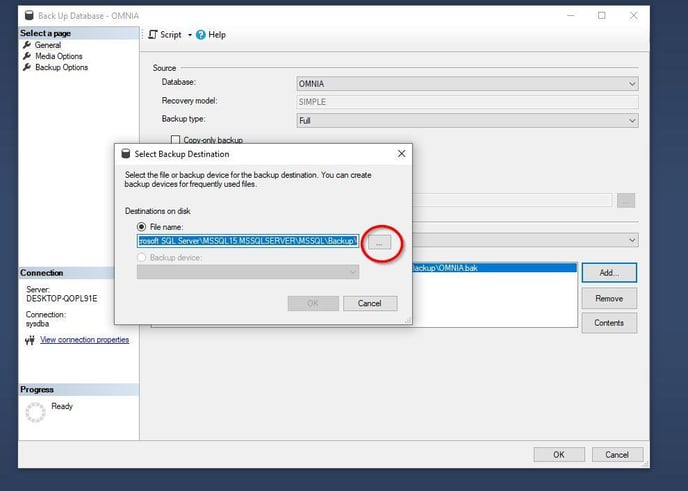
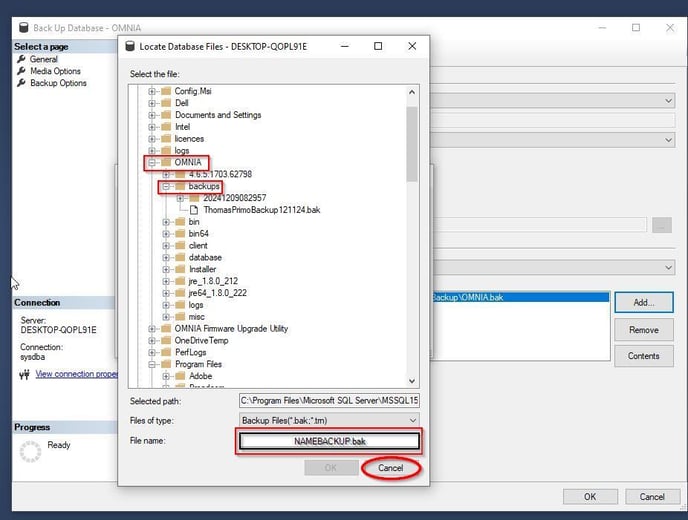
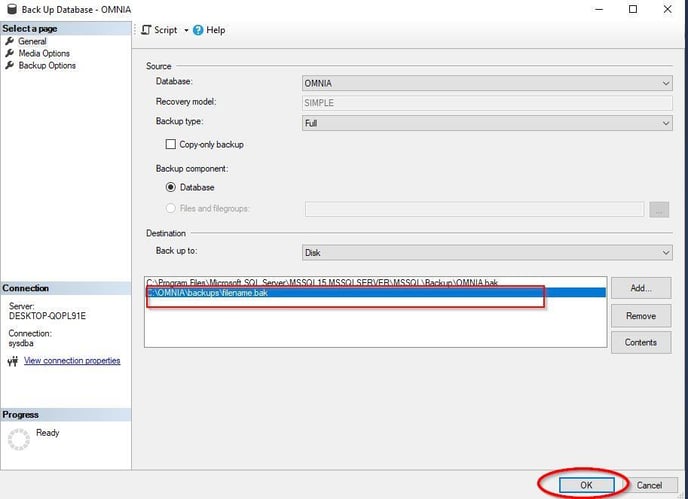
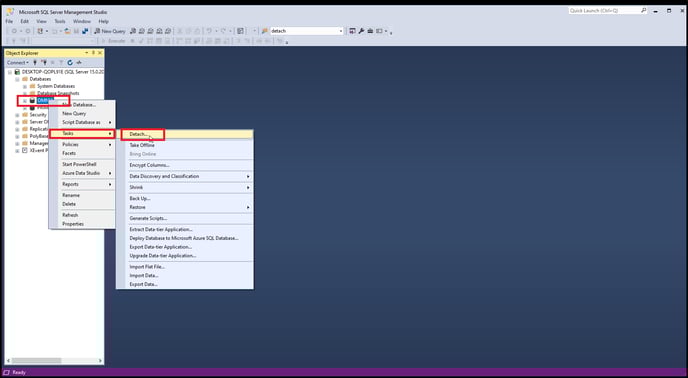
DETACHING THE DATABASE
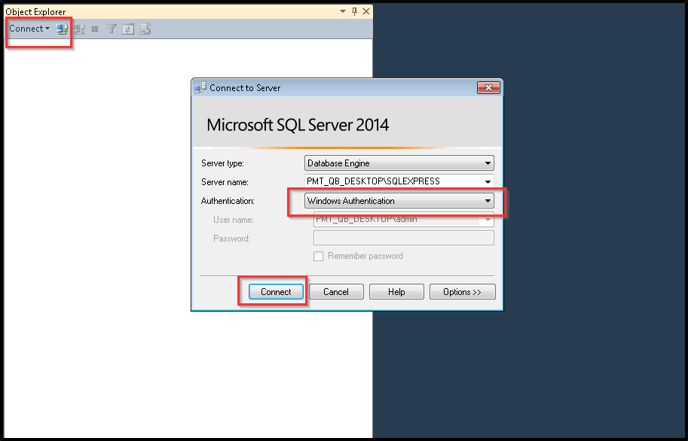
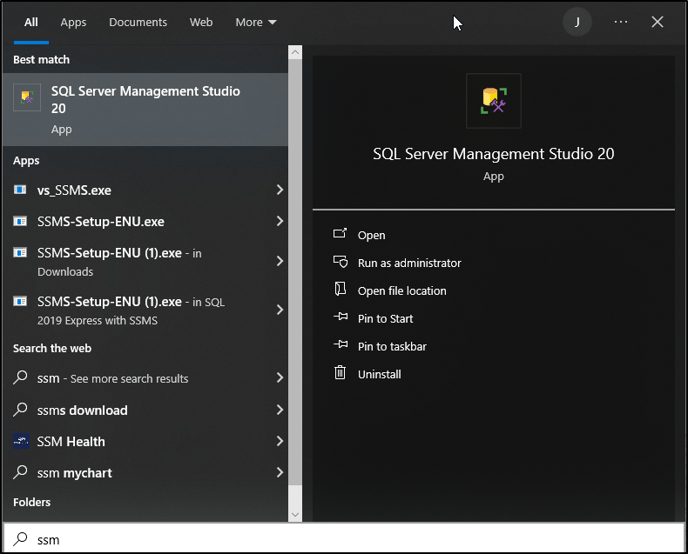
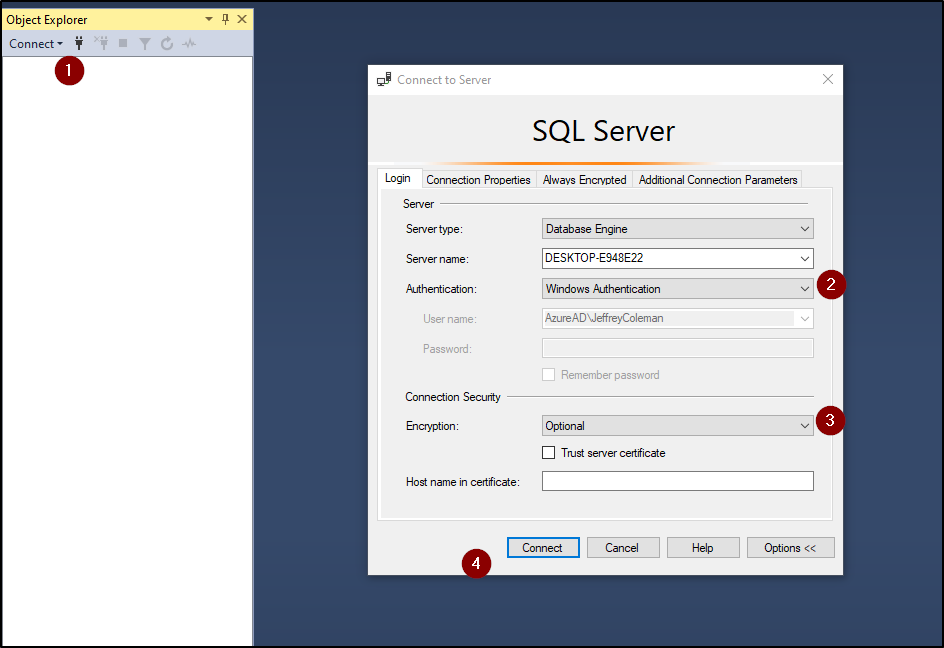
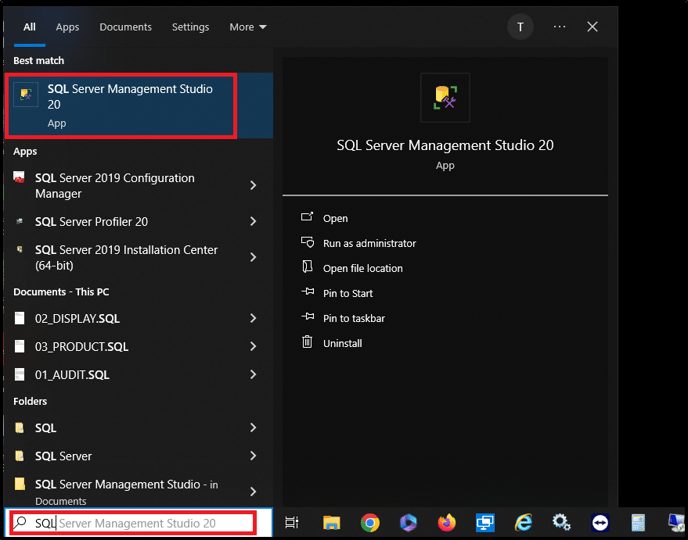
In the search bar type SQL Server Management Studio. Open the App.
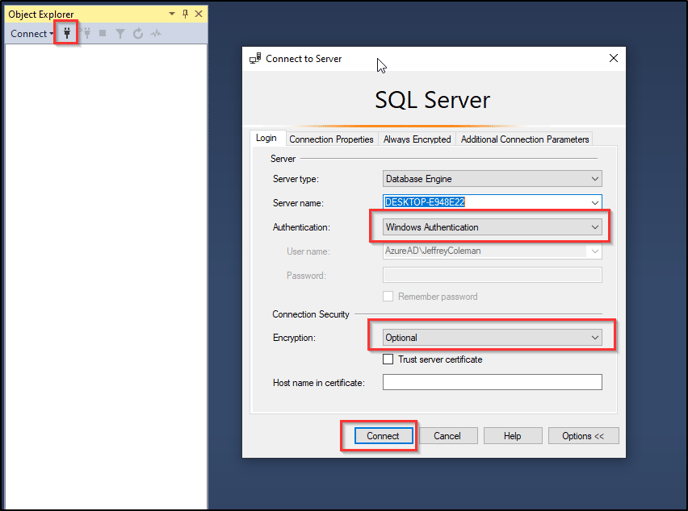
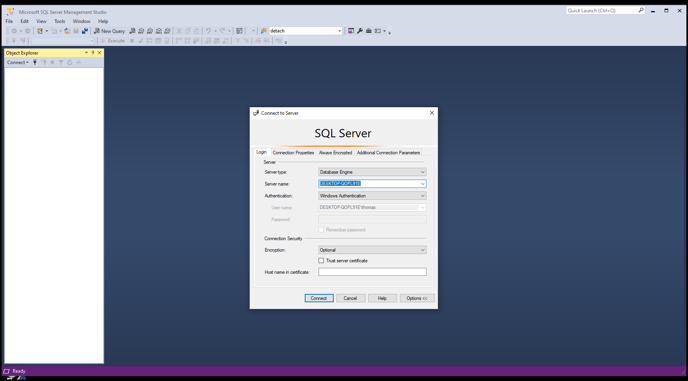
Sign-in. Either Windows Authentication or SYSDBA.
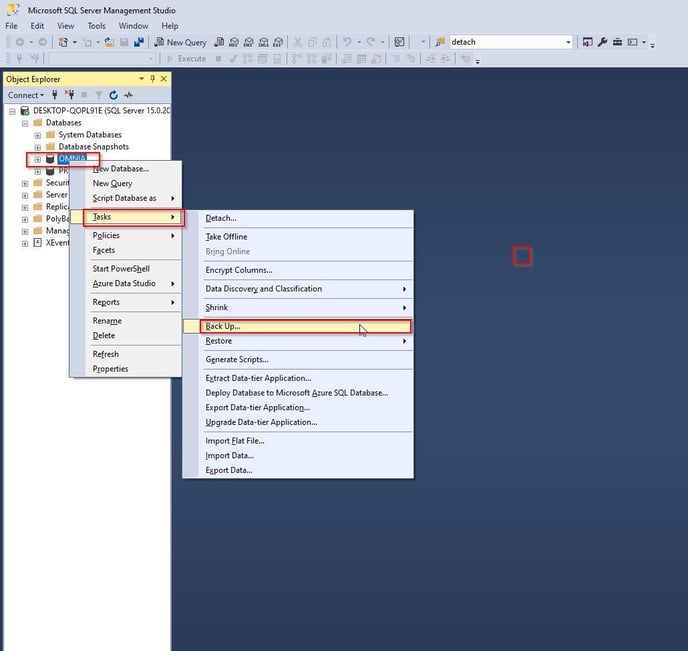
Expand Database Tree. Right Click on the Database “OMNIA”. Open Tasks and select Detach…
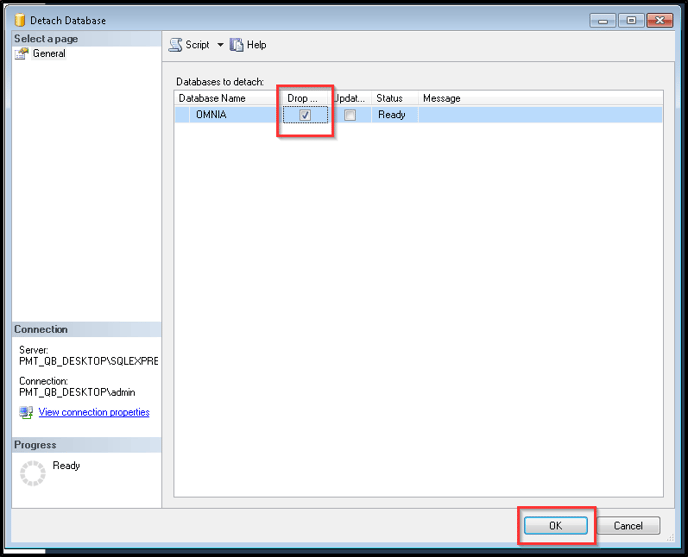
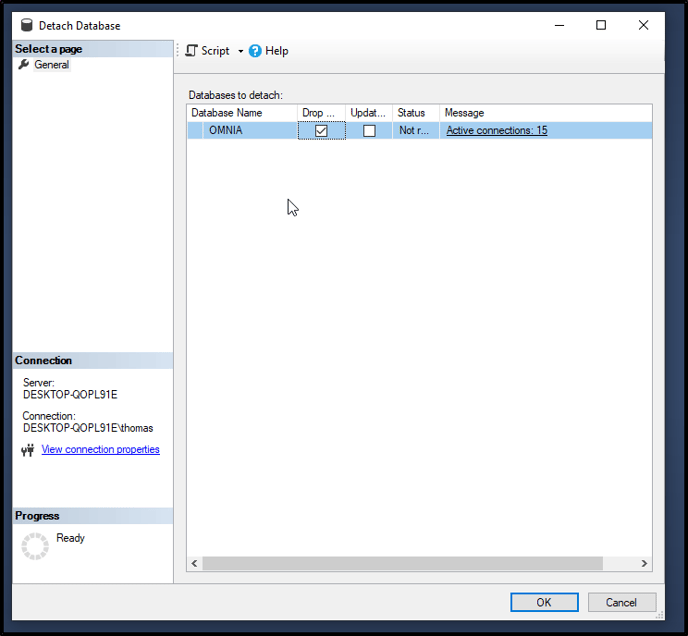
Check the Box under Drop… Then Select OK
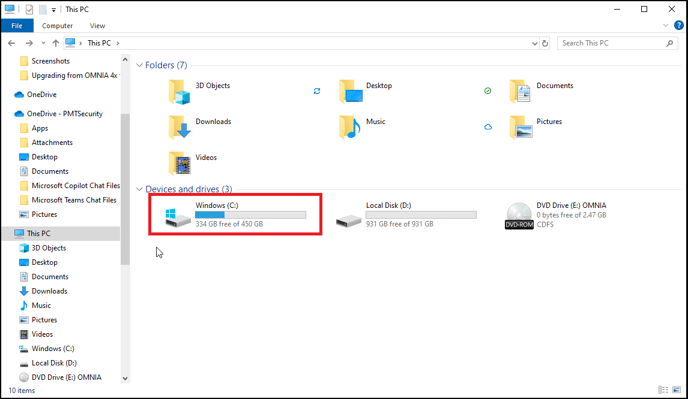
Move DATABASE
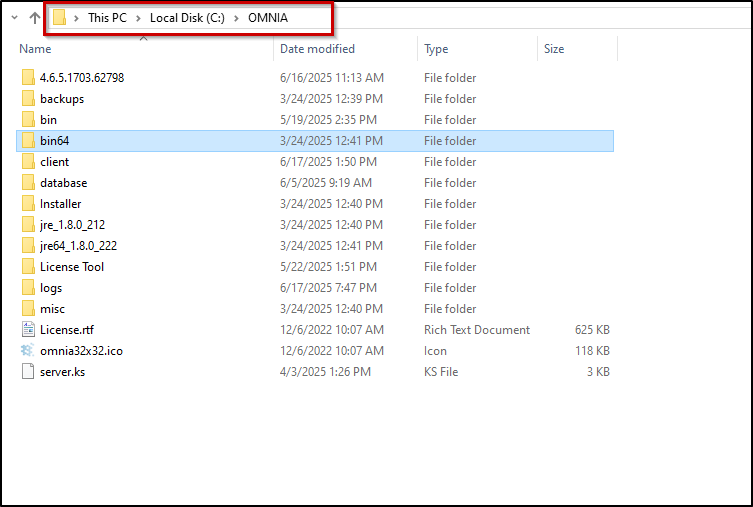
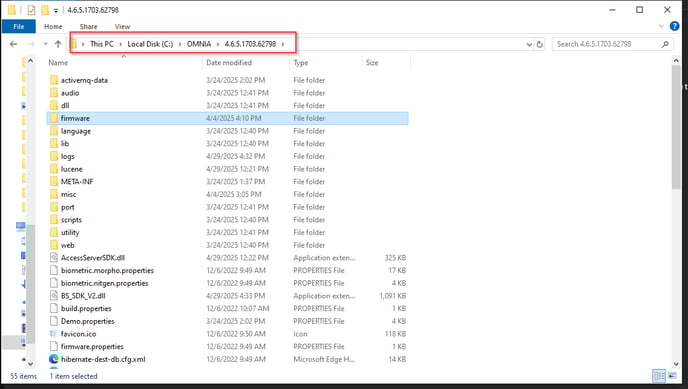
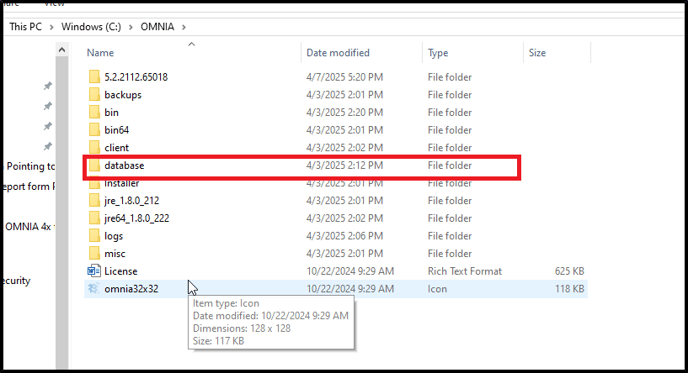
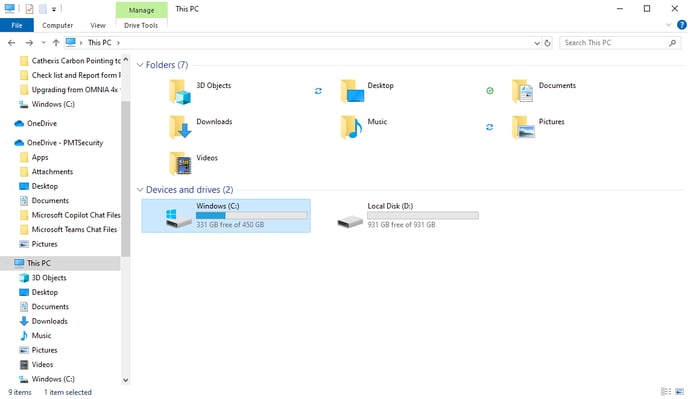
Open up Windows File Explorer. Selects Windows (C:)
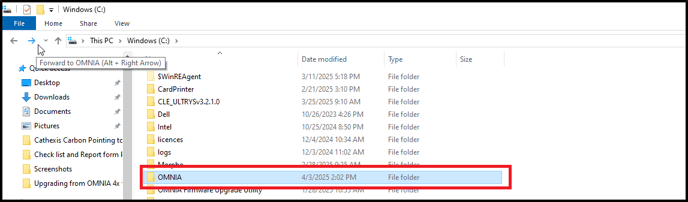
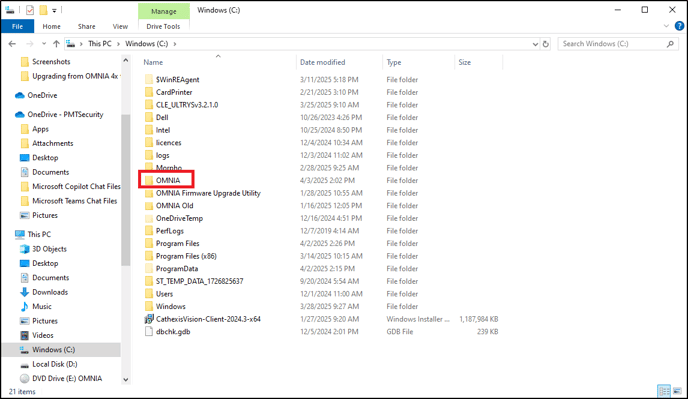
Select the OMNIA folder.
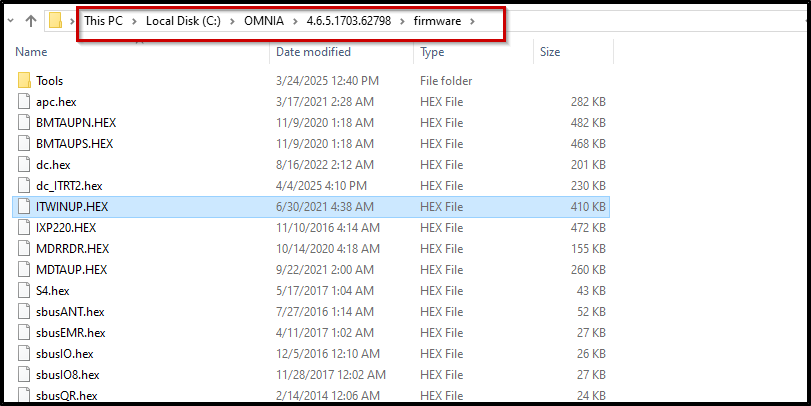
Select the Database folder.
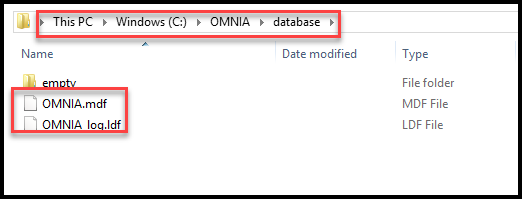
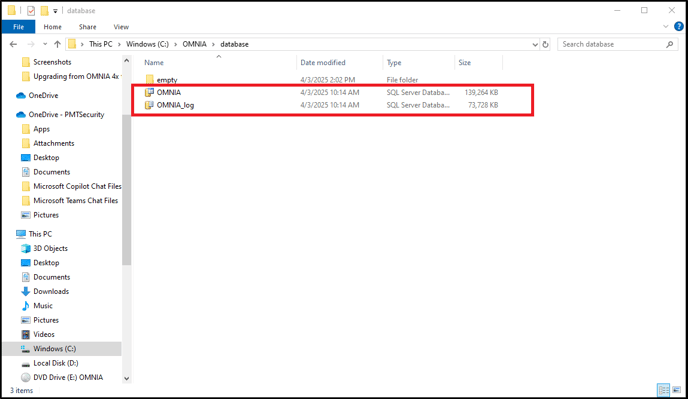
Highlight then drag and drop the OMNIA and OMNIA log to another location on the PC. (example is to put files on the desktop)
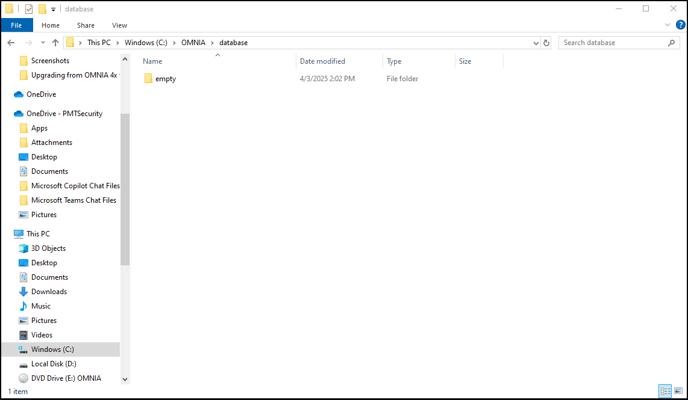
When you are done it should look like this.
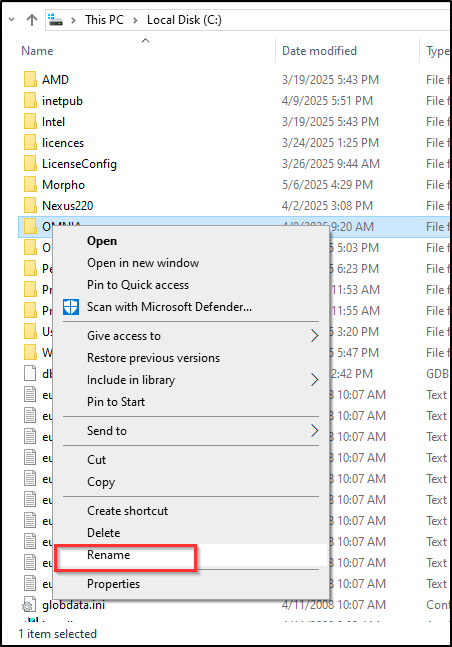
In the Windows (C:) Rename the OMNIA folder to OMNIA Old

New OMNIA Install V5x
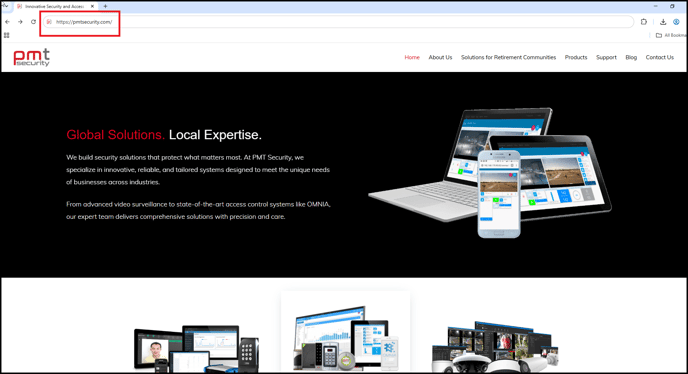
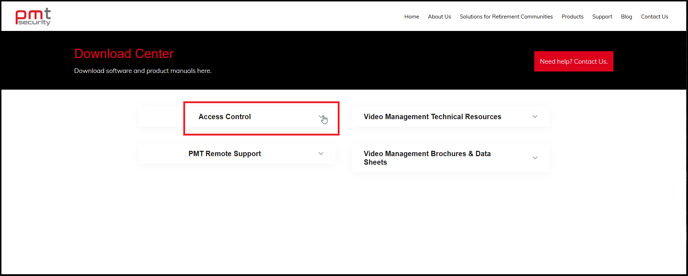
Open Browser and enter Http://pmtsecurity.com/
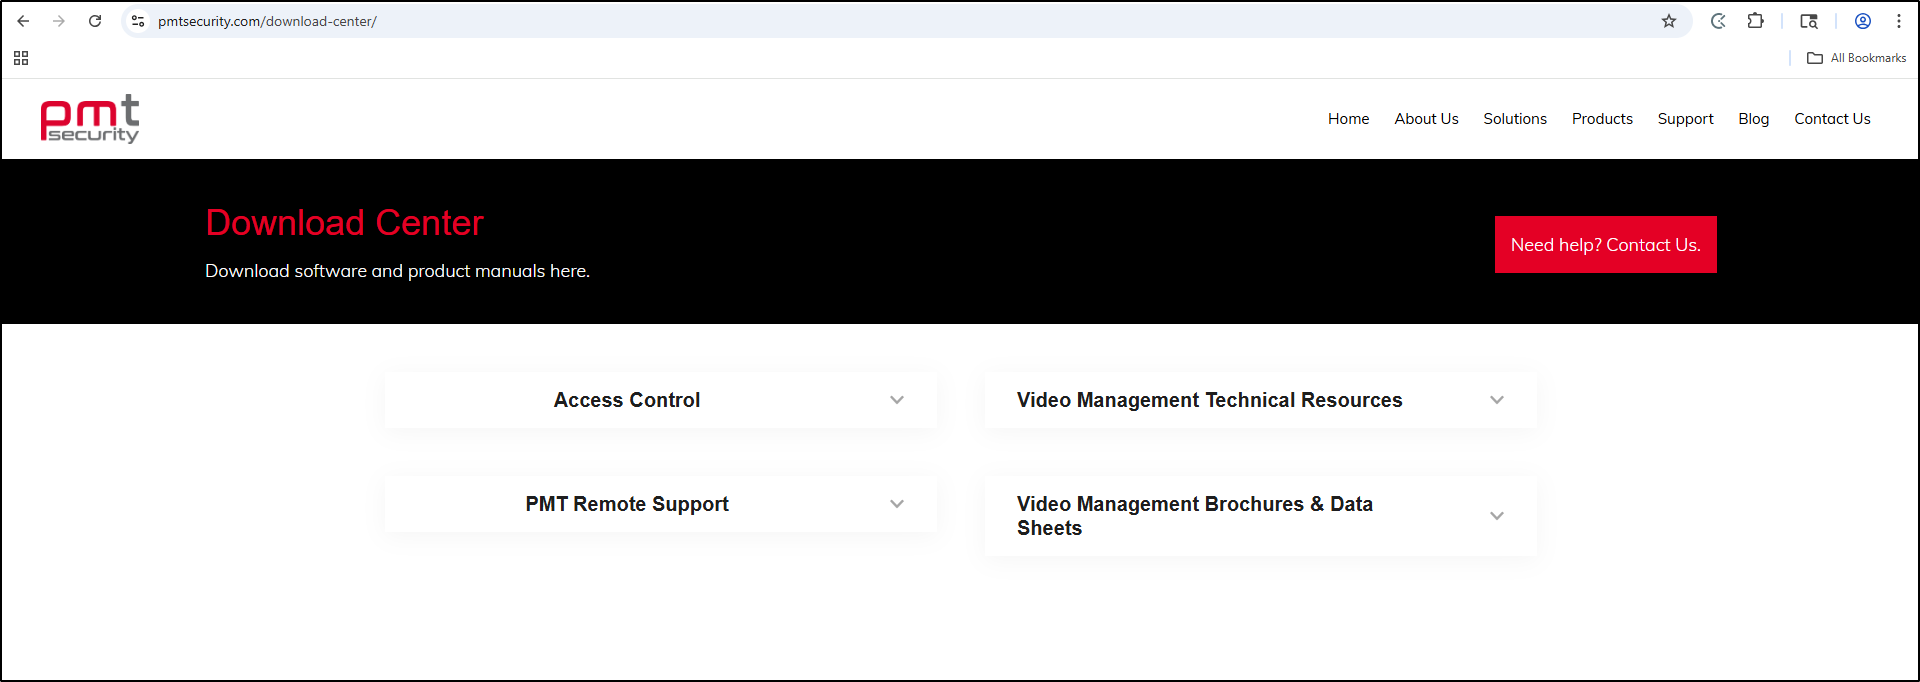
Move curser over Support to reveal Support tree. Select Download Center.

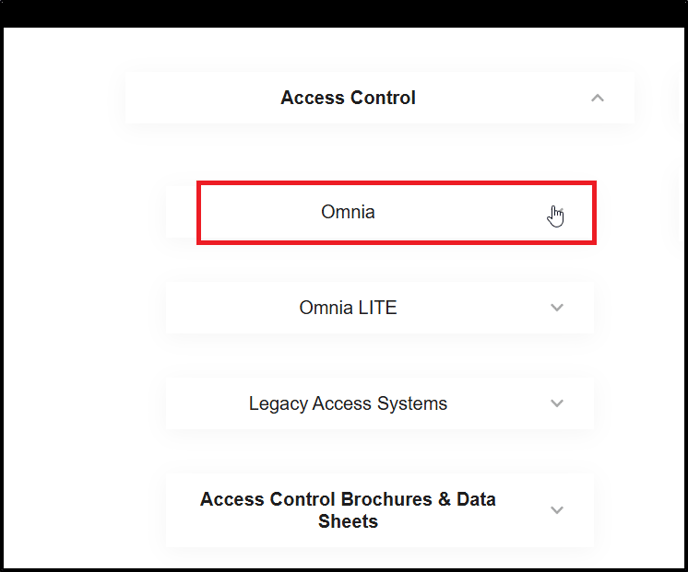
Select Access Control
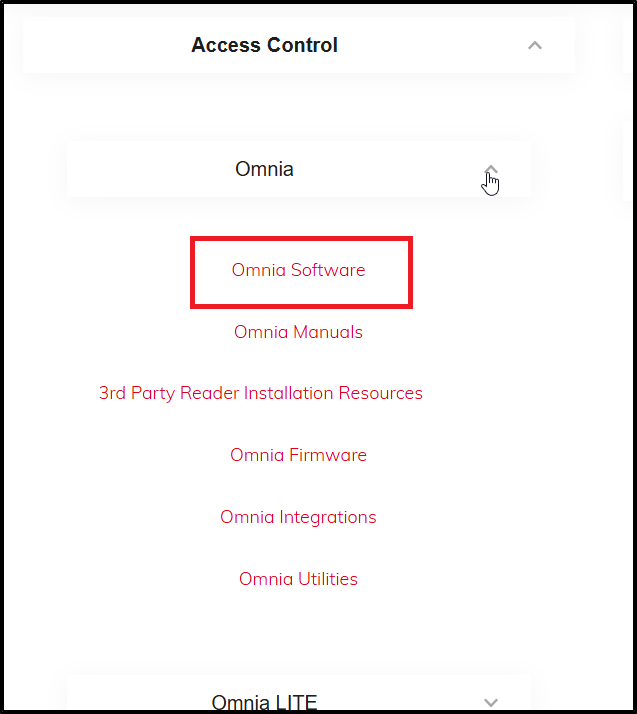
Select OMNIA
Select Omnia Software
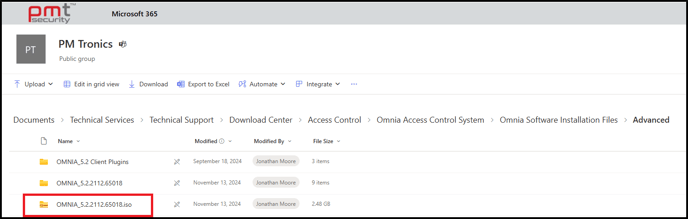
Select Advanced
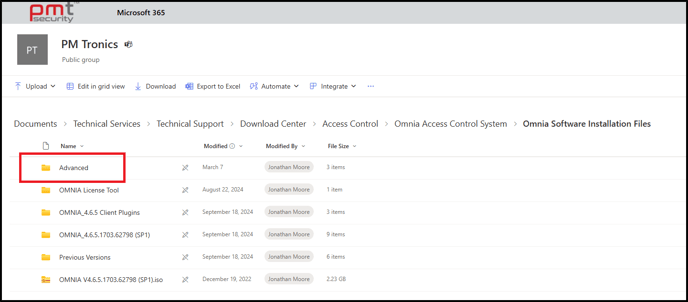
Select OMNIA_5.2.2112
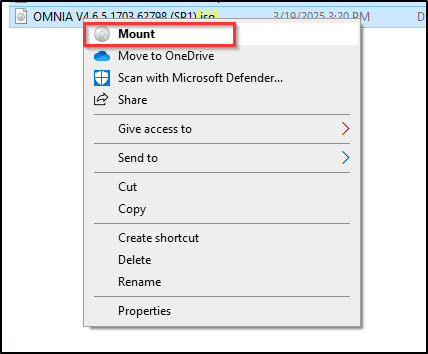
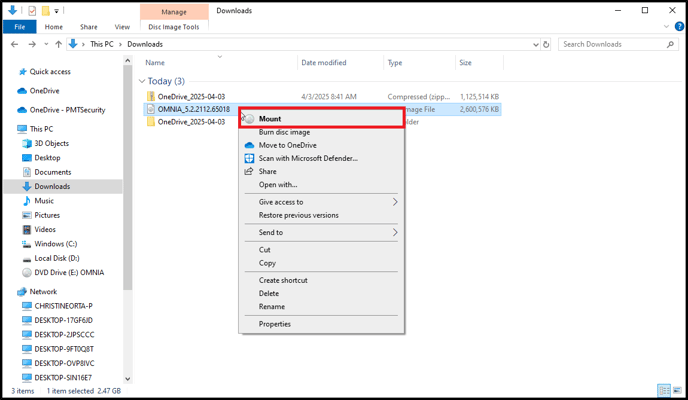
Go to File Explorer and open the Downloads folder. Right Click OMNIA_5.2.2112.65018 and Select Mount
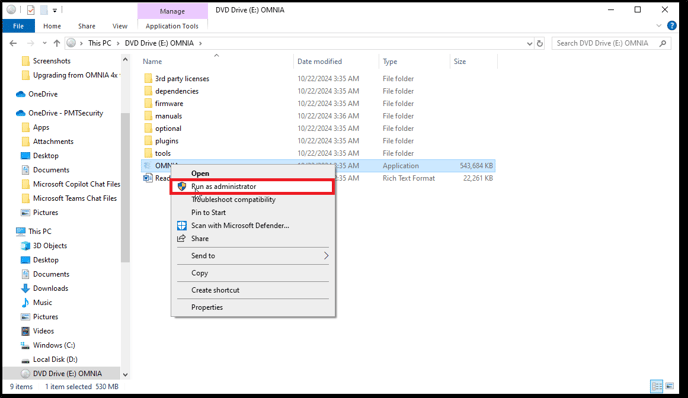
Right Click OMNIA and Run as administrator.
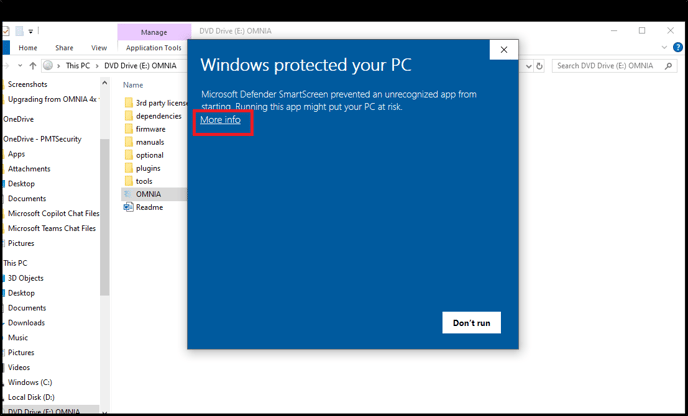
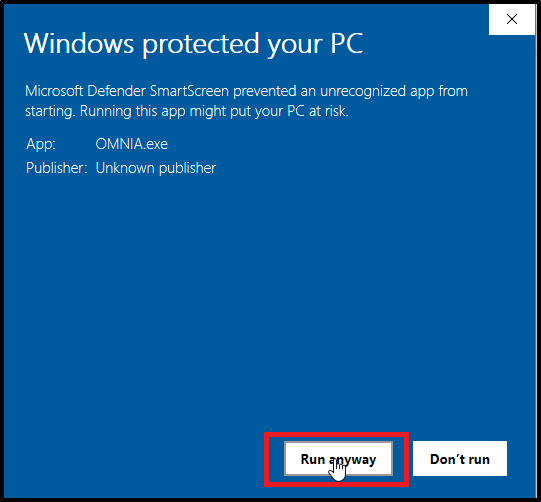
This window will appear Select More info
Select Run Anyway
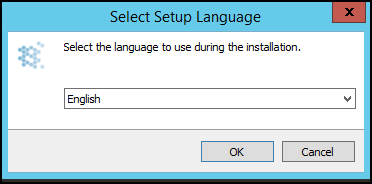
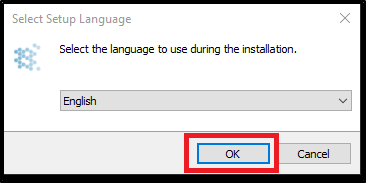
Select Language
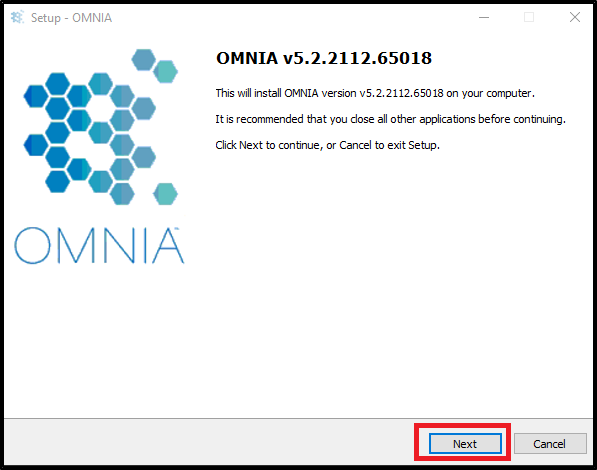
Select Next
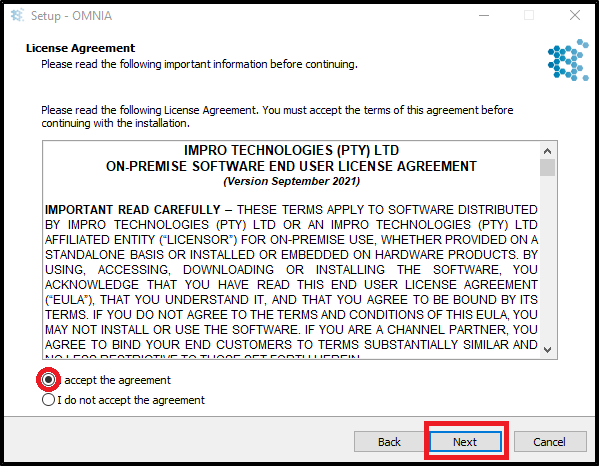
Review License Agreement, Accept, and select Next to Continue
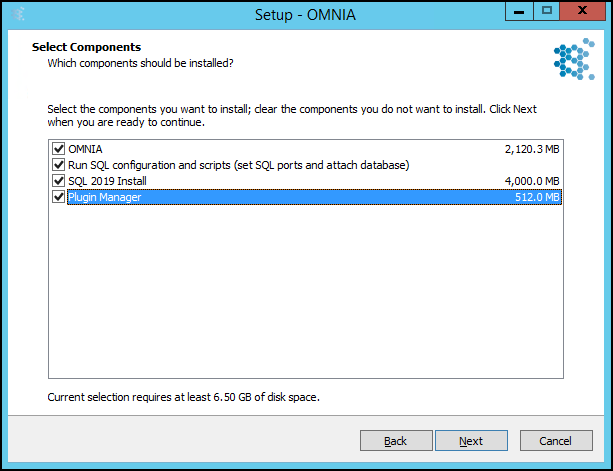
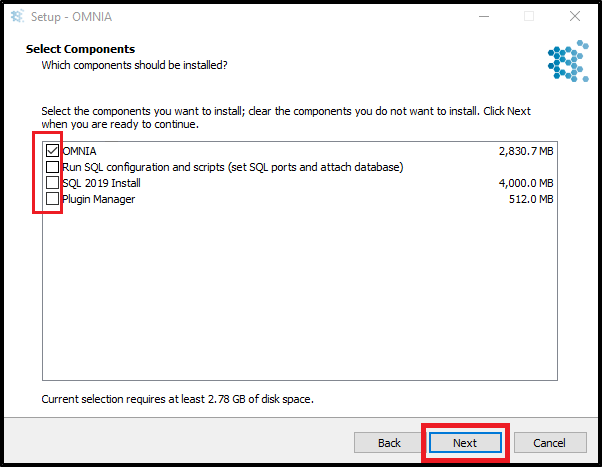
Select OMNIA then next.
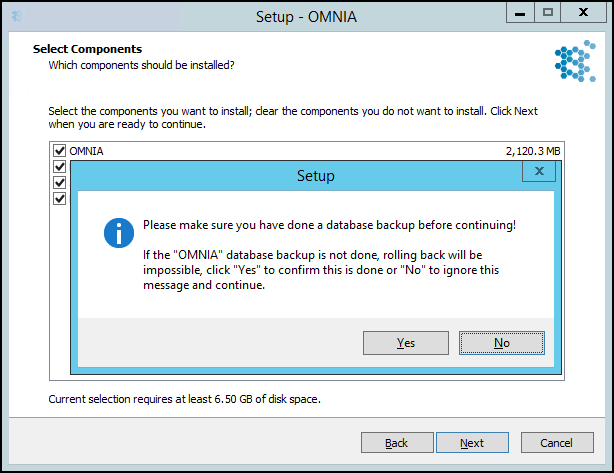
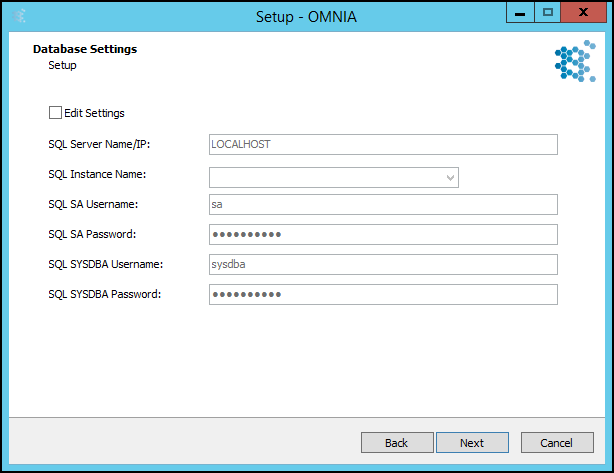
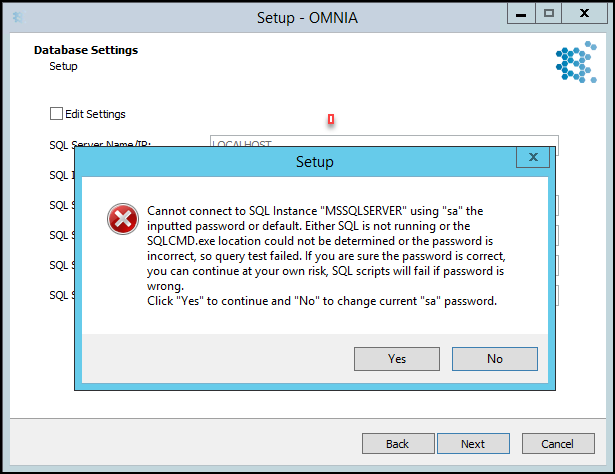
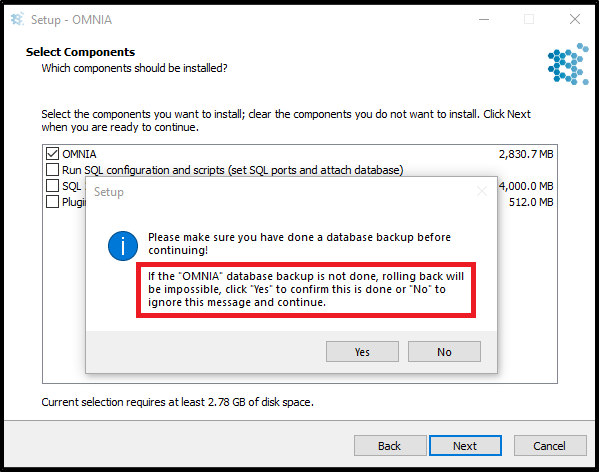
Make sure you have followed the previous steps on detaching the Database.
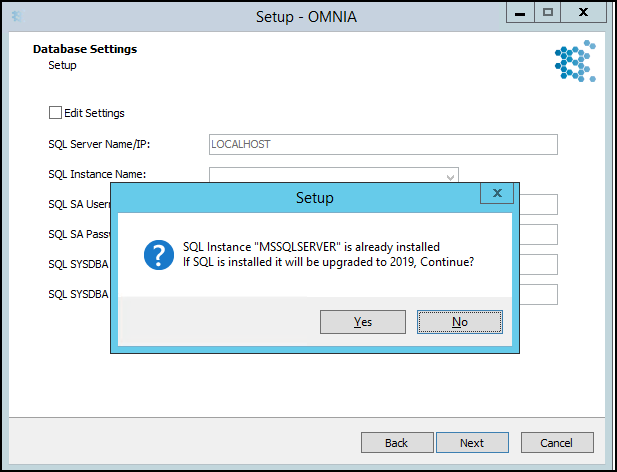
Select Yes.
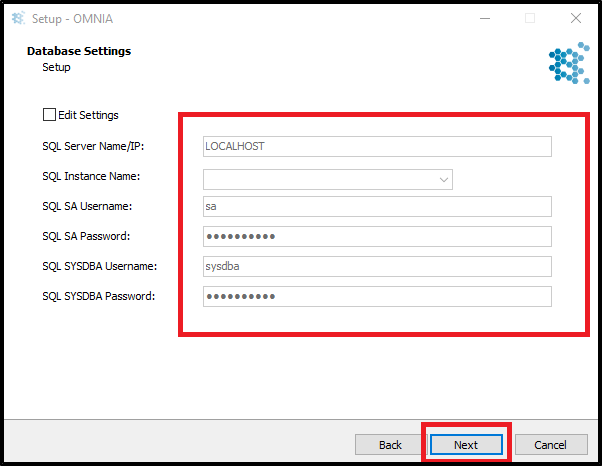
Select Next
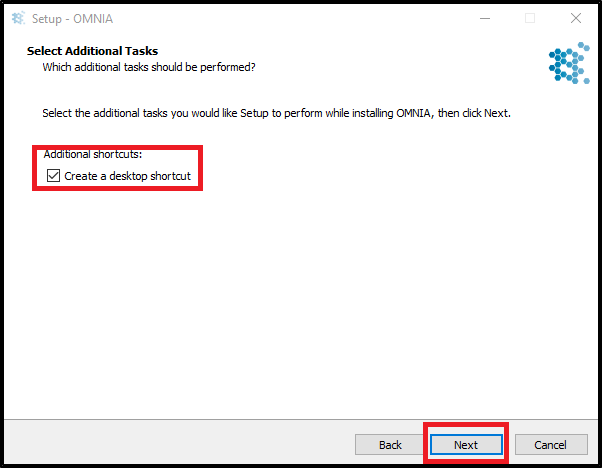
Select Next
Select Next
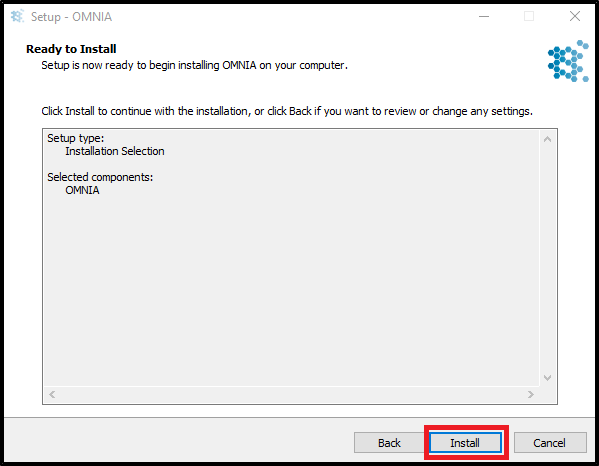
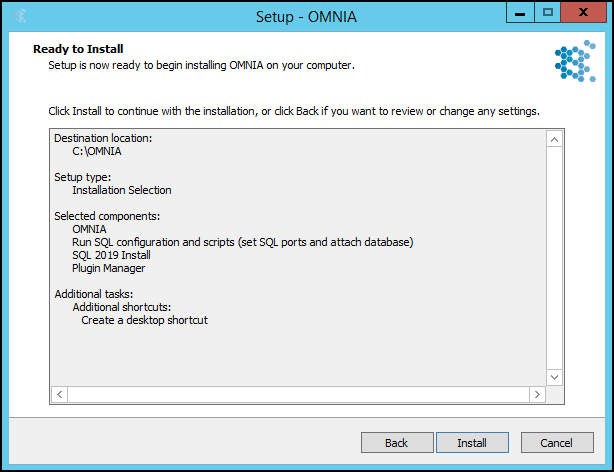
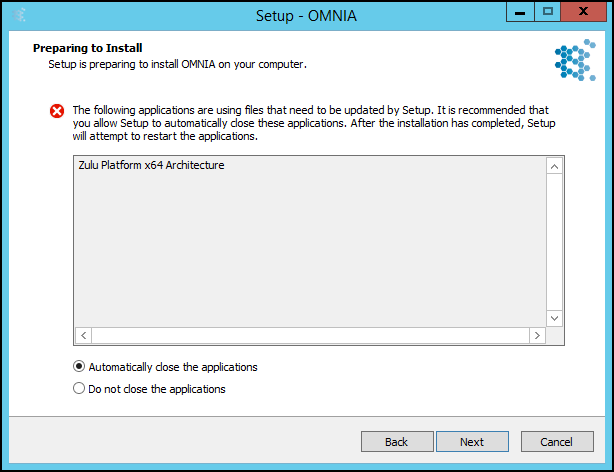
Installation

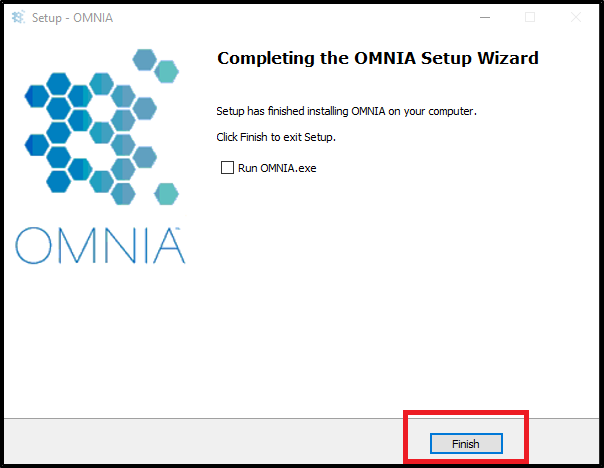
DO NOT start OMNIA.exe.
Select Finish
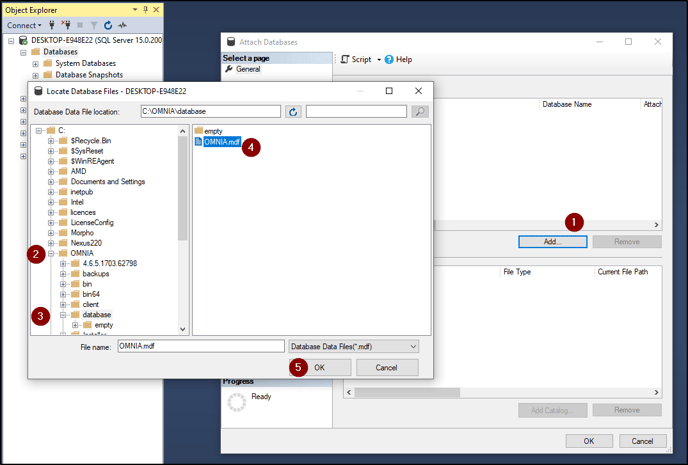
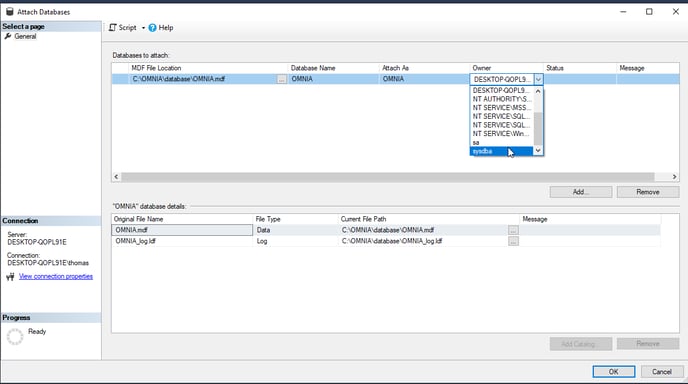
Attaching Database
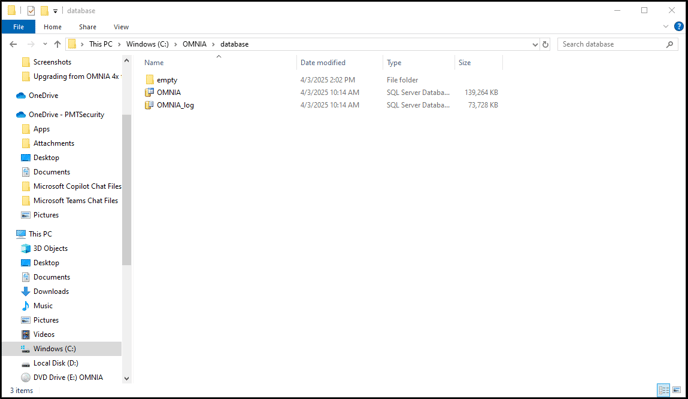
Open Windows (C:)
Open OMNIA folder.
Select Database
Grab your Database and Database Log files, drag then drop them in the Database Folder
This is what it should look like.
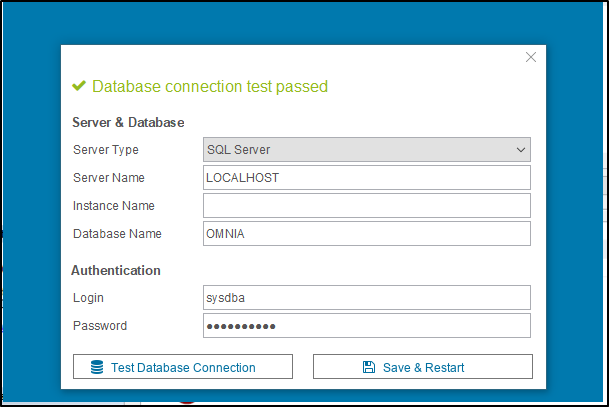
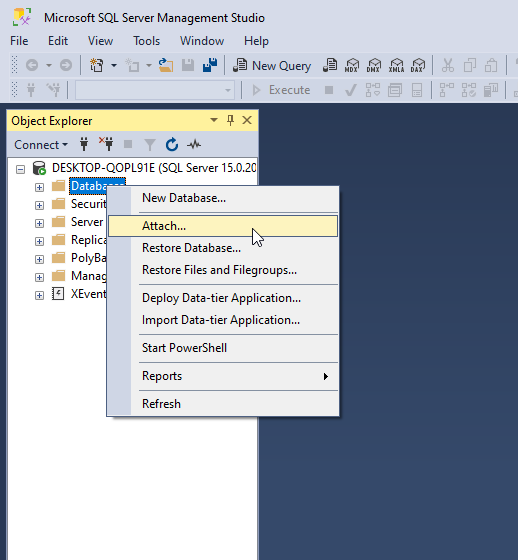
Open Microsoft SQL Server Management Studio
Right Click on Database and Select Attach.
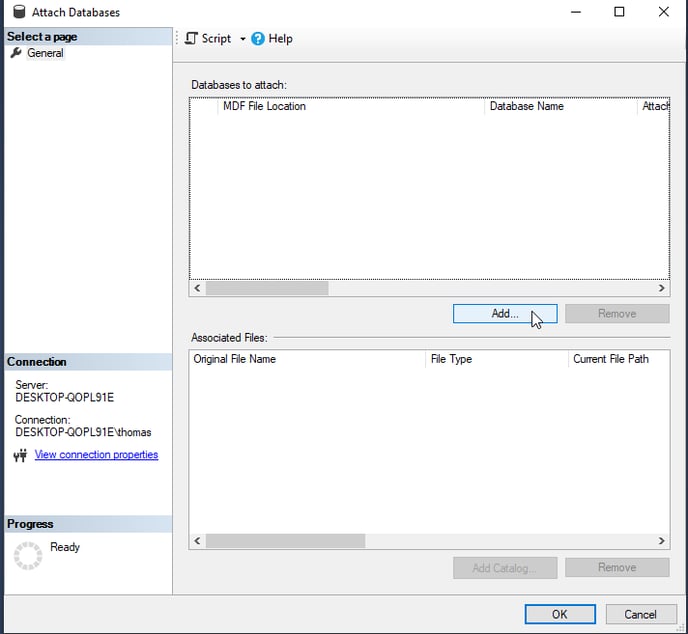
Select Add…
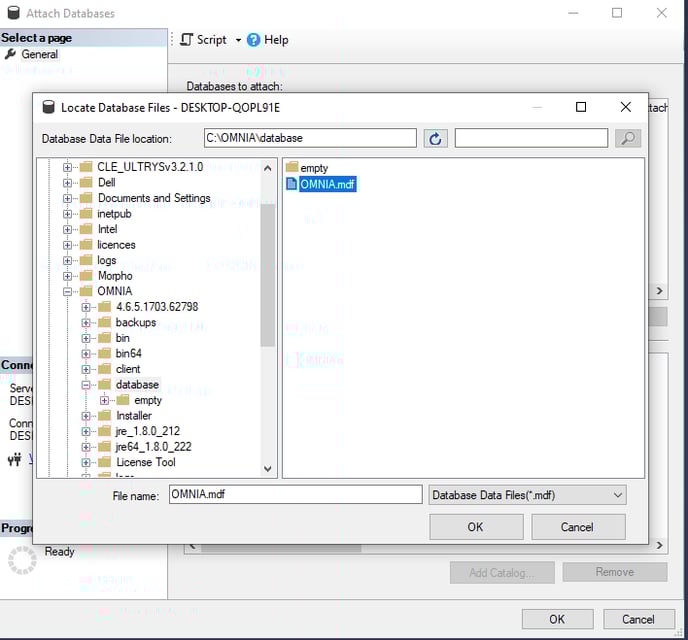
Expand the OMNIA folder then select Database. The OMNIA.mdf should show. Highlight and select OK.
Scroll Right and expand the Owner options and select sysdba.
Select OK
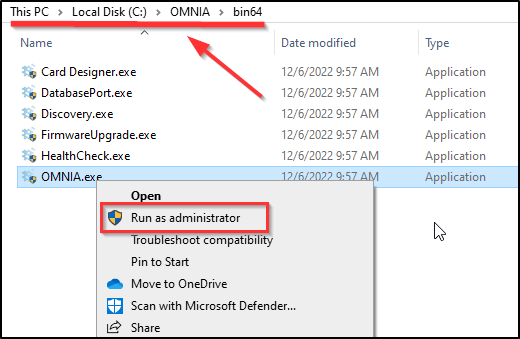
Exit from Microsoft SQL Management Studio and Open OMNIA.
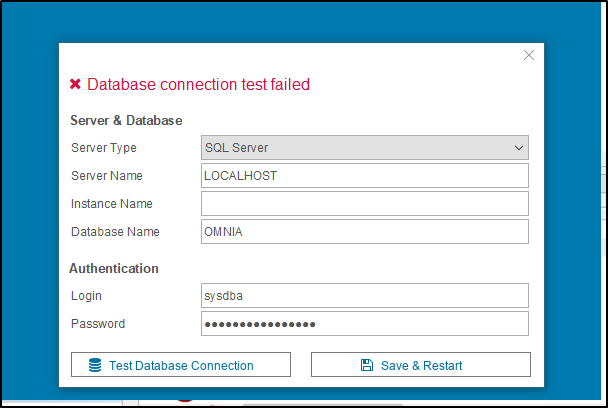
If you are running OMNIA as a service. Open up the services app and start OMNIA. Open browser after 4 minutes and type LocalHost:82 in the browser search bar.
Need further assistance?