How to Use the OMNIA Card Designer
Card Designer
OMNIA has a built-in card designer that automates the process of printing personal information on access cards.
Card designer is an easy to use graphical interface to design different card templates.
Find the Card Designer at C:\OMNIA\Bin64\Card Designer.exe
Run Card Designer as Administrator
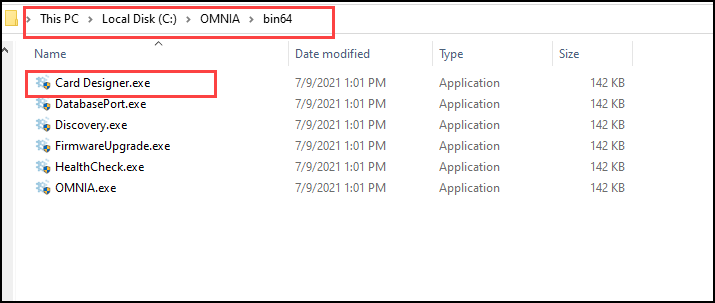
Card Designer may ask you to log in.

After launching the Card Designer, The Card Designer Icon will appear in the Task Bar or in the Show Hidden Icons.
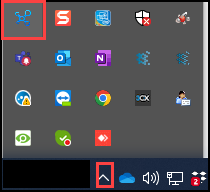
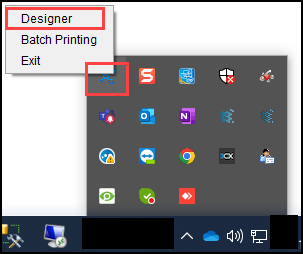
Right Click the Card Designer Icon and Select Designer
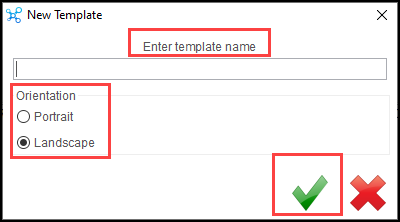
After Selecting Designer, create a design template by entering a template name, choosing orientation, and selecting save
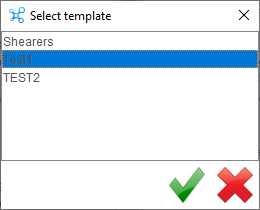
If you have already Created Templates, select the template you want to edit.
The template will open in the Card Designer Window, this is where you will create your design template.
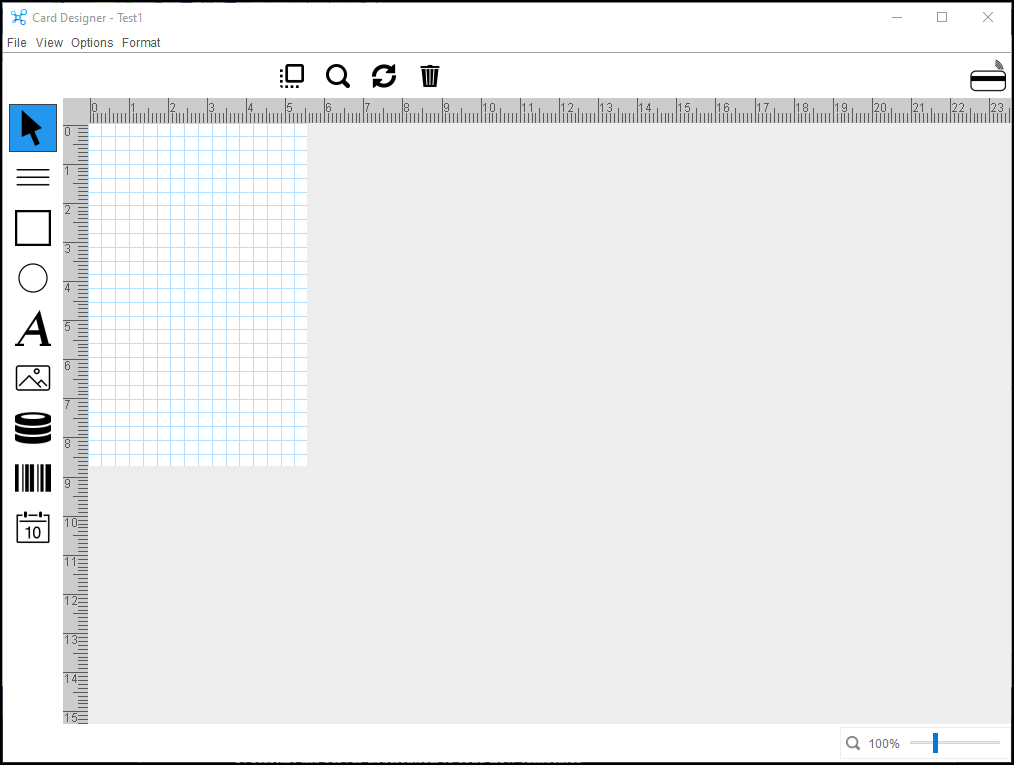
Data field
Select tool will select elements to work on
Line tool will print static lines
Square shape tool will print static shapes
Round shape tool will print static shapes
Text element will print static text
Picture tool will print static pictures
Database field will print various fields from the database
Barcode tool will create a barcode from a selected database field

The Picture Field will pull information from the PC
The Database Field will pull information from the OMNIA Database
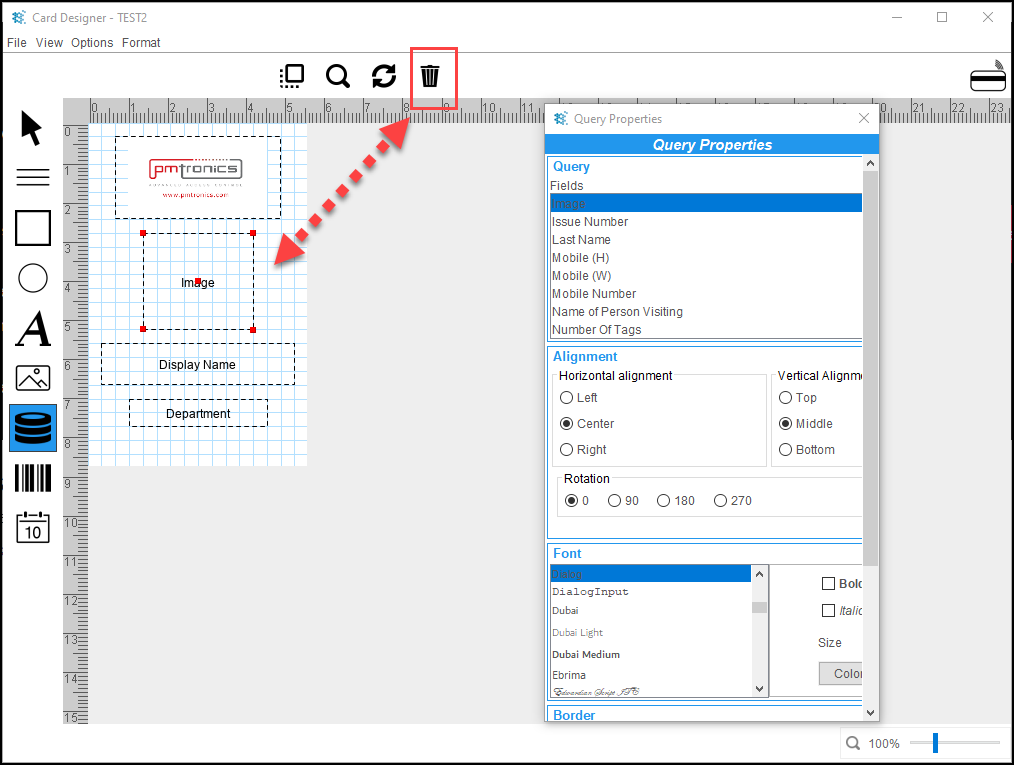
Each Field is customizable:
Alignment: Left, Right, Center, and Horizontal and Vertical
Rotation: 0, 90, 180, and 270
Font Type: Bold, Italic, and Size
Border Position: Horizontal, Vertical

To delete a field:
Select it, then select the Trash Can
There is not a save button, any changes/updates made are saved Automatically, you can close the Card Designer Window
The Newly Created Template will not be available in the OMNIA URL until you Stop and Exit the OMNIA Server App and Restart it and log back into the OMNIA URL
We recommend Printing to PDF to verify if you like the positioning of the data fields, this will prevent using up tags/cards and using the printing ribbon.
The printer can be changed in the Plugin Manager. Plugin Manager Icon can be found in Show Hidden Icons in task bar.

Select the Settings Tab, then use the Select Printer dropdown to select Print to PDF
Save the Settings.

Need further assistance?
