Step by Step Install of OMNIA 4.6.5 with 2019 SQL Express and SQL Management Studio
Installing OMNIA 4.6.5
This is a step by step guide to installing OMNIA 4.6.5 and SQL 2019 Express. Please ensure you are logged in the PC/Server with Local Administrator Rights. This installer will not fail with proper permissions and being run as administrator.
Download the OMNIA.iso from PMTronics
pmtsecurity.com/download-center/
- Select the OMNIA.iso
- Mount the OMNIA.iso
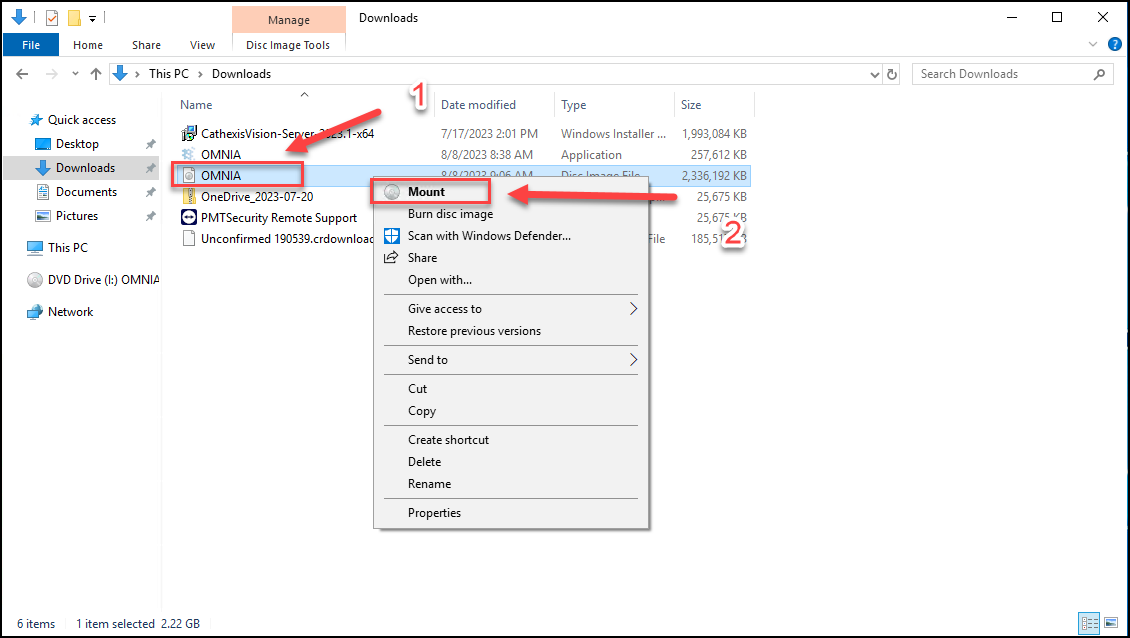
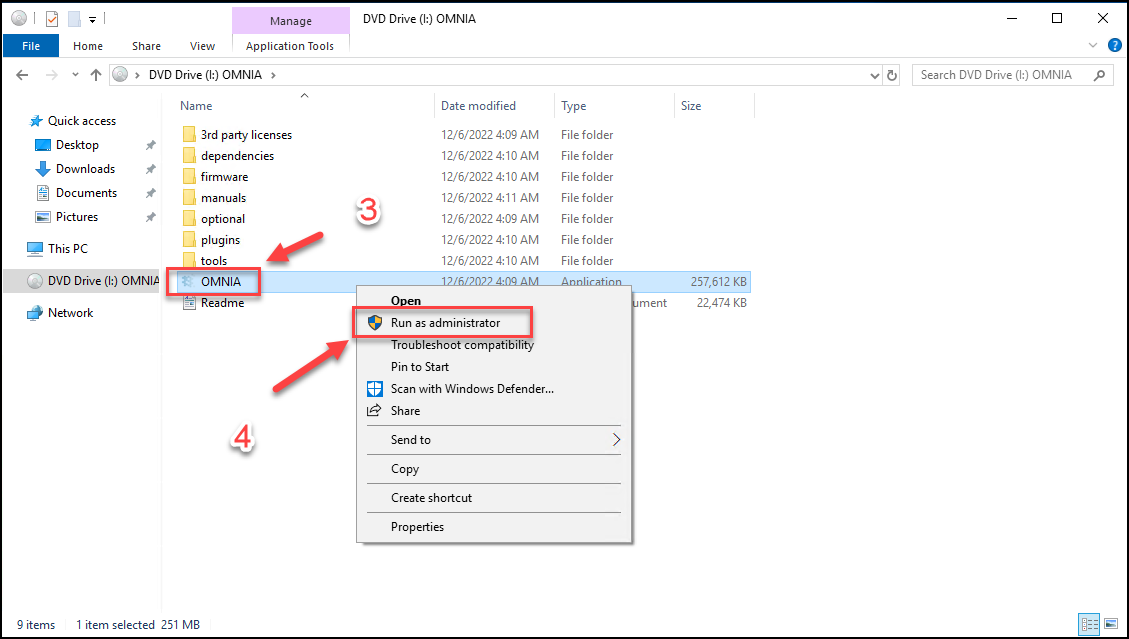
- Right Click OMNIA
- Select Run as Administrator
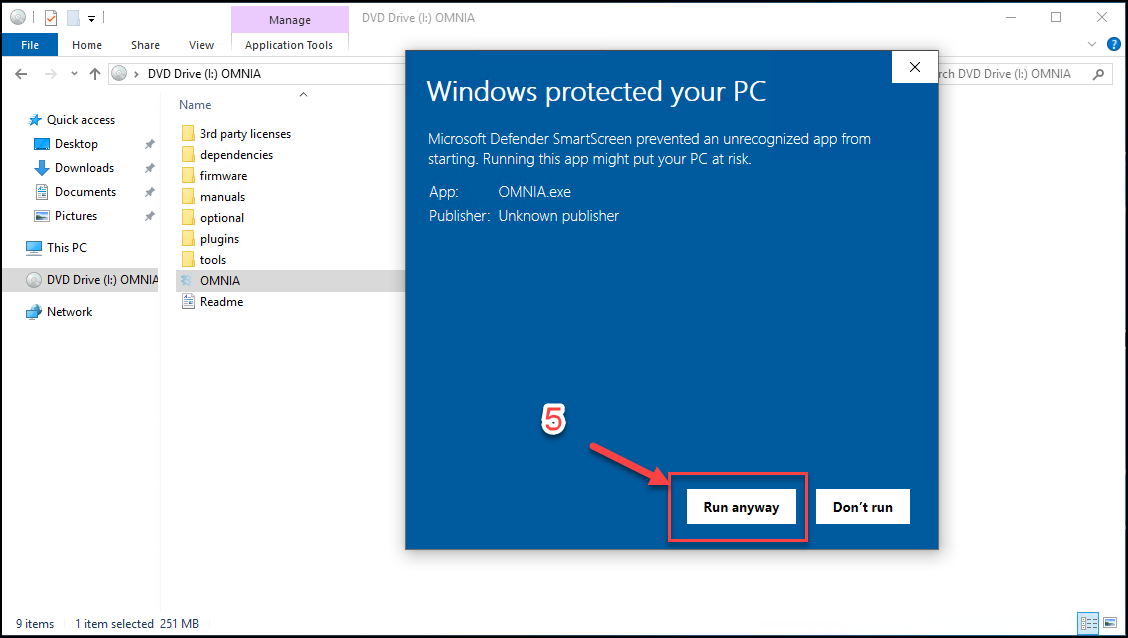
- Select Run Anyway if Windows Prevents Installer from running
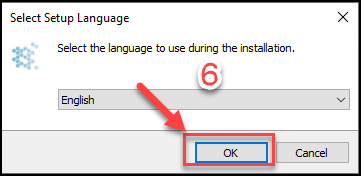
- Select Language of Choice, Select OK
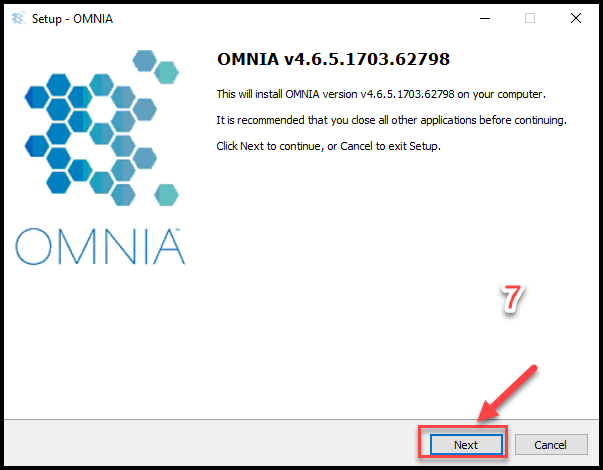
- Select Next
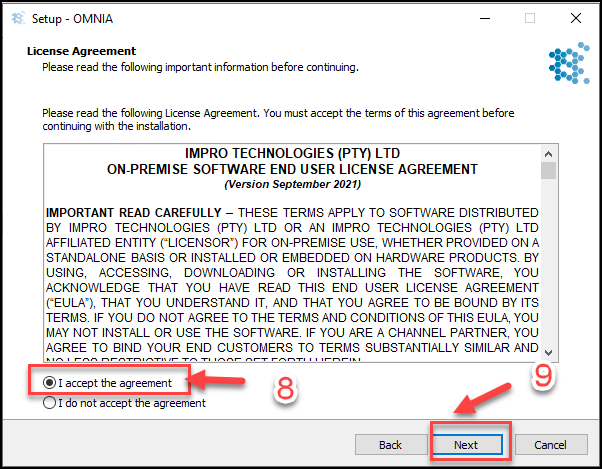
- Accept the Agreement
- Select Next
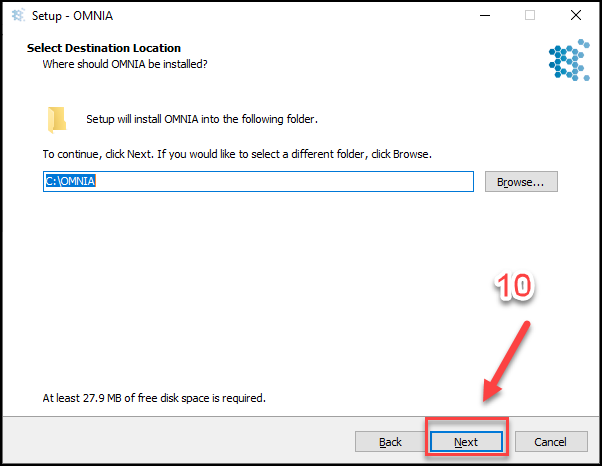
- OMNIA Installation location, Select Next
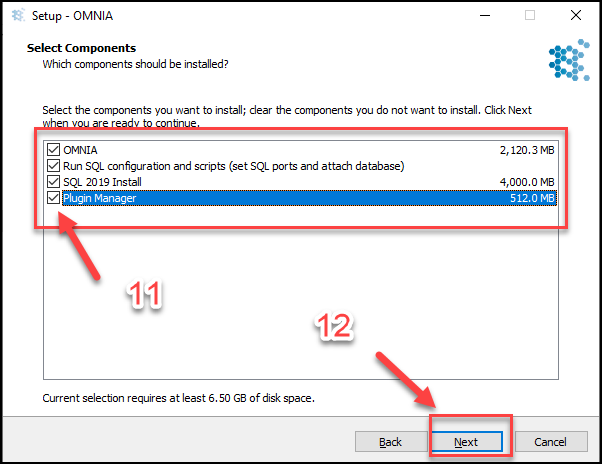
- Select the Components to Install
- Select Next
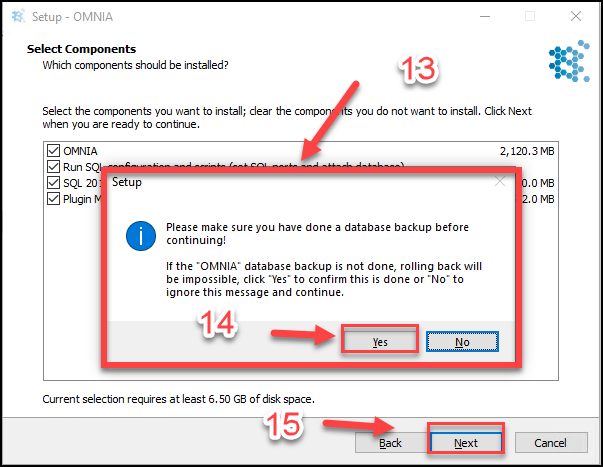
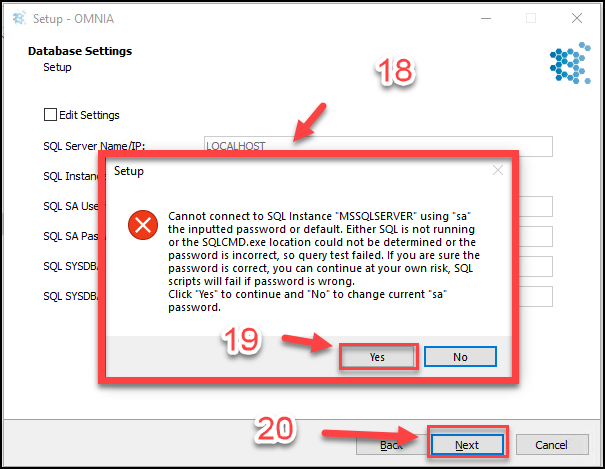
- Information Dialogue Box Appears
- Select Yes
- Select Next
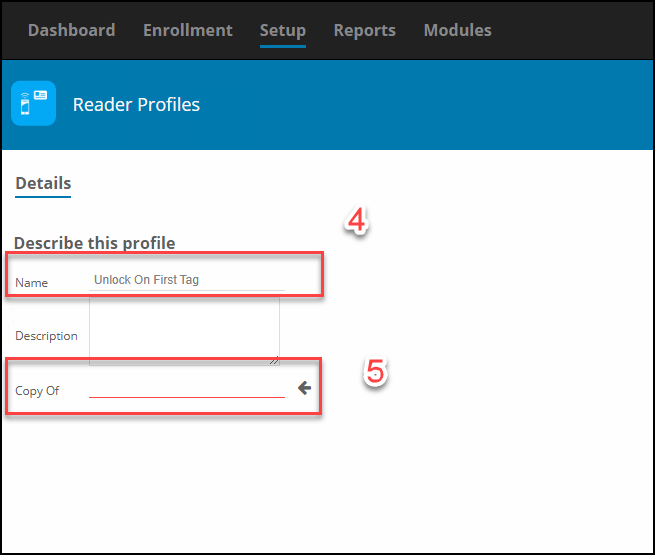
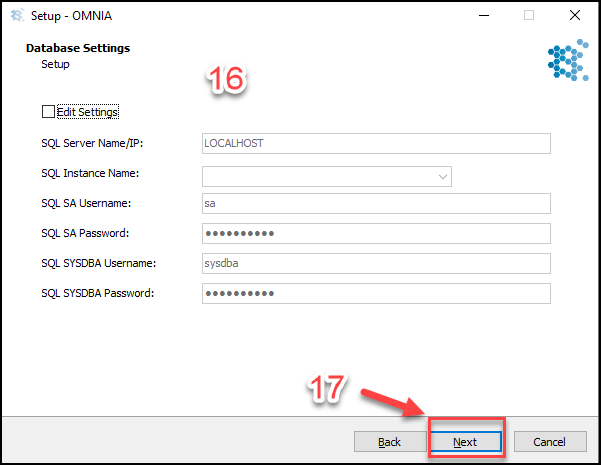
- Edit Settings Page, only edit settings if needed. Select Edit Setting Box to make Changes. OMNIA will search the localhost automatically for a SQL instance name with a database named OMNIA
- Select Next
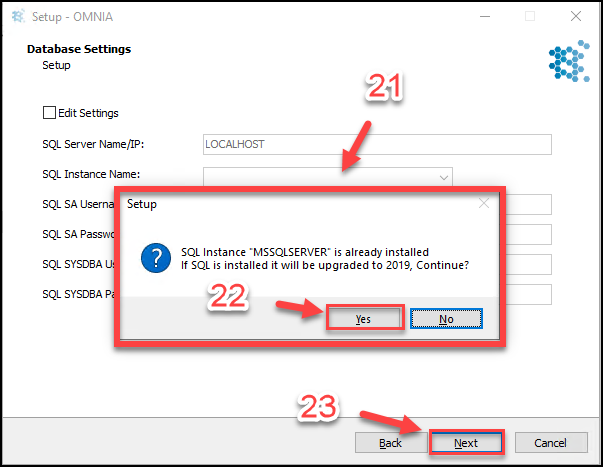
- Error Window will appear, this error is normal
- Select Yes
- Select Next
- Information/Question Window will appear
- Select yes
- Select Next
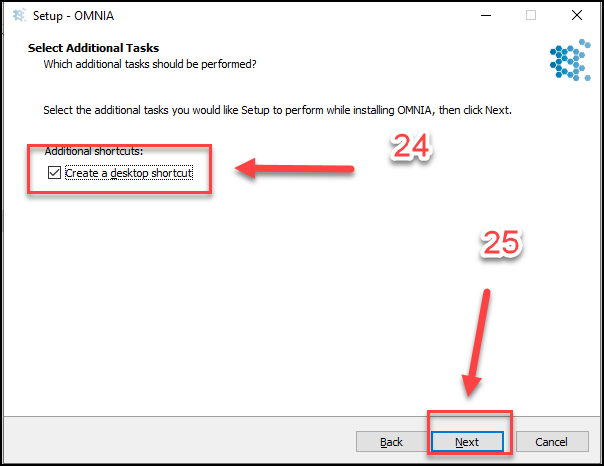
- Select if Desktop Shortcut is needed
- Select Next
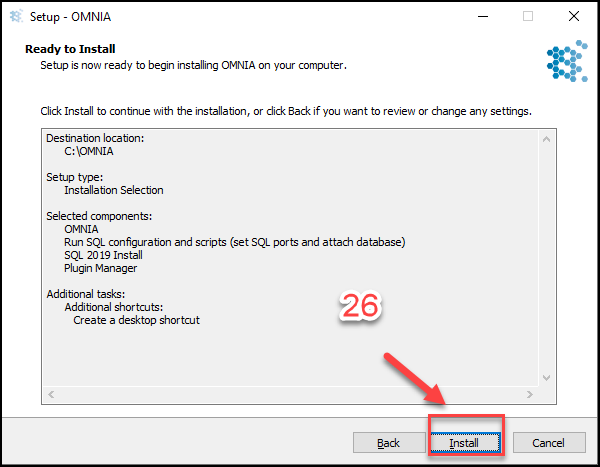
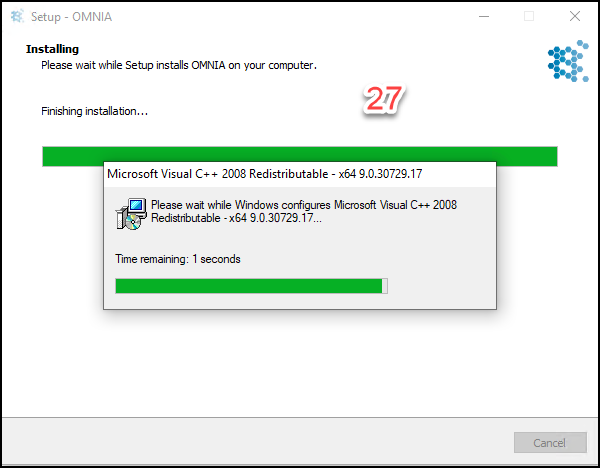
- Select Install
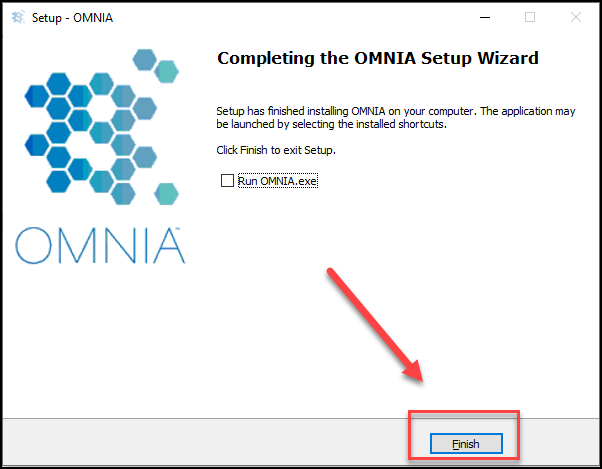
- Installation Process Continues, Select Finish When Completed
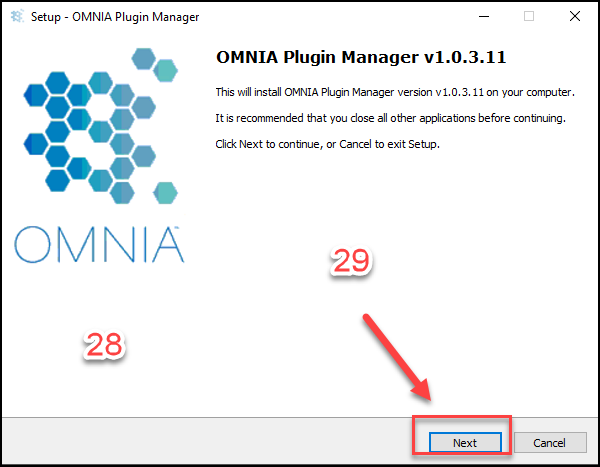
- After the OMNIA installation completes, The OMNIA Plugin Manager Installation will begin if selected at beginning of installation.
- Select Next
- Select the Components to install
- Select Next

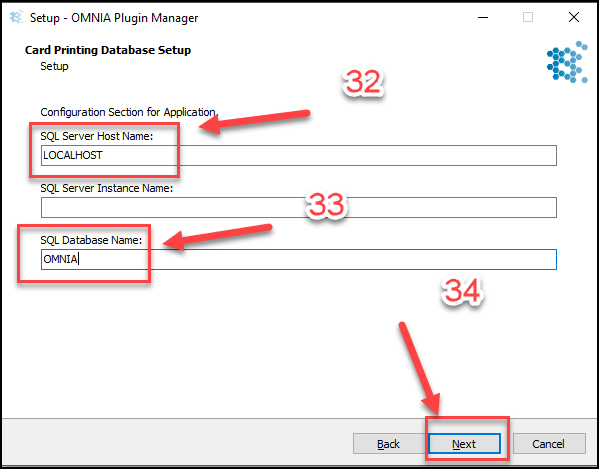
- If SQL is not running local, change LOCALHOST to IP address of SQL.
- Change SQL Database Name to OMNIA
- Select Next
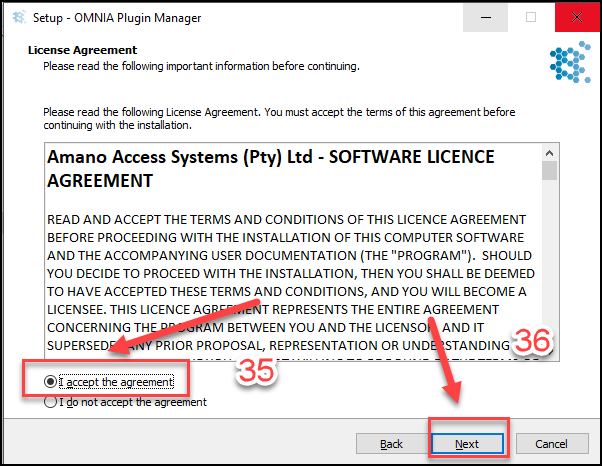
- Accept the Plugin Manager License Agreement
- Select Next
- Select Install

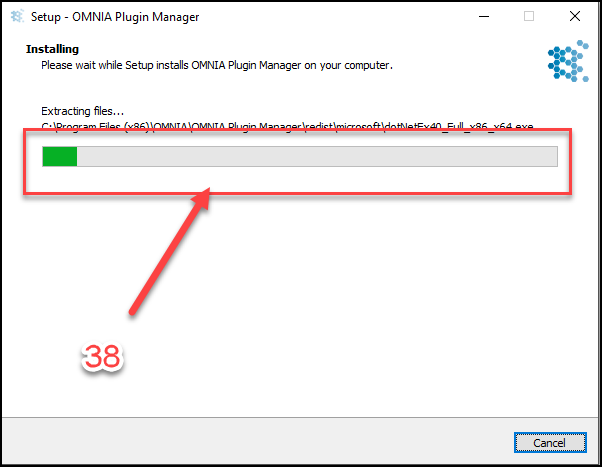
- Plugin Installation Continues
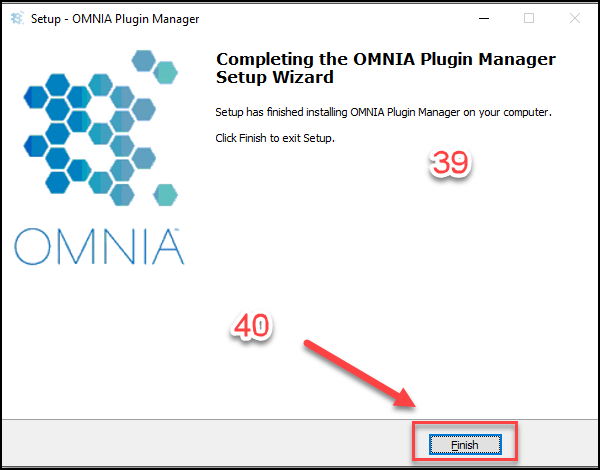
- Plugin Manager Installation Completed
- Select Next
- SQL Server Management Studio will need to be downloaded and Installed from Microsoft. This is needed for Database tasks such as Backups.
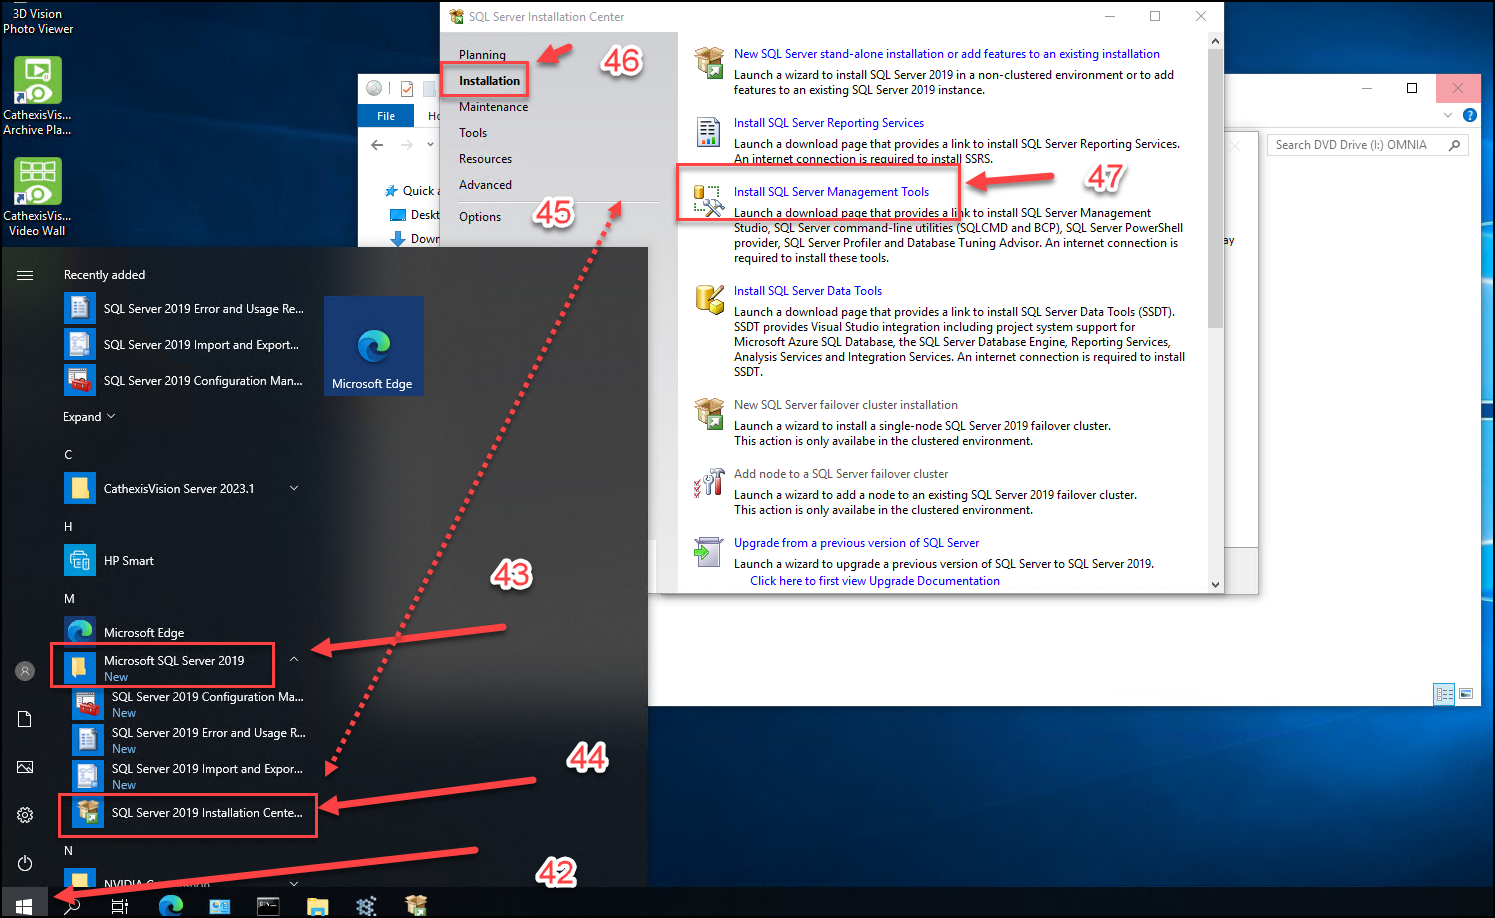
- Select the Windows Start Icon, SQL 2019 will be a new installation
- Select the newly installed folders drop down arrow
- Select the SQL Server 2019 Installation Center
- A separate SQL Installation Center window will open
- Select Installation
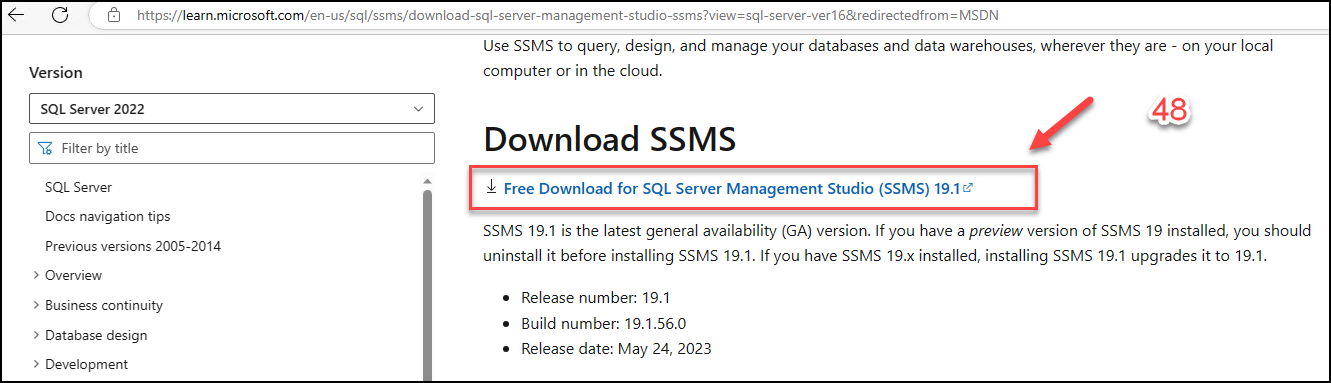
- Select Install SQL Server Management Tools, this will open a download link in a web browser.
- Select the Management Studio Install download link.
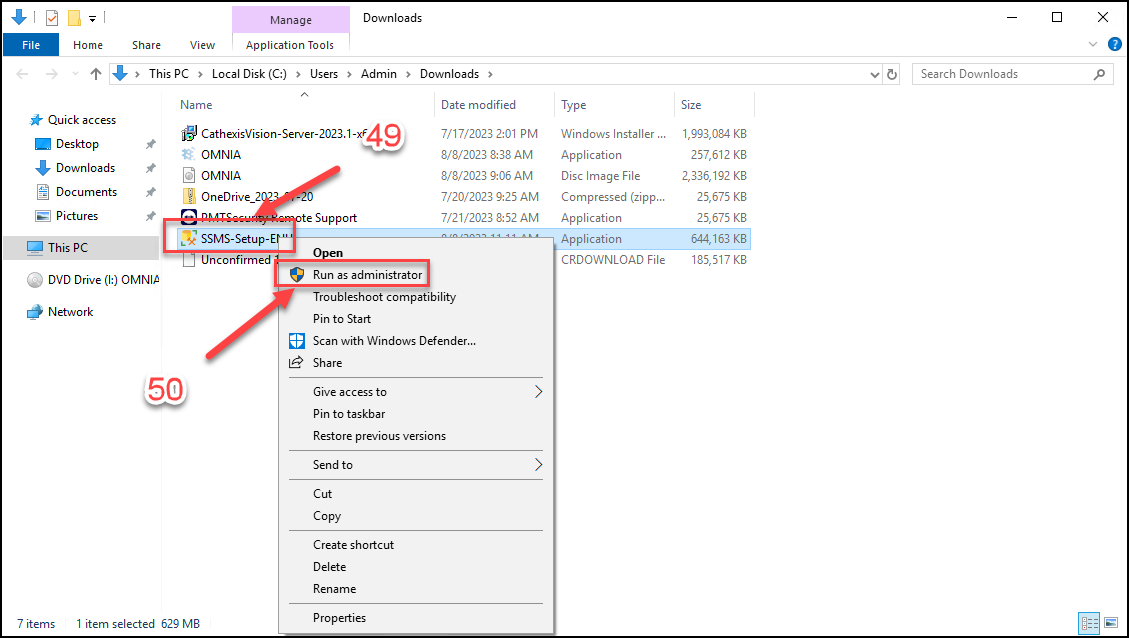
- Right Click the SSMS Installer
- Select Run as Administrator
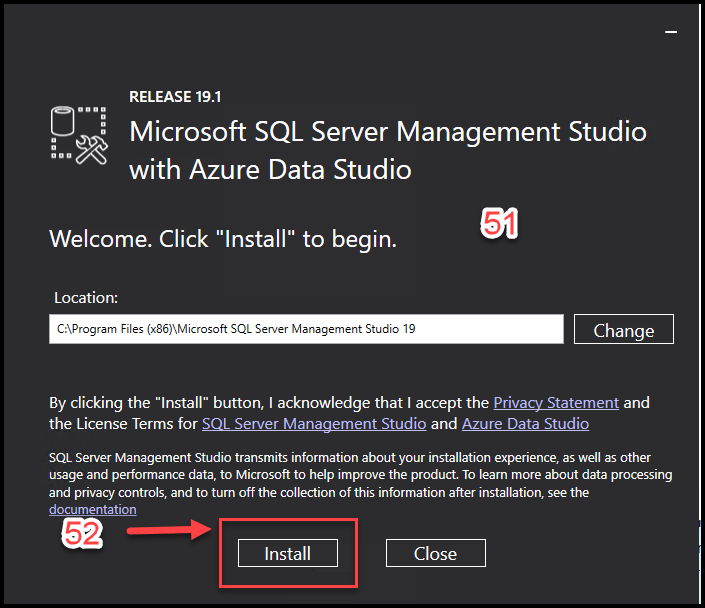
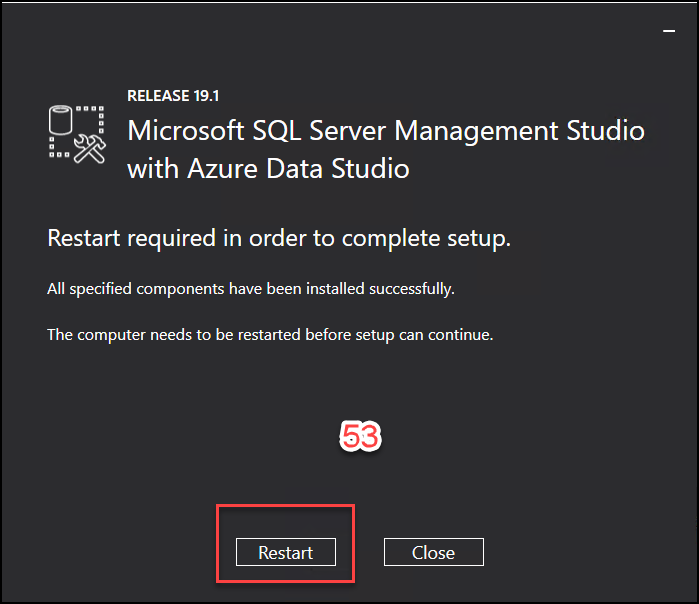
- Management Studio Installer Window Appears
- Select Install
- Select Restart
- Installation is complete, After the reboot, launch OMNIA from the Desktop Shortcut.
Text
Need further assistance?