Installing Cathexis Carbon and Adding a new Account
How to Install Cathexis and Add a new Account
Installing Cathexis Carbon and Adding a new Account
Installing Cathexis Carbon
Download Cathexis Carbon from the DOWNLOAD CENTER at PMTSecurity

Read the information.
Click Next.

Read the agreement. Select the option to accept.
Click Next.

Select the folder into which CathexisVision Carbon will be installed.
Click Next.
Select the Start Menu folder where the Carbon
shortcuts will be placed.
Click Next.

Review the installation settings.
Click Install.
When installation is complete, click Finish.
Adding a new Account Open Carbon by double clicking the Desktop Icon
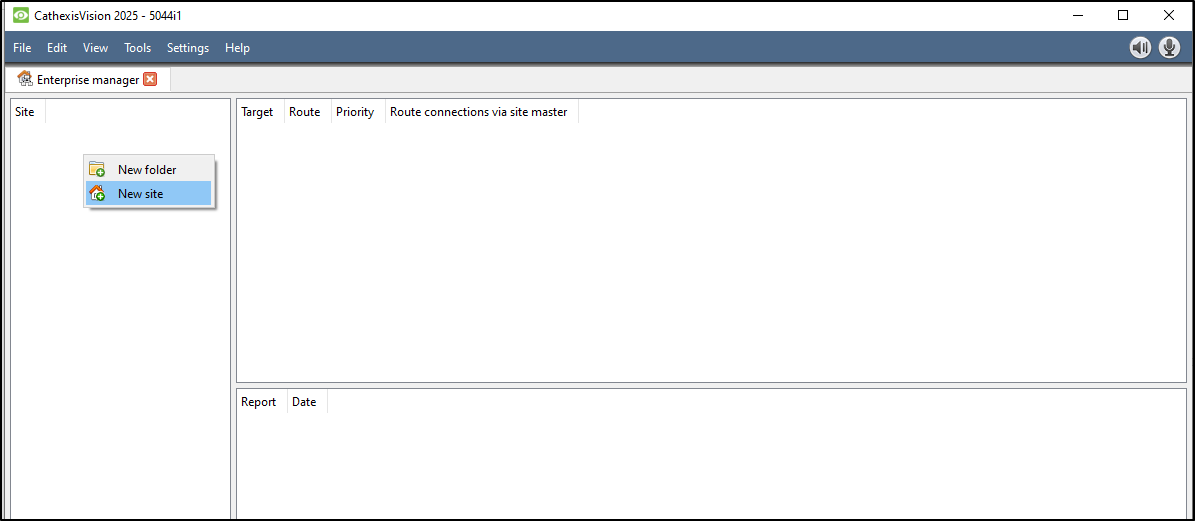
Choose Enterprise/Multi-Site or Site.
There are three types of connection Standard, Discovery, and Port Forward. (Contact Admin for correct type)
Adding a Site: Standard Connection
Type the site Name and Address supplied by the
administrator.
(Address: This is the IP address of the master unit.)
Select the Standard connection type from the drop-down
menu.
Click SAVE (or OK, depending on whether this is an initial
or subsequent login).
Add a Site: Discovery Connection
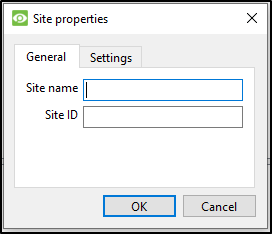
Enter the site Name.
Click the Connection drop-down menu to see options.
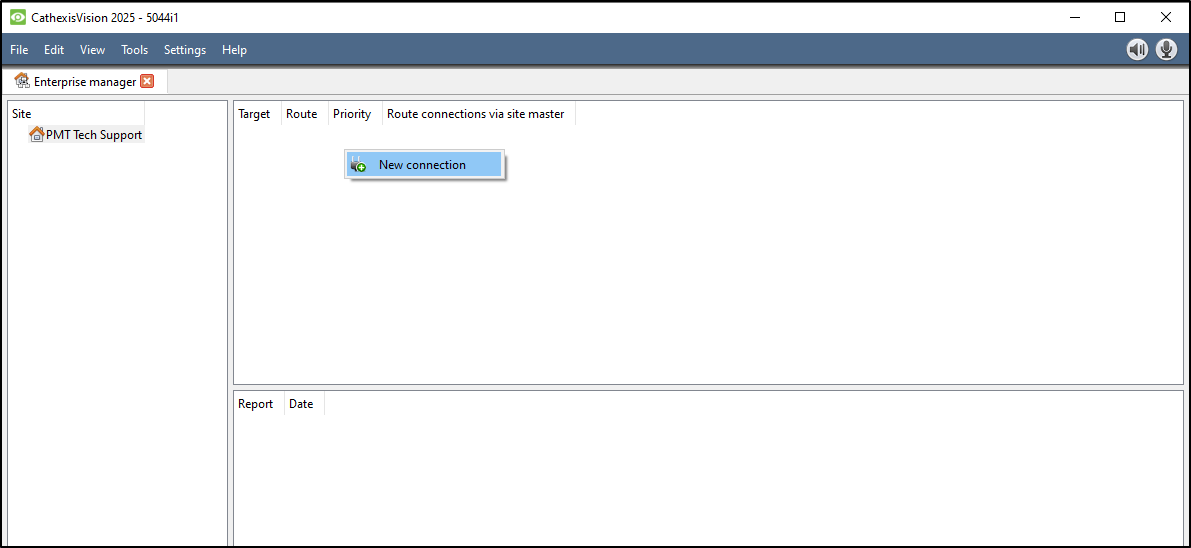
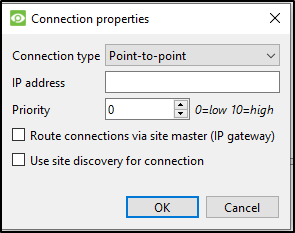
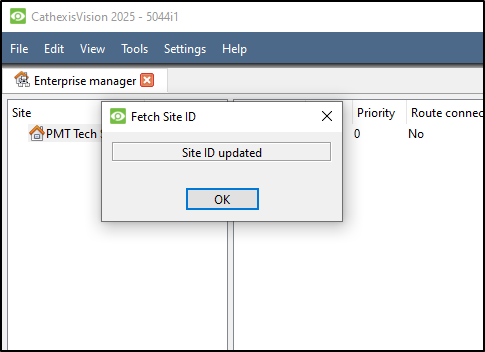
Click Discovery. The bottom row will now say “Site ID”.
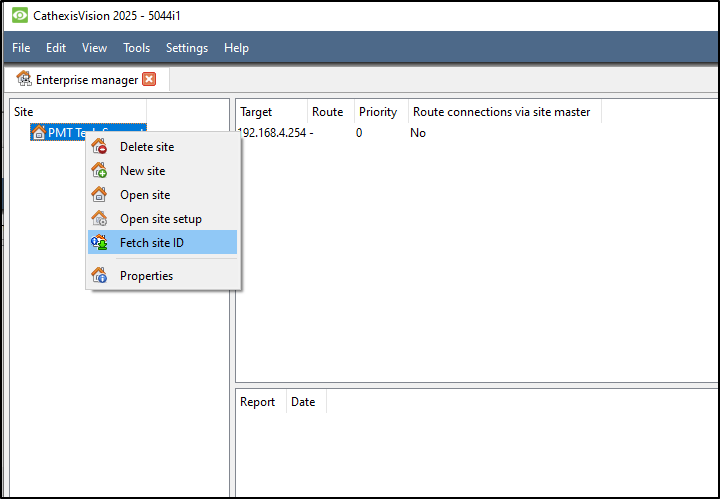
Click the field where the text reads “Get site ID”. A new
dialogue will open (“Setup site discovery”).

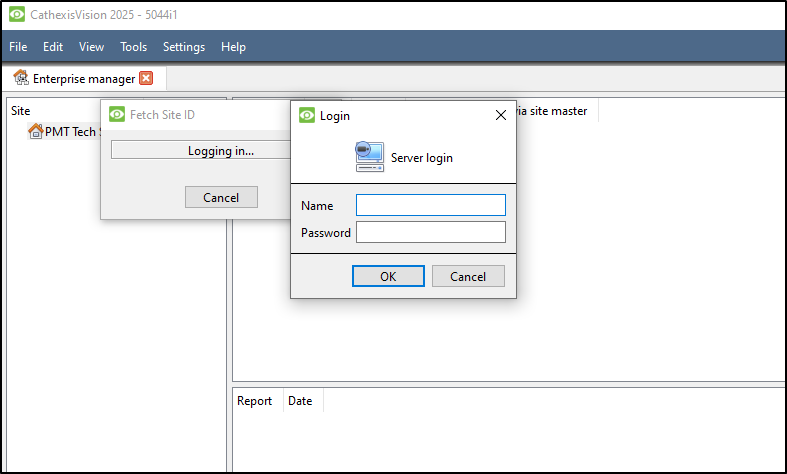
Enter the Site address, Login, and Password provided by
the administrator.
Click Next. The Site name and Site ID will be displayed.
The configured site information will be displayed.
Click OK.

Add a Site: Port Forward Connection
Select Port forward from the drop-down list.
Enter the name in the field.
Enter the address of the site master unit.
Click OK.
Need further assistance?
