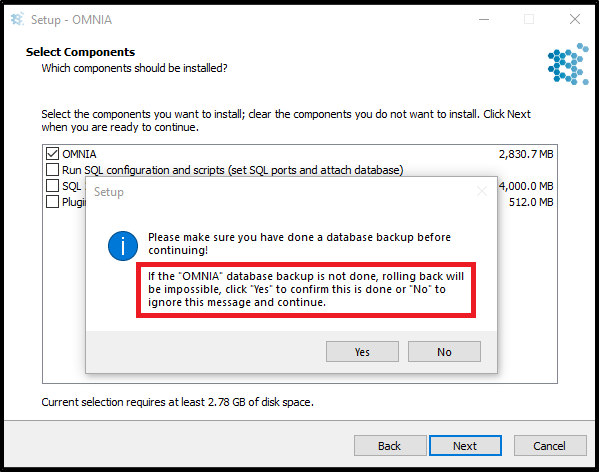
Replacing an Antenna Reader terminal with a iTRT or iTRT2 in AmanoNet
Replacing an Antenna Reader terminal with a iTRT or iTRT2 in AmanoNet.
Replacing an Antenna Reader terminal with a iTRT or iTRT2 in AmanoNet
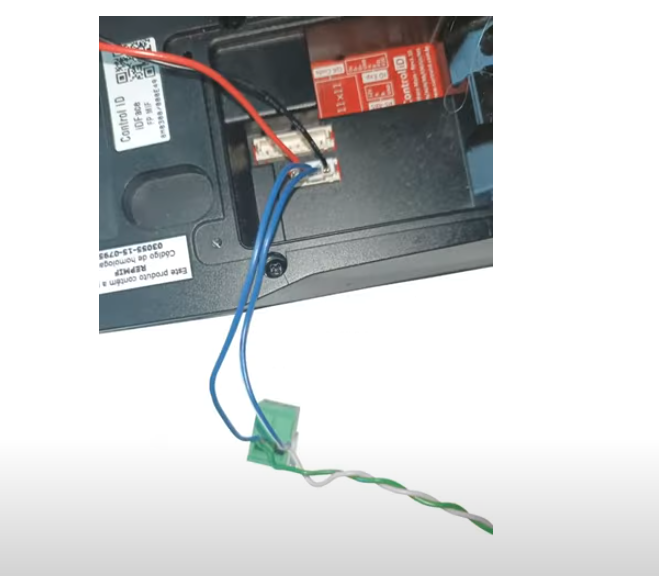
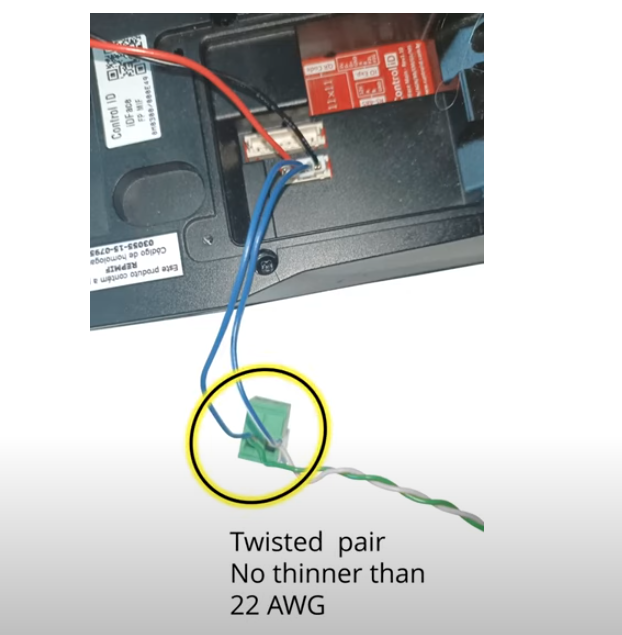
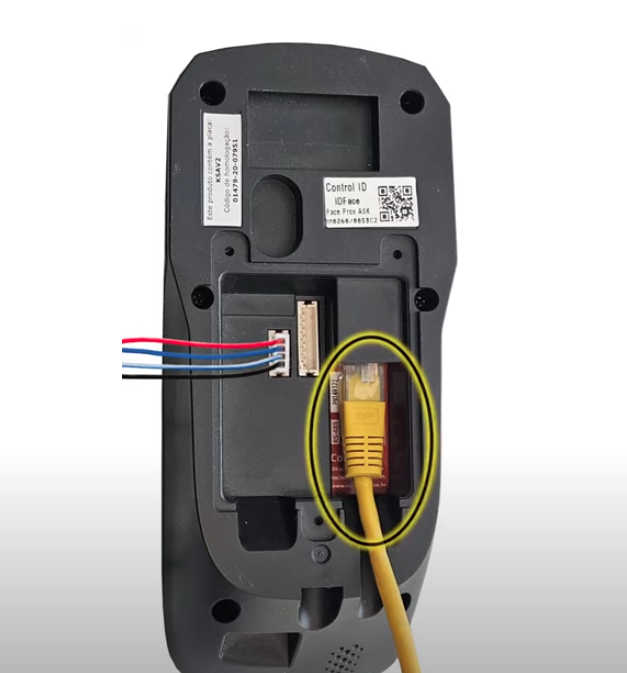
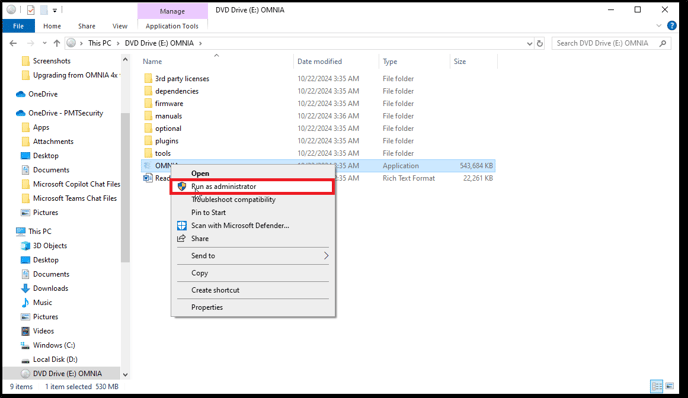
Before stating make sure your new hardware is installed.
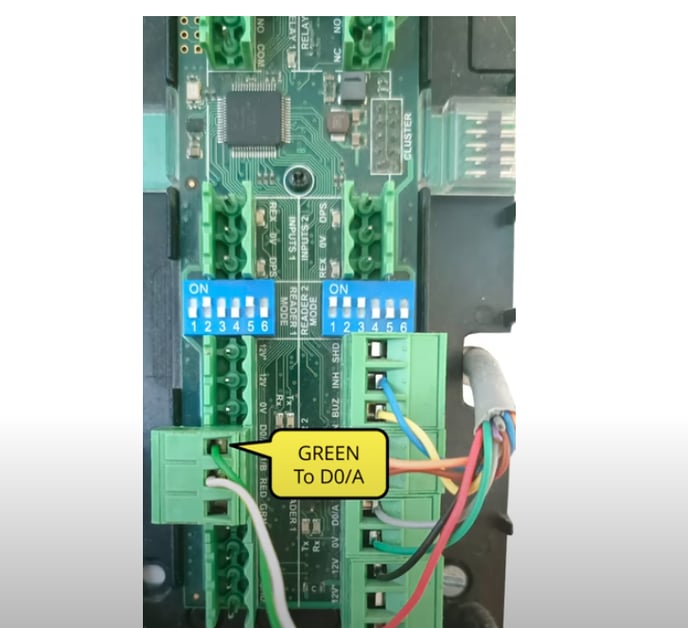
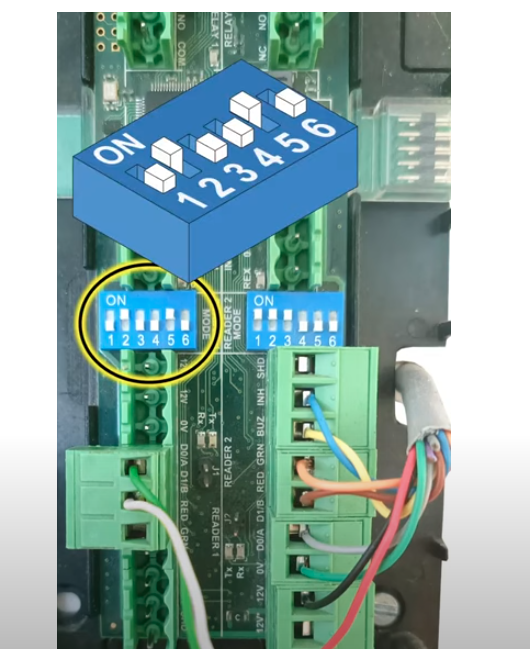
(Note* When replacing an Antenna reader terminal with an iTRT or iTRT2 you must replace the reader)
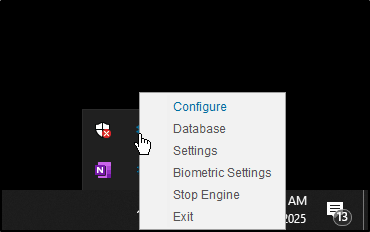
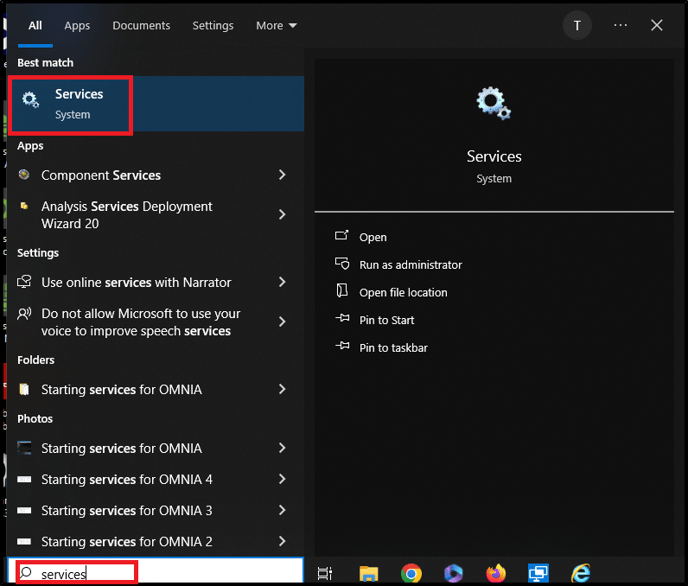
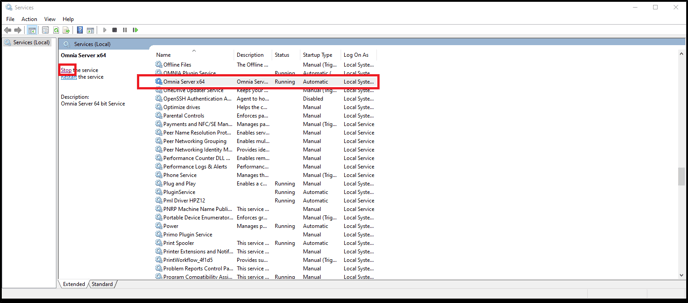
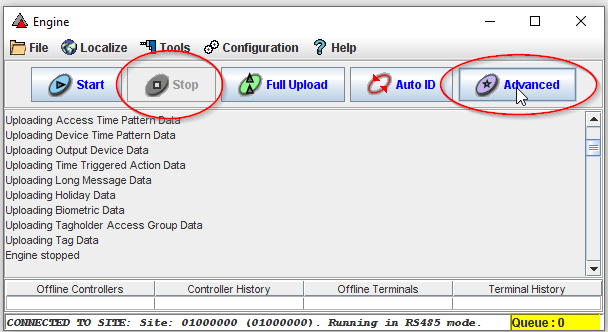
Open the Engine.exe and select stop. Then Select Advanced
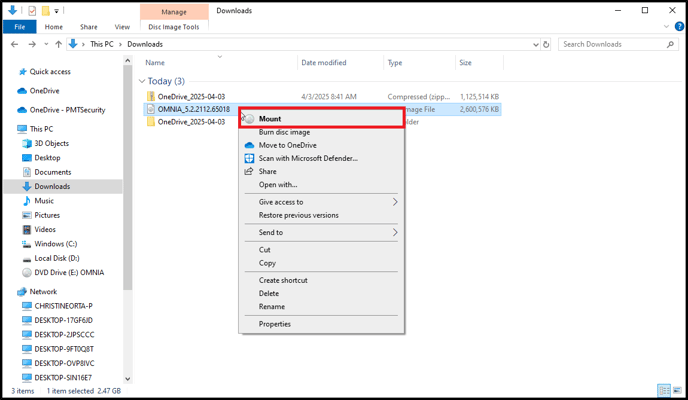
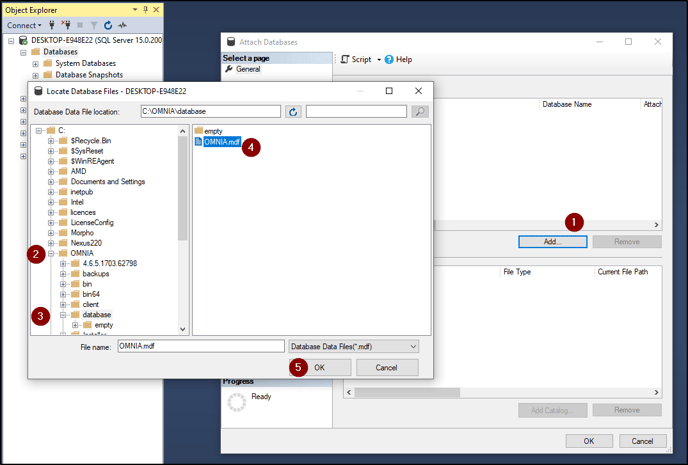
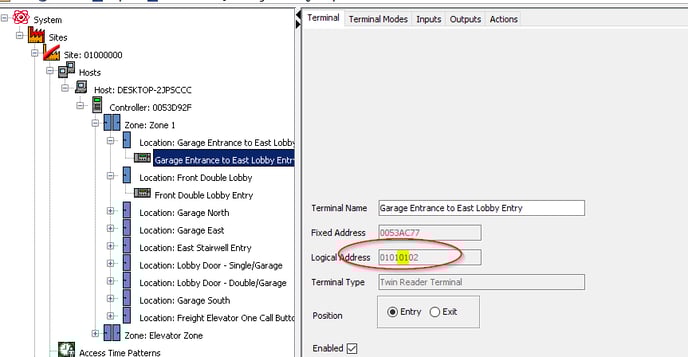
Find the Controller LA locate the Reader terminal you would like to replace. Open Access and search for the terminal that will be replaced then select. Next to Logical address take note of the highlighted section below. (Example 01)
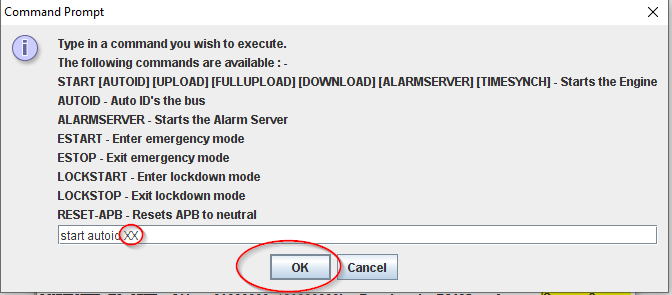
Type START AUTOID (Logical Address of Controller)(Example 01) Then Select Enter
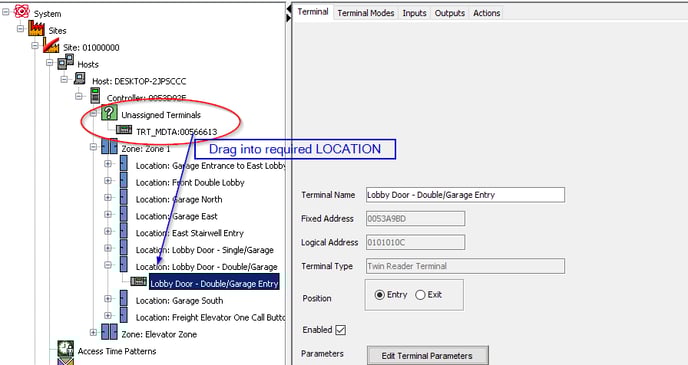
To see the Unassigned Terminals close and reopen Access.exe
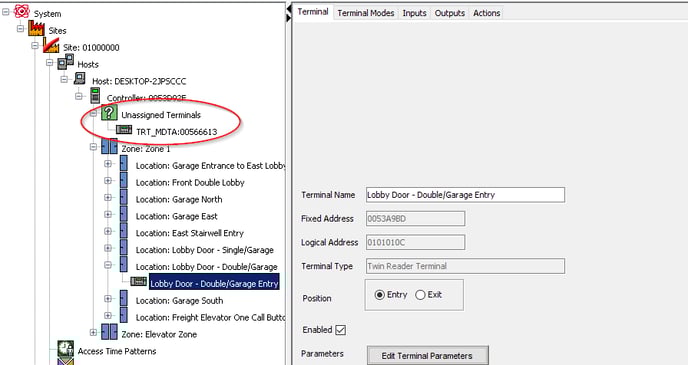
Now that you see the Unassigned Terminals Click and drag the device into the required location.
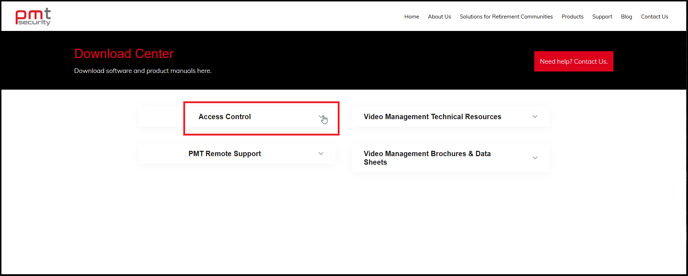
Need further assistance?